Publishing a blog post
This page describes how to format and publish a blog post on 18f.gsa.gov. It does not describe the editorial process, which can be found in the blog drafts repository and assumes you have a post in Google Drive that is scheduled for publication.
This page also assumes:
- You have cloned the 18f.gsa.gov repository from GitHub
- You have GitHub Desktop installed or are comfortable using Git from the Terminal. This process does not require using the Terminal.
Pandoc is a document conversion program. It can take input file formats like docx, and odt and turn them into other kinds of files like markdown, and html.
- If you don't have it already, download Pandoc here and run the installer
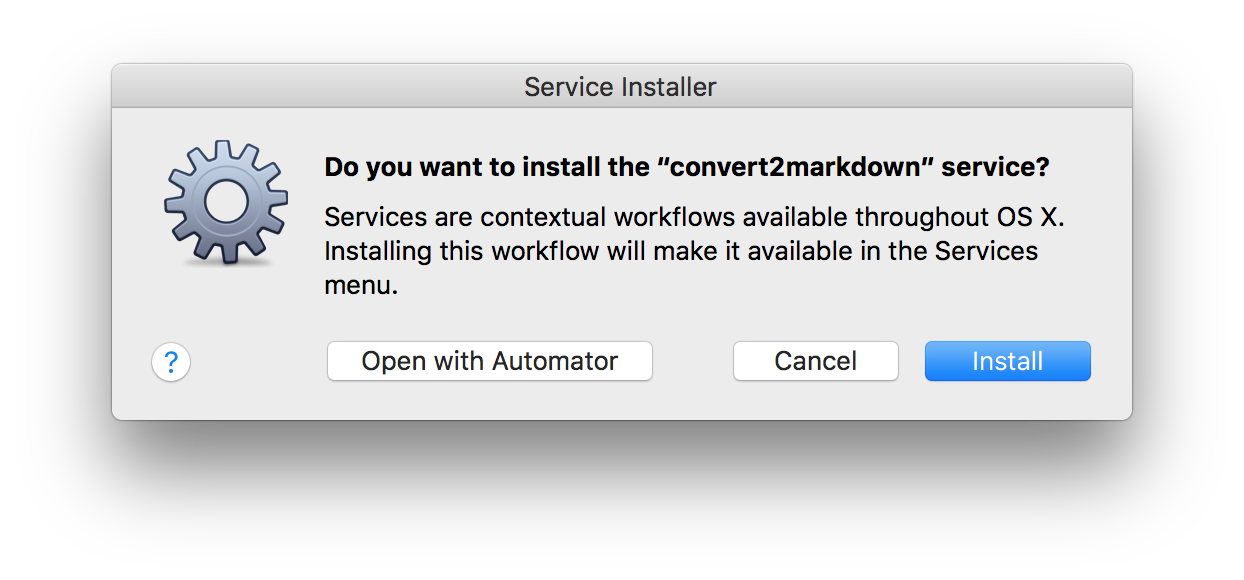
.pkgfile. - Once you have Pandoc installed, download this workflow application and double click to install it.
- When you see this screen, choose Install.
To save yourself time later, reformat all the links in the Google Doc so that none of them are highlighted. You can do this by selecting all the text and hitting the "underline" button twice in the editor. After the first click, you'll see all the text underlined, then after the second click none of the text will be highlighted.
If, for some reason, the author decided to underline things other than links in the document, that formatting will be lost.
Pandoc converts Google Docs best when they're downloaded as Microsoft Word files. You should be able to open the downloaded file on your Mac but you may want to download a copy of LibreOffice or Microsoft Office for any final edits you may need to make. There are instructions in the handbook for getting a copy of Microsoft Office.
- Open the blog post in Google Docs
- Click "File" and hover your mouse over "Download As"
- Choose "Microsoft Word (docx)"
The file will be downloaded in the default location according to your browser's settings.
If you haven't "cloned" the 18F site repository yet, you should do that now. You can read GitHub's documentation on how to clone a repo or click this link to clone 18f.gsa.gov with GitHub Desktop
- Switch to the
masterbranch - Click the "sync" button
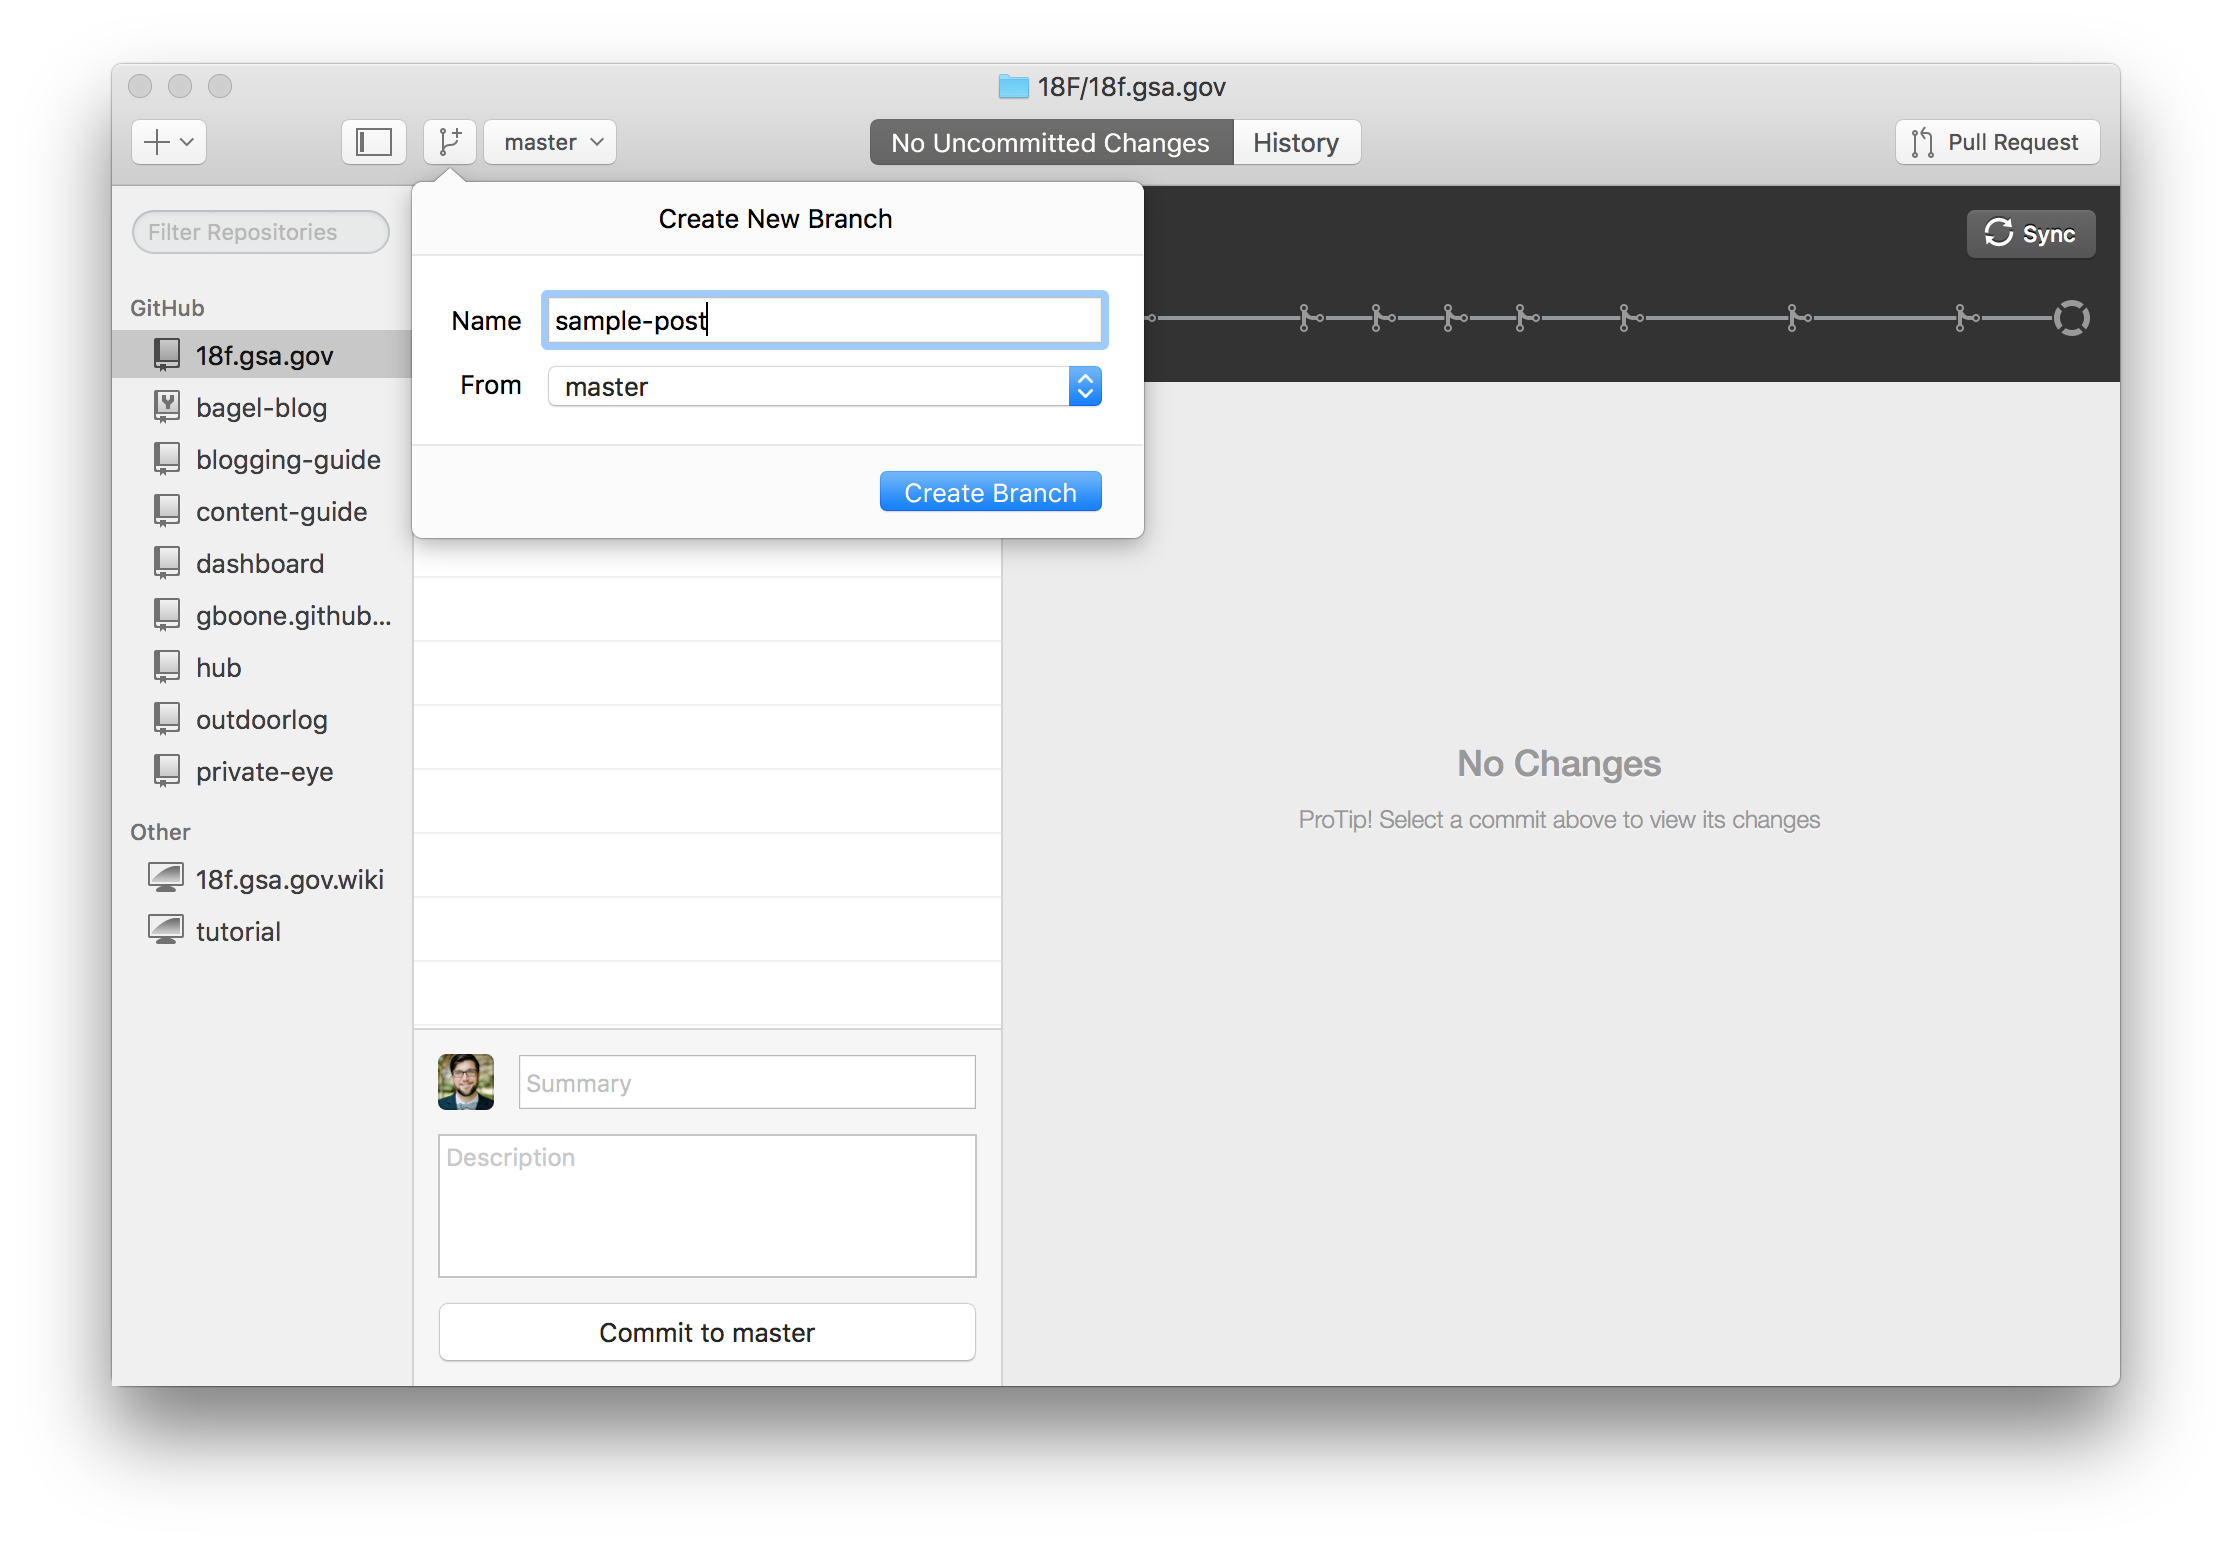
- Click the "Add a branch" button
- Give the branch a unique name and click the "Create branch" button
- Run
git checkout master - Run
git pull - Run
git checkout -b new-blog-post
- Open the docx of the blog post on your Mac
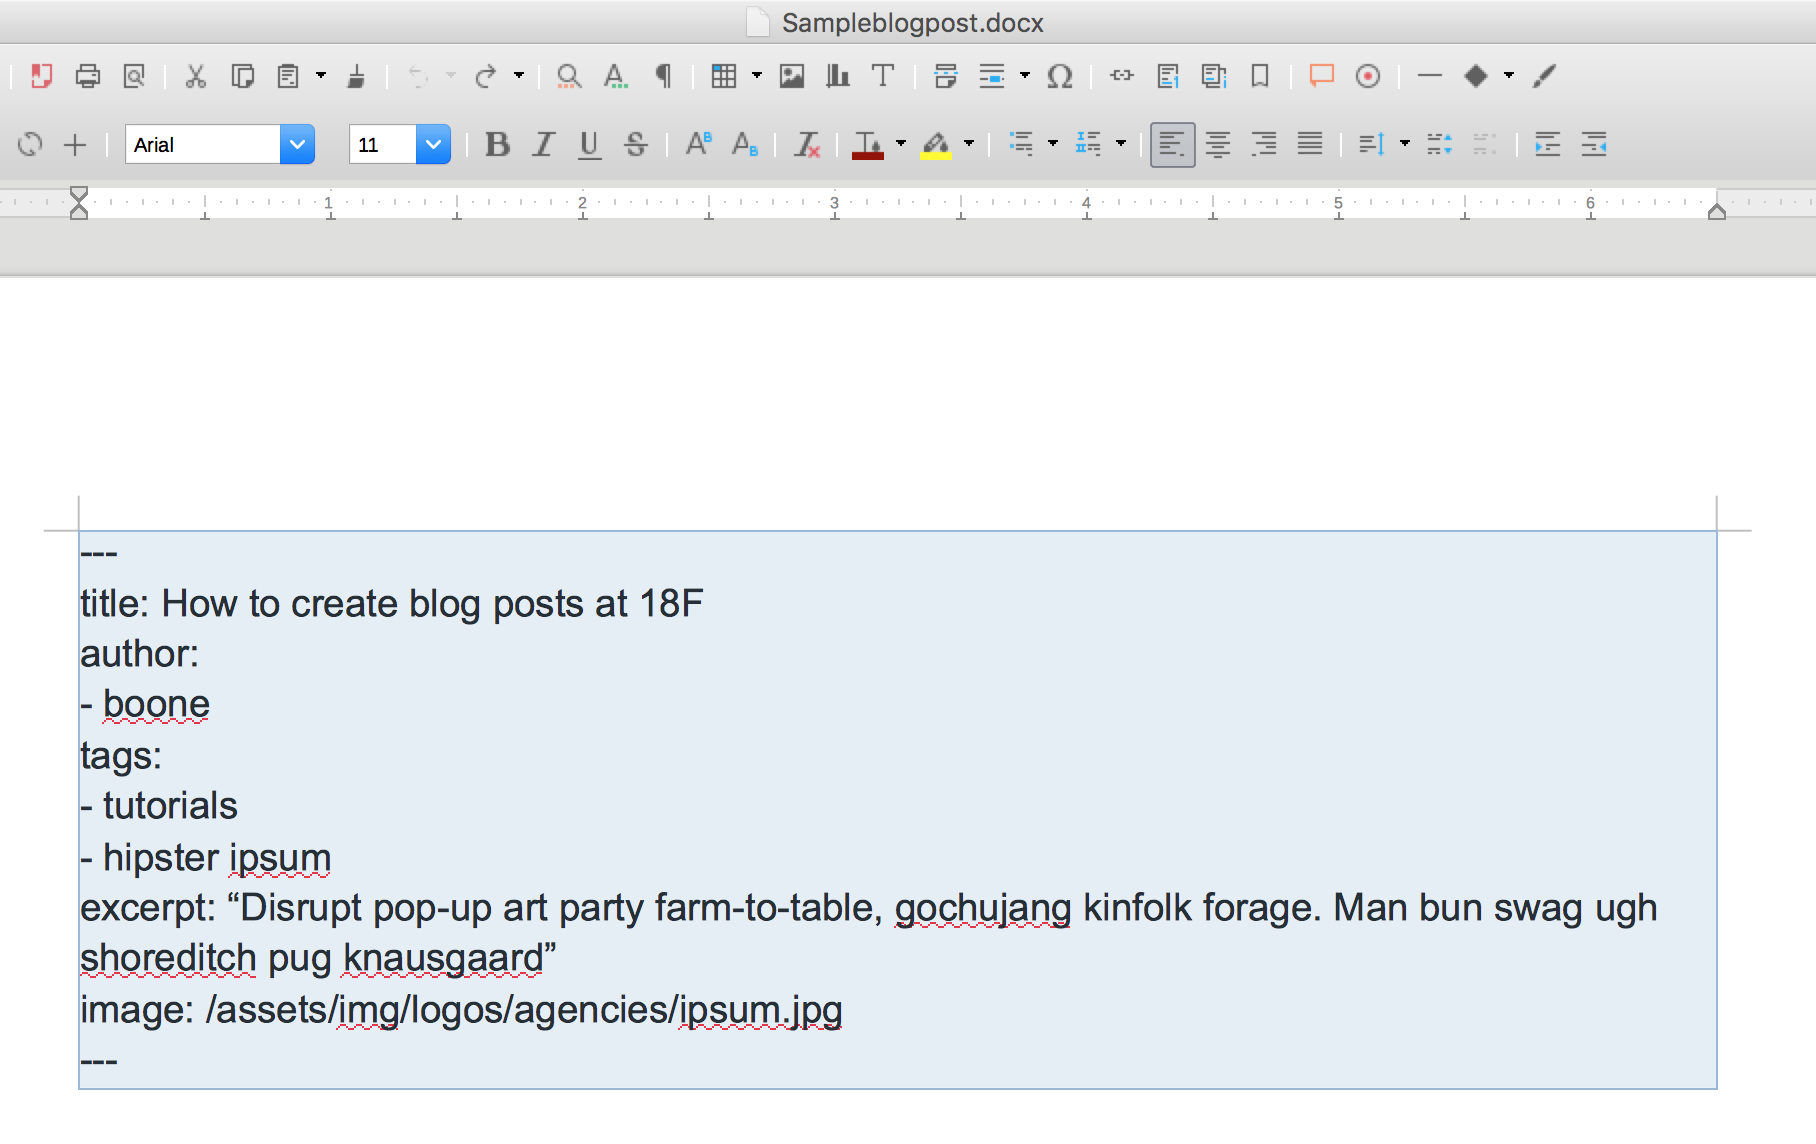
- Select the frontmatter (all of it from the first
---to the last---) and cut it (command+x)
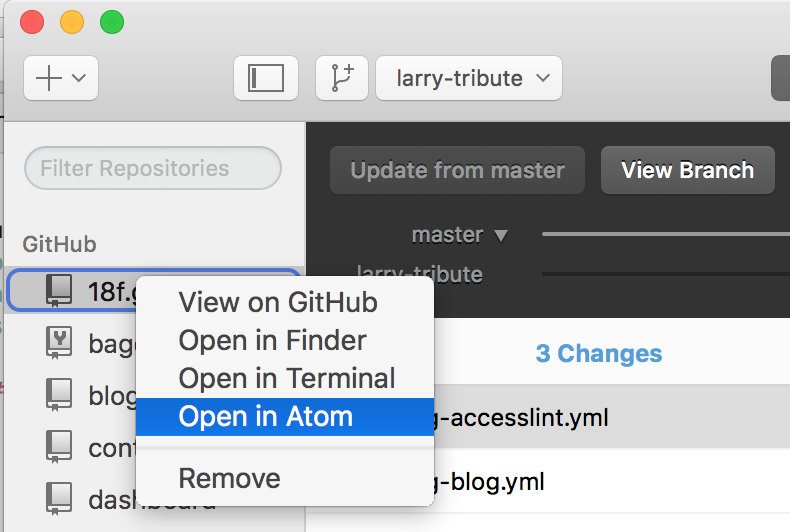
- Right click on your 18f.gsa.gov clone in the left sidebar
- Choose "Open in Atom"
-
Create a new file (command + N or File -> New File in the menu)
-
Paste (command + V or Edit -> Paste)
-
Save (command + S or File -> Save)
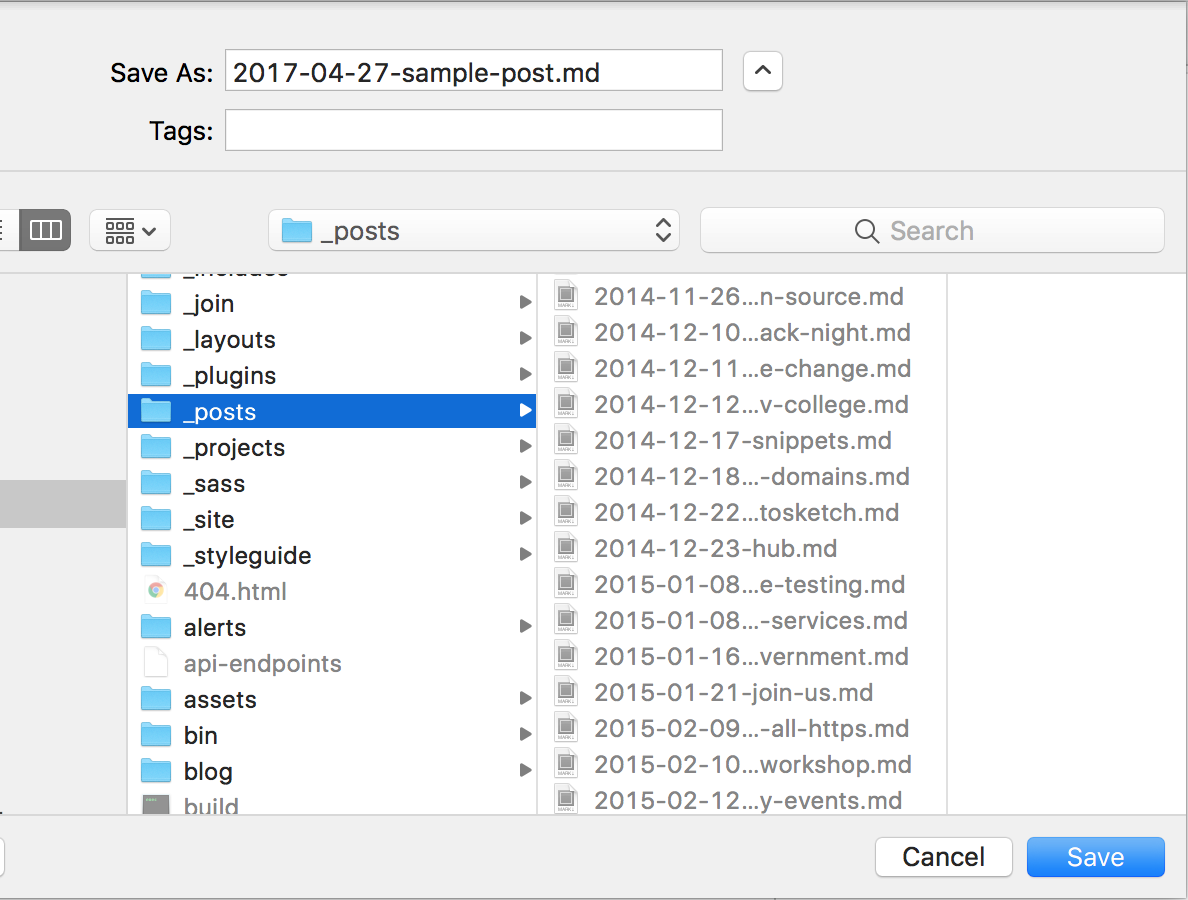
For the filename, use today's date in
yyyy-mm-ddformat plus the post title in lowercase, with spaces replaced by dashes. For example2017-04-27-sample-blog-post.md -
Enter the filename and click Save
- Save the original blog post docx file and quit
Now you should have a new file with the name yyyy-mm-dd-title-of-your-post-as-a-slug.md in your _posts directory with the frontmatter you cut from the original file inside it. At the end, the original file should contain only the text of the post.
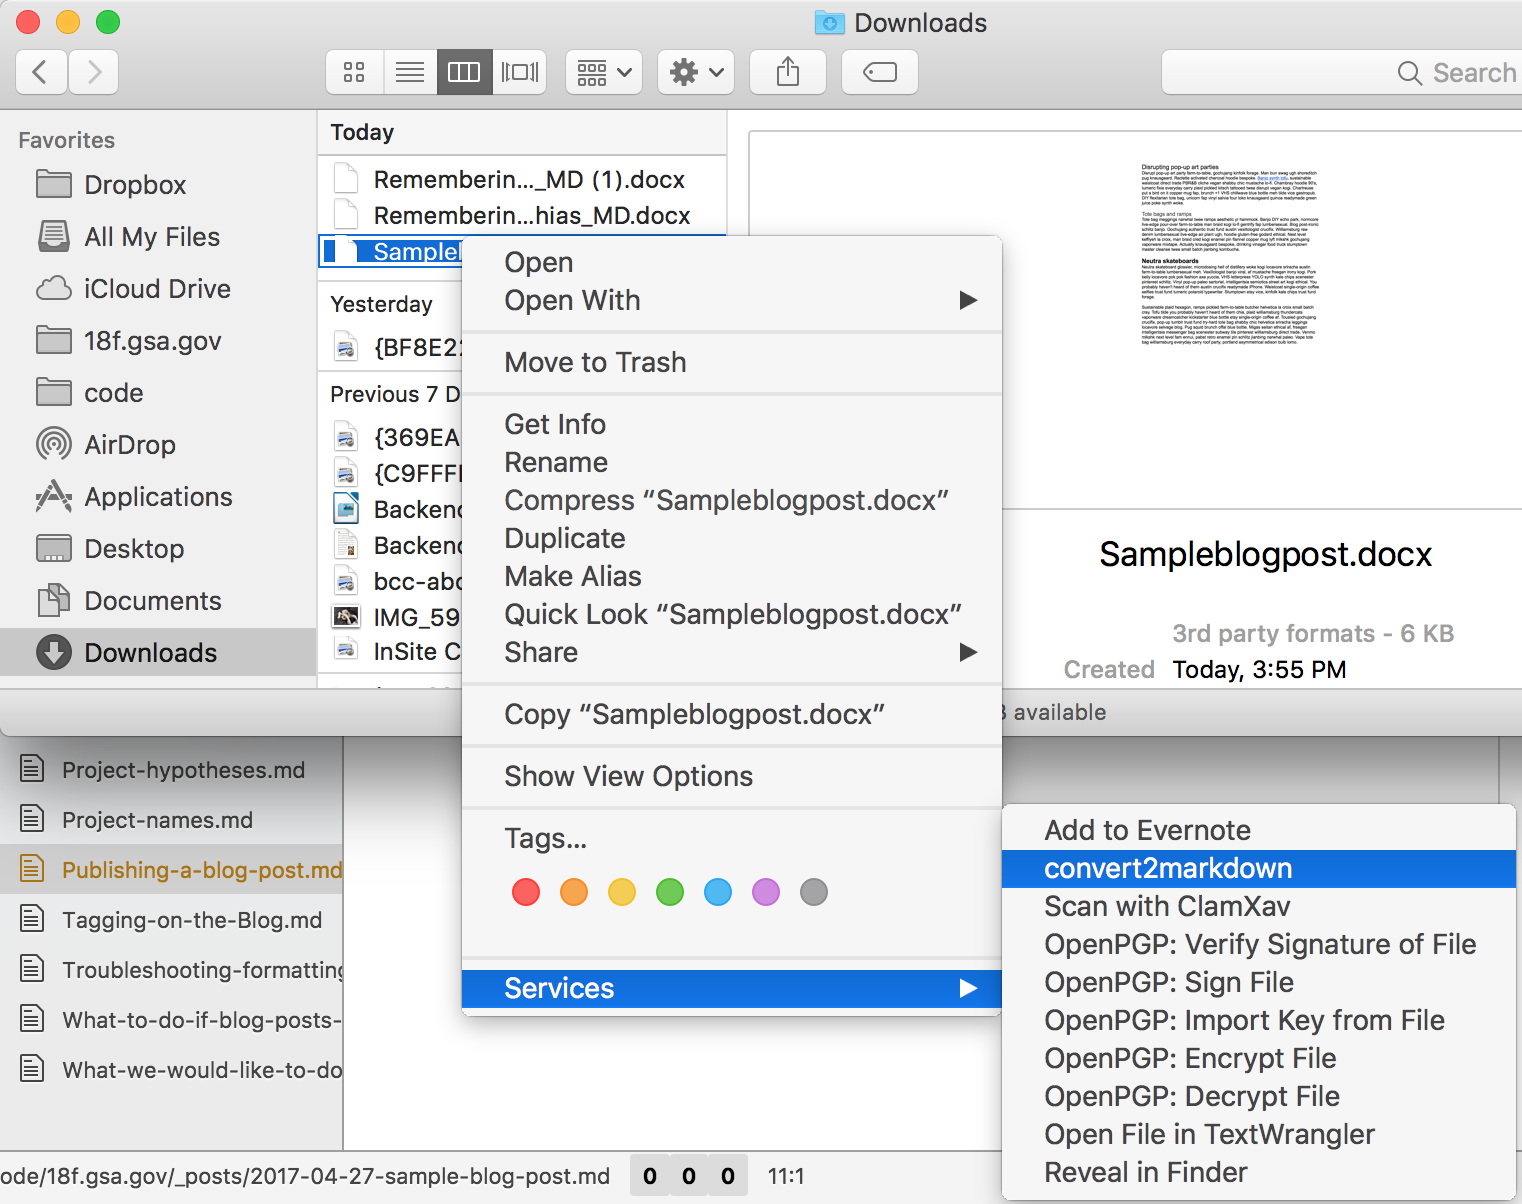
- Open the Finder and locate the downloaded docx file
- Right click the docx file and choose "convert2markdown" under the "Services menu"
-
Open the markdown file you just saved
-
Paste (command + V or Edit -> Paste)
If all goes well, you should be looking at the markdown version of your blog post. To preview the content of the post type,
control + shift + M. This will pull up your post in a preview pane beside the markdown. -
Save (command + S)
Sometimes the blog post comes out perfectly but often there are small problems that happen in the conversion process. If people use bold text for section headings instead of Heading 1 or Heading 2, for example, you'll have to fix every section heading. Multi-line bulleted and numbered lists also often have problems. [Here is a full list of problems you might encounter in your conversion.]
(PS: This is why you removed all the underlines from your links in step 1.)
There is an example blog post that contains examples of common patterns seen on blog posts, as well as required and optional front matter that populates a post.
More documentation is available in the style guide.
Once you're ready to publish your changes, commit them to Git and push them to GitHub.
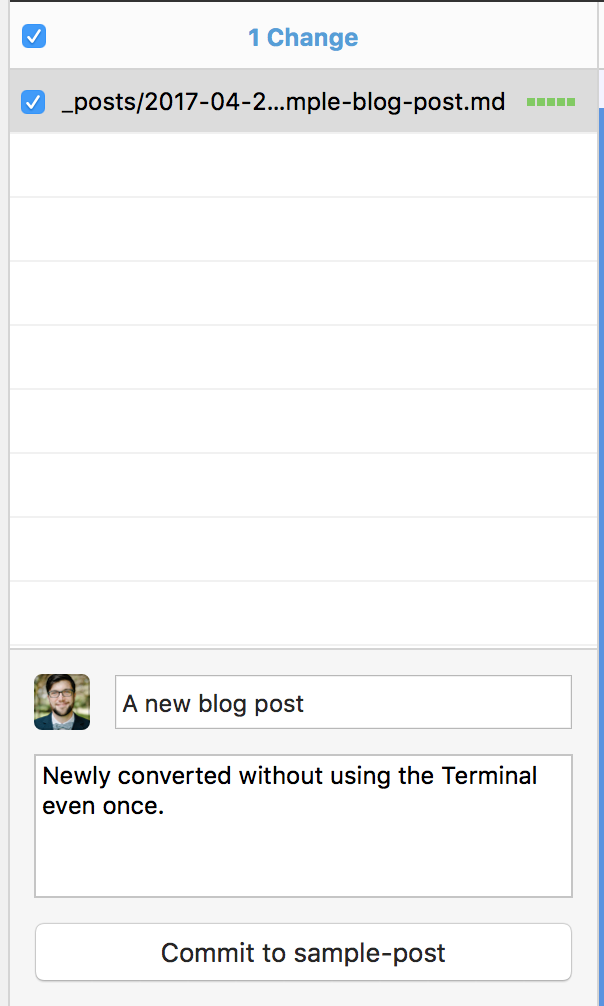
- Make sure all the files you changed show up in the application's middle column

- Make sure all the files you want to publish are checked. Write a brief message in the text boxes and click "Commit to
branch" (wherebranchis the name you chose in step 3).
- Click the publish button to send your blog post to GitHub.
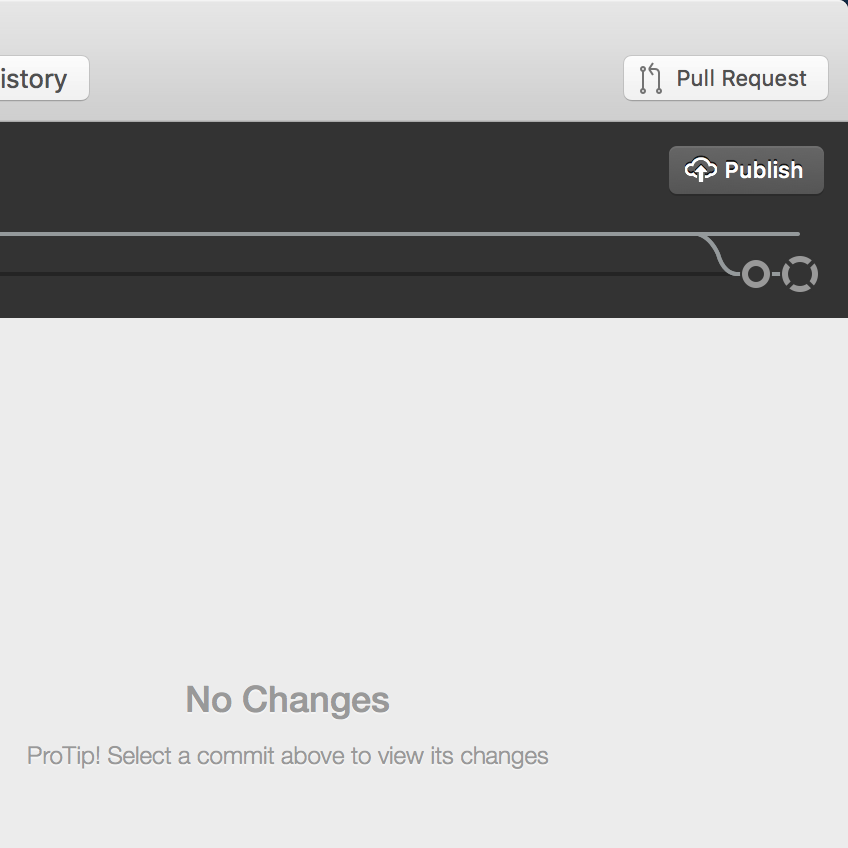
- Click the "Pull Request" button to create a pull request.
- Run
git add _posts/yyyy-mm-dd-title-of-your-post-as-a-slug.md - Run
git commit -m "First draft of a blog post" - Run
git push origin new-blog-post
In the first step, make sure yyyy-mm-dd-title-of-your-post-as-a-slug.md is the same as the file name you used in steps 4 and 5. In the second step, you can put whatever you want in between the " marks. In the final command, make sure new-blog-post is the same as the branch name you created in step 3.
If the final git push command fails, ask for help in the #git channel on Slack.