API client for AUTOMATIC1111/stable-diffusion-webui
Supports txt2img, img2img, extra-single-image, extra-batch-images API calls.
API support have to be enabled from webui. Add --api when running webui. It's explained here.
You can use --api-auth user1:pass1,user2:pass2 option to enable authentication for api access. (Since it's basic http authentication the password is transmitted in cleartext)
API calls are (almost) direct translation from http://127.0.0.1:7860/docs as of 2022/11/21.
pip install webuiapi
webuiapi_demo.ipynb contains example code with original images. Images are compressed as jpeg in this document.
import webuiapi

# create API client
api = webuiapi.WebUIApi()

# create API client with custom host, port
#api = webuiapi.WebUIApi(host='127.0.0.1', port=7860)

# create API client with custom host, port and https
#api = webuiapi.WebUIApi(host='webui.example.com', port=443, use_https=True)

# create API client with default sampler, steps.
#api = webuiapi.WebUIApi(sampler='Euler a', steps=20)

# optionally set username, password when --api-auth=username:password is set on webui.
# username, password are not protected and can be derived easily if the communication channel is not encrypted.
# you can also pass username, password to the WebUIApi constructor.
api.set_auth('username', 'password')
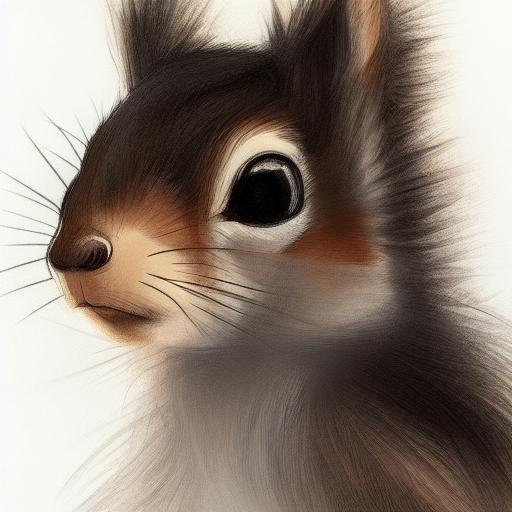
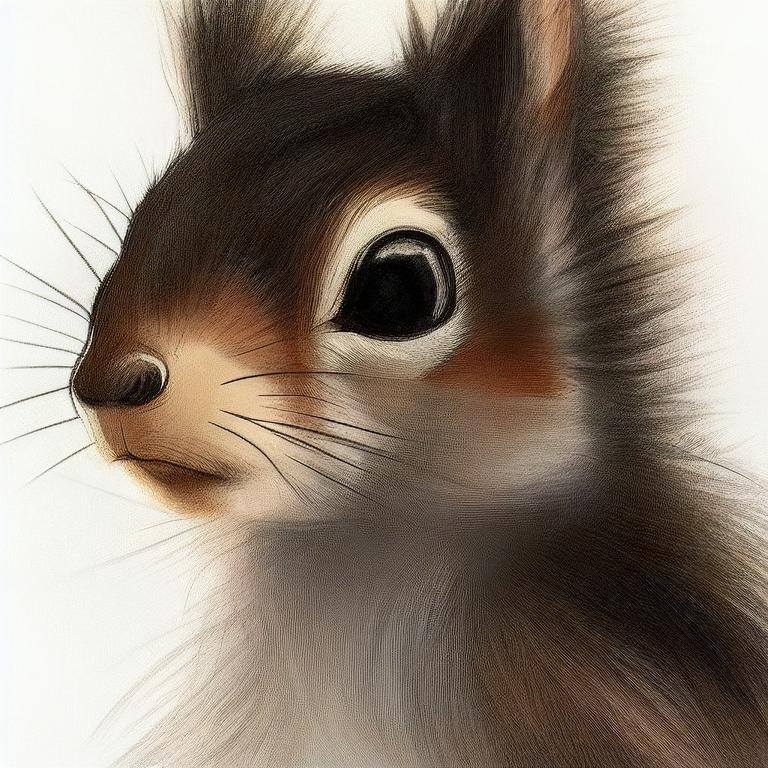
result1 = api.txt2img(prompt="cute squirrel",
                    negative_prompt="ugly, out of frame",
                    seed=1003,
                    styles=["anime"],
                    cfg_scale=7,
#                      sampler_index='DDIM',
#                      steps=30,
#                      enable_hr=True,
#                      hr_scale=2,
#                      hr_upscaler=webuiapi.HiResUpscaler.Latent,
#                      hr_second_pass_steps=20,
#                      hr_resize_x=1536,
#                      hr_resize_y=1024,
#                      denoising_strength=0.4,

                    )
# images contains the returned images (PIL images)
result1.images

# image is shorthand for images[0]
result1.image

# info contains text info about the api call
result1.info

# info contains paramteres of the api call
result1.parameters

result1.image
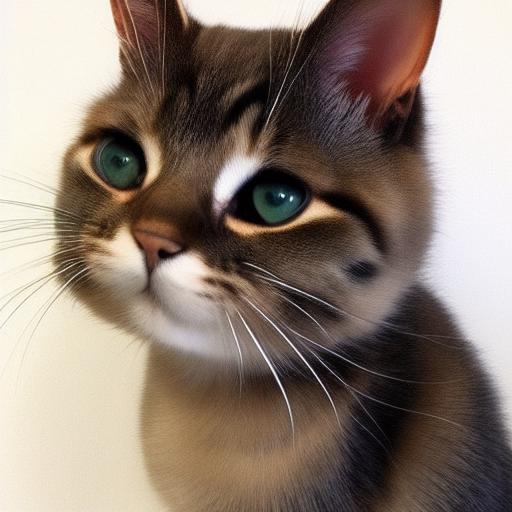
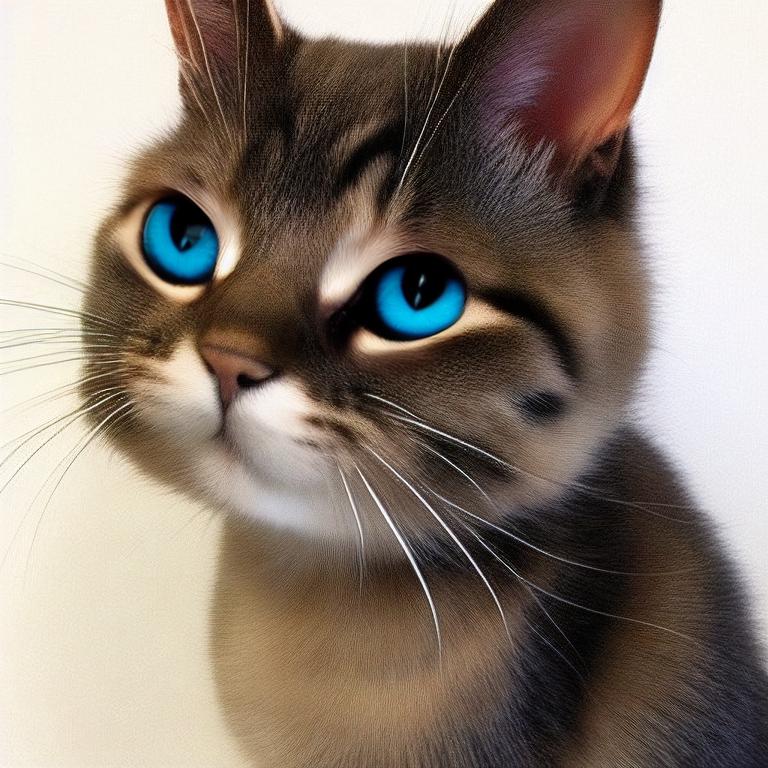
result2 = api.img2img(images=[result1.image], prompt="cute cat", seed=5555, cfg_scale=6.5, denoising_strength=0.6)
result2.image
from PIL import Image, ImageDraw

mask = Image.new('RGB', result2.image.size, color = 'black')
# mask = result2.image.copy()
draw = ImageDraw.Draw(mask)
draw.ellipse((210,150,310,250), fill='white')
draw.ellipse((80,120,160,120+80), fill='white')

mask
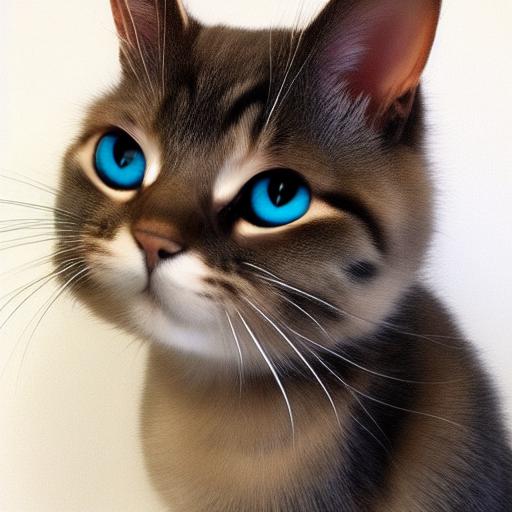
inpainting_result = api.img2img(images=[result2.image],
                                mask_image=mask,
                                inpainting_fill=1,
                                prompt="cute cat",
                                seed=104,
                                cfg_scale=5.0,
                                denoising_strength=0.7)
inpainting_result.image
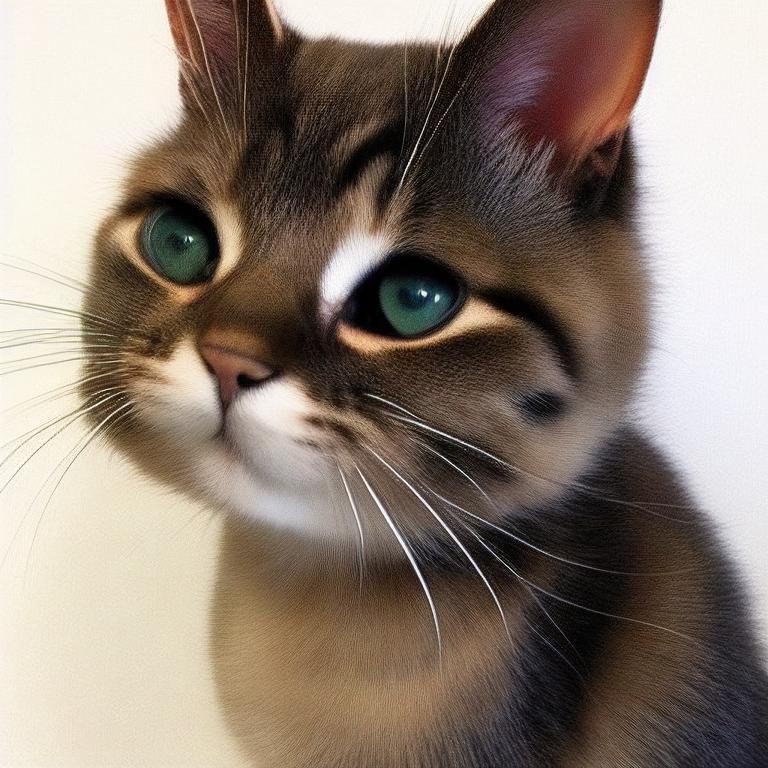
result3 = api.extra_single_image(image=result2.image,
                                 upscaler_1=webuiapi.Upscaler.ESRGAN_4x,
                                 upscaling_resize=1.5)
print(result3.image.size)
result3.image
(768, 768)
result4 = api.extra_batch_images(images=[result1.image, inpainting_result.image],
                                 upscaler_1=webuiapi.Upscaler.ESRGAN_4x,
                                 upscaling_resize=1.5)
result4.images[0]
result4.images[1]
txt2img, img2img, extra_single_image, extra_batch_images support async api call with use_async=True parameter. You need asyncio, aiohttp packages installed.
result = await api.txt2img(prompt="cute kitten",
                    seed=1001,
                    use_async=True
                    )
result.image
Scripts from AUTOMATIC1111's Web UI are supported, but there aren't official models that define a script's interface.
To find out the list of arguments that are accepted by a particular script look up the associated python file from
AUTOMATIC1111's repo scripts/[script_name].py. Search for its run(p, **args) function and the arguments that come
after 'p' is the list of accepted arguments
(scripts/xyz_grid.py file from AUTOMATIC1111's repo)

    def run(self, p, x_type, x_values, y_type, y_values, z_type, z_values, draw_legend, include_lone_images, include_sub_grids, no_fixed_seeds, margin_size):
    ...
List of accepted arguments:
- x_type: Index of the axis for X axis. Indexes start from [0: Nothing]
- x_values: String of comma-separated values for the X axis
- y_type: Index of the axis type for Y axis. As the X axis, indexes start from [0: Nothing]
- y_values: String of comma-separated values for the Y axis
- z_type: Index of the axis type for Z axis. As the X axis, indexes start from [0: Nothing]
- z_values: String of comma-separated values for the Z axis
- draw_legend: "True" or "False". IMPORTANT: It needs to be a string and not a Boolean value
- include_lone_images: "True" or "False". IMPORTANT: It needs to be a string and not a Boolean value
- include_sub_grids: "True" or "False". IMPORTANT: It needs to be a string and not a Boolean value
- no_fixed_seeds: "True" or "False". IMPORTANT: It needs to be a string and not a Boolean value
- margin_size: int value
# Available Axis options (Different for txt2img and img2img!)
XYZPlotAvailableTxt2ImgScripts = [
    "Nothing",
    "Seed",
    "Var. seed",
    "Var. strength",
    "Steps",
    "Hires steps",
    "CFG Scale",
    "Prompt S/R",
    "Prompt order",
    "Sampler",
    "Checkpoint name",
    "Sigma Churn",
    "Sigma min",
    "Sigma max",
    "Sigma noise",
    "Eta",
    "Clip skip",
    "Denoising",
    "Hires upscaler",
    "VAE",
    "Styles",
]

XYZPlotAvailableImg2ImgScripts = [
    "Nothing",
    "Seed",
    "Var. seed",
    "Var. strength",
    "Steps",
    "CFG Scale",
    "Image CFG Scale",
    "Prompt S/R",
    "Prompt order",
    "Sampler",
    "Checkpoint name",
    "Sigma Churn",
    "Sigma min",
    "Sigma max",
    "Sigma noise",
    "Eta",
    "Clip skip",
    "Denoising",
    "Cond. Image Mask Weight",
    "VAE",
    "Styles",
]

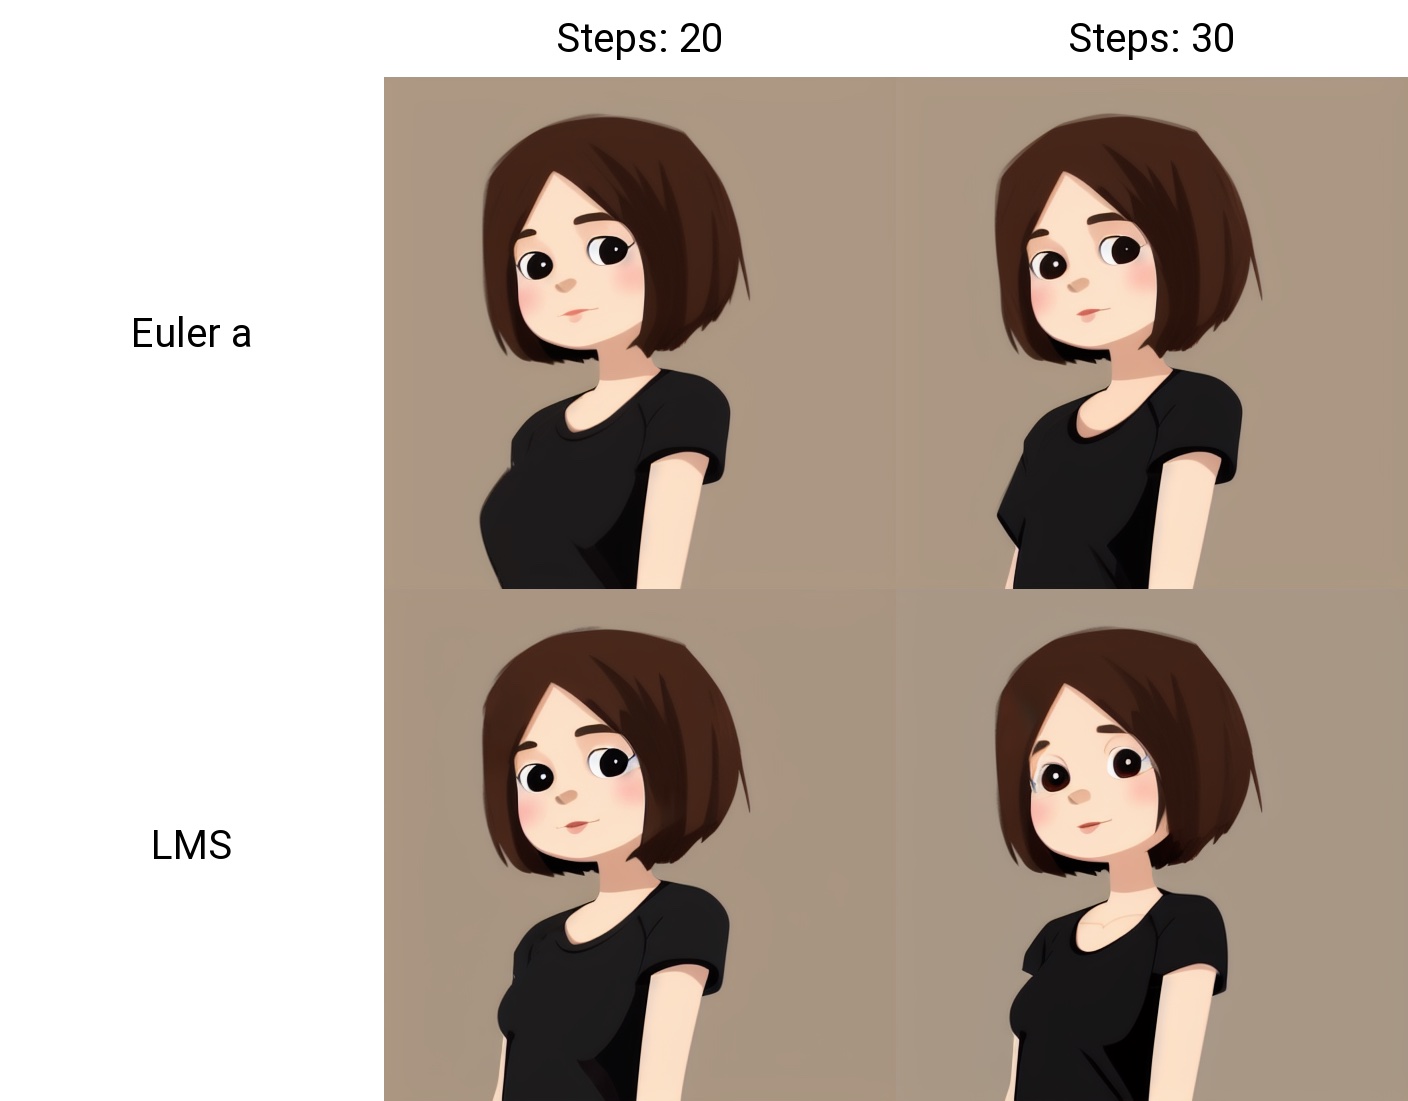
# Example call
XAxisType = "Steps"
XAxisValues = "20,30"
YAxisType = "Sampler"
YAxisValues = "Euler a, LMS"
ZAxisType = "Nothing"
ZAxisValues = ""
drawLegend = "True"
includeLoneImages = "False"
includeSubGrids = "False"
noFixedSeeds = "False"
marginSize = 0


# x_type, x_values, y_type, y_values, z_type, z_values, draw_legend, include_lone_images, include_sub_grids, no_fixed_seeds, margin_size

result = api.txt2img(
                    prompt="cute girl with short brown hair in black t-shirt in animation style",
                    seed=1003,
                    script_name="X/Y/Z Plot",
                    script_args=[
                        XYZPlotAvailableTxt2ImgScripts.index(XAxisType),
                        XAxisValues,
                        XYZPlotAvailableTxt2ImgScripts.index(YAxisType),
                        YAxisValues,
                        XYZPlotAvailableTxt2ImgScripts.index(ZAxisType),
                        ZAxisValues,
                        drawLegend,
                        includeLoneImages,
                        includeSubGrids,
                        noFixedSeeds,
                        marginSize,                        ]
                    )

result.image
# return map of current options
options = api.get_options()

# change sd model
options = {}
options['sd_model_checkpoint'] = 'model.ckpt [7460a6fa]'
api.set_options(options)

# when calling set_options, do not pass all options returned by get_options().
# it makes webui unusable (2022/11/21).

# get available sd models
api.get_sd_models()

# misc get apis
api.get_samplers()
api.get_cmd_flags()
api.get_hypernetworks()
api.get_face_restorers()
api.get_realesrgan_models()
api.get_prompt_styles()
api.get_artist_categories() # deprecated ?
api.get_artists() # deprecated ?
api.get_progress()
api.get_embeddings()
api.get_cmd_flags()
api.get_scripts()
api.get_memory()

# misc apis
api.interrupt()
api.skip()
# save current model name
old_model = api.util_get_current_model()

# get list of available models
models = api.util_get_model_names()

# refresh list of models
api.refresh_checkpoints()

# set model (use exact name)
api.util_set_model(models[0])

# set model (find closest match)
api.util_set_model('robodiffusion')

# wait for job complete
api.util_wait_for_ready()
r = api.txt2img(prompt='photo of a cute girl with green hair <lora:Moxin_10:0.6> shuimobysim __juice__',
                seed=1000,
                save_images=True,
                alwayson_scripts={"Simple wildcards":[]} # wildcards extension doesn't accept more parameters.
               )
r.image
# https://github.com/mix1009/model-keyword
mki = webuiapi.ModelKeywordInterface(api)
mki.get_keywords()
ModelKeywordResult(keywords=['nousr robot'], model='robo-diffusion-v1.ckpt', oldhash='41fef4bd', match_source='model-keyword.txt')
# Instruct-Pix2Pix extension is now deprecated and is now part of webui.
# You can use normal img2img with image_cfg_scale when instruct-pix2pix model is loaded.
r = api.img2img(prompt='sunset', images=[pil_img], cfg_scale=7.5, image_cfg_scale=1.5)
r.image
# https://github.com/Mikubill/sd-webui-controlnet

api.controlnet_model_list()
['control_v11e_sd15_ip2p [c4bb465c]',
 'control_v11e_sd15_shuffle [526bfdae]',
 'control_v11f1p_sd15_depth [cfd03158]',
 'control_v11p_sd15_canny [d14c016b]',
 'control_v11p_sd15_inpaint [ebff9138]',
 'control_v11p_sd15_lineart [43d4be0d]',
 'control_v11p_sd15_mlsd [aca30ff0]',
 'control_v11p_sd15_normalbae [316696f1]',
 'control_v11p_sd15_openpose [cab727d4]',
 'control_v11p_sd15_scribble [d4ba51ff]',
 'control_v11p_sd15_seg [e1f51eb9]',
 'control_v11p_sd15_softedge [a8575a2a]',
 'control_v11p_sd15s2_lineart_anime [3825e83e]',
 'control_v11u_sd15_tile [1f041471]']
api.controlnet_version()
api.controlnet_module_list()
# normal txt2img
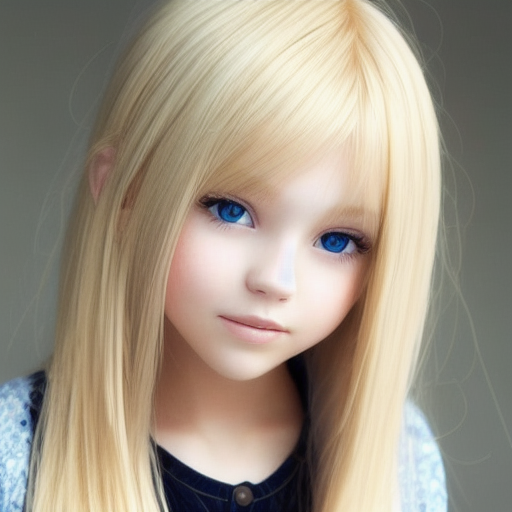
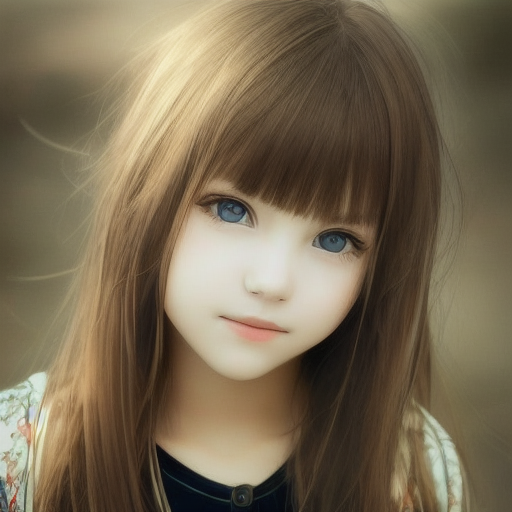
r = api.txt2img(prompt="photo of a beautiful girl with blonde hair", height=512, seed=100)
img = r.image
img
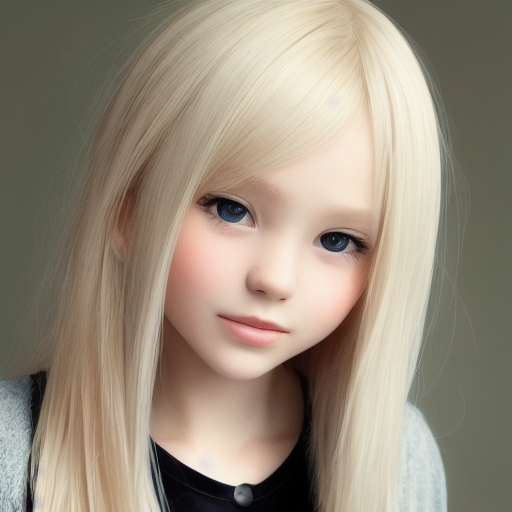
# txt2img with ControlNet (used 1.0 but also supports 1.1)
unit1 = webuiapi.ControlNetUnit(input_image=img, module='canny', model='control_canny-fp16 [e3fe7712]')

r = api.txt2img(prompt="photo of a beautiful girl", controlnet_units=[unit1])
r.image
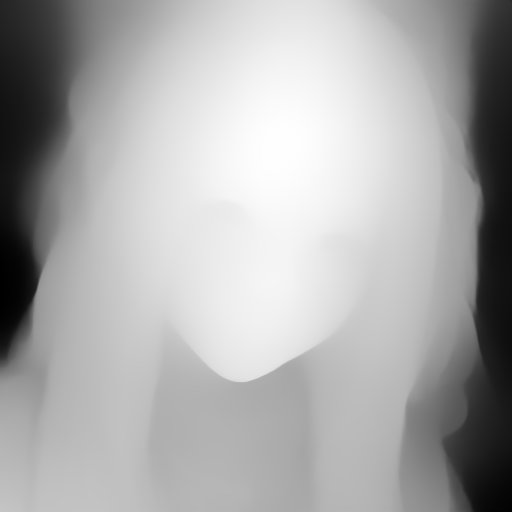
# img2img with multiple ControlNets (used 1.0 but also supports 1.1)
unit1 = webuiapi.ControlNetUnit(input_image=img, module='canny', model='control_canny-fp16 [e3fe7712]')
unit2 = webuiapi.ControlNetUnit(input_image=img, module='depth', model='control_depth-fp16 [400750f6]', weight=0.5)

r2 = api.img2img(prompt="girl",
            images=[img],
            width=512,
            height=512,
            controlnet_units=[unit1, unit2],
            sampler_name="Euler a",
            cfg_scale=7,
           )
r2.image
r2.images[1]
r2.images[2]
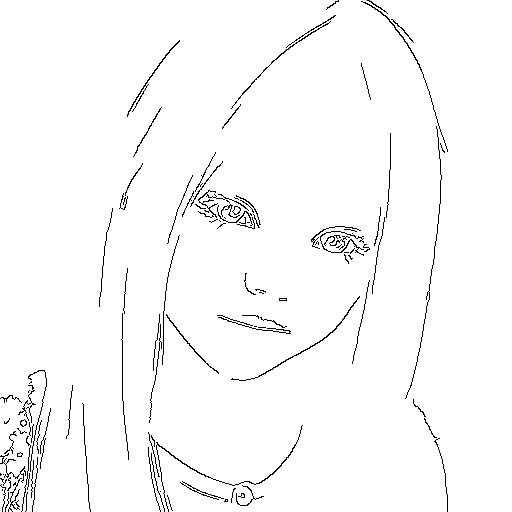
r = api.controlnet_detect(images=[img], module='canny')
r.image
# https://github.com/AUTOMATIC1111/stable-diffusion-webui-rembg
rembg = webuiapi.RemBGInterface(api)
r = rembg.rembg(input_image=img, model='u2net', return_mask=False)
r.image
# https://github.com/continue-revolution/sd-webui-segment-anything

segment = webuiapi.SegmentAnythingInterface(api)

# Perform a segmentation prediction using the SAM model using points
sam_result = segment.sam_predict(
    image=img,
    sam_positive_points=[(0.5, 0.25), (0.75, 0.75)],
    # add other parameters as needed
)

# Perform a segmentation prediction using the SAM model using GroundingDINO
sam_result2 = segment.sam_predict(
    image=img,
    dino_enabled=True,
    dino_text_prompt="A text prompt for GroundingDINO",
    # add other parameters as needed
)

# Example of dilating a mask
dilation_result = segment.dilate_mask(
    image=img,
    mask=sam_result.masks[0],  # using the first mask from the SAM prediction
    dilate_amount=30
)

# Example of generating semantic segmentation with category IDs
semantic_seg_result = segment.sam_and_semantic_seg_with_cat_id(
    image=img,
    category="1+2+3",  # Category IDs separated by '+'
    # add other parameters as needed
)# https://github.com/Bing-su/adetailer
import webuiapi
api = webuiapi.WebUIApi()
ads = webuiapi.ADetailer(ad_model="face_yolov8n.pt")
result1 = api.txt2img(prompt="cute squirrel",
negative_prompt="ugly, out of frame",
seed=-1,
styles=["anime"],
cfg_scale=7,
adetailer=[ads],
steps=30,
enable_hr=True,
denoising_strength=0.5
)
img = result1.image
img
# OR
file_path = "output_image.png"
result1.image.save(file_path)
import webuiapi
from PIL import Image

img = Image.open("/path/to/your/image.jpg")

ads = webuiapi.ADetailer(ad_model="face_yolov8n.pt")

api = webuiapi.WebUIApi()

result1 = api.img2img(
    images=[img],
    prompt="a cute squirrel",
    steps=25,
    seed=-1,
    cfg_scale=7,
    denoising_strength=0.5,
    resize_mode=2,
    width=512,
    height=512,
    adetailer=[ads],
)

file_path = "img2img_output_image.png"
result1.image.save(file_path)
import webuiapi
from PIL import Image

api = webuiapi.WebUIApi()

img = Image.open("/path/to/your/image.jpg")

interrogate_result = api.interrogate(image=img, model="deepdanbooru")
# also you can use clip. clip is set by default
#interrogate_result = api.interrogate(image=img, model="clip")
#interrogate_result = api.interrogate(image=img)

prompt = interrogate_result.info
prompt

# OR
print(prompt)
import webuiapi
from PIL import Image

img = Image.open("/path/to/your/image.jpg")

api = webuiapi.WebUIApi()

your_desired_face = Image.open("/path/to/your/desired/face.jpeg")

reactor = webuiapi.ReActor(
    img=your_desired_face,
    enable=True
)

result1 = api.img2img(
    images=[img],
    prompt="a cute squirrel",
    steps=25,
    seed=-1,
    cfg_scale=7,
    denoising_strength=0.5,
    resize_mode=2,
    width=512,
    height=512,
    reactor=reactor
)

file_path = "face_swapped_image.png"
result1.image.save(file_path)
