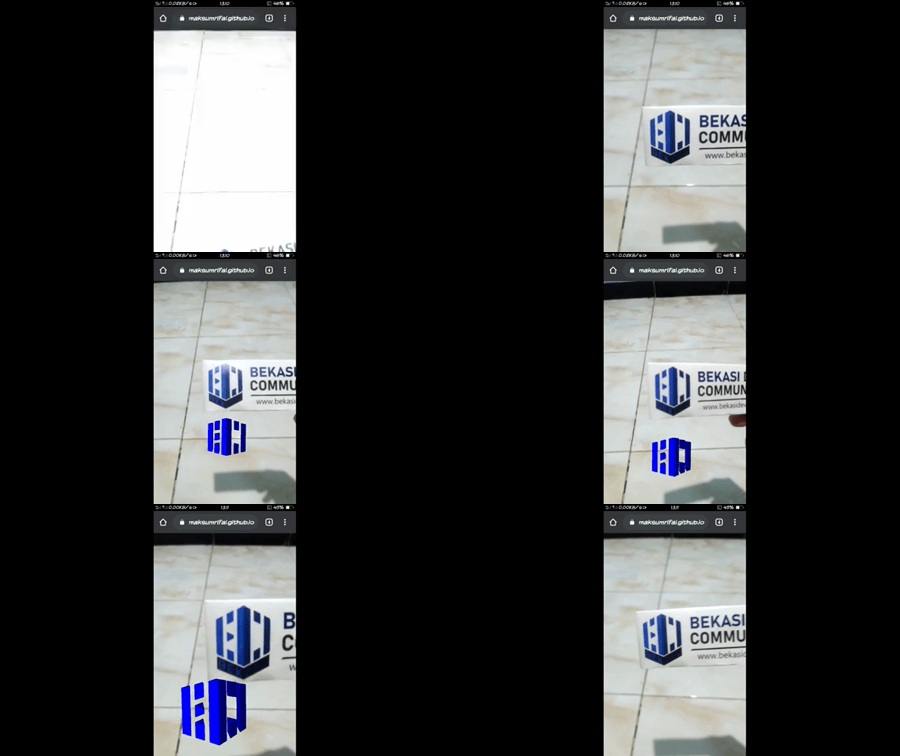
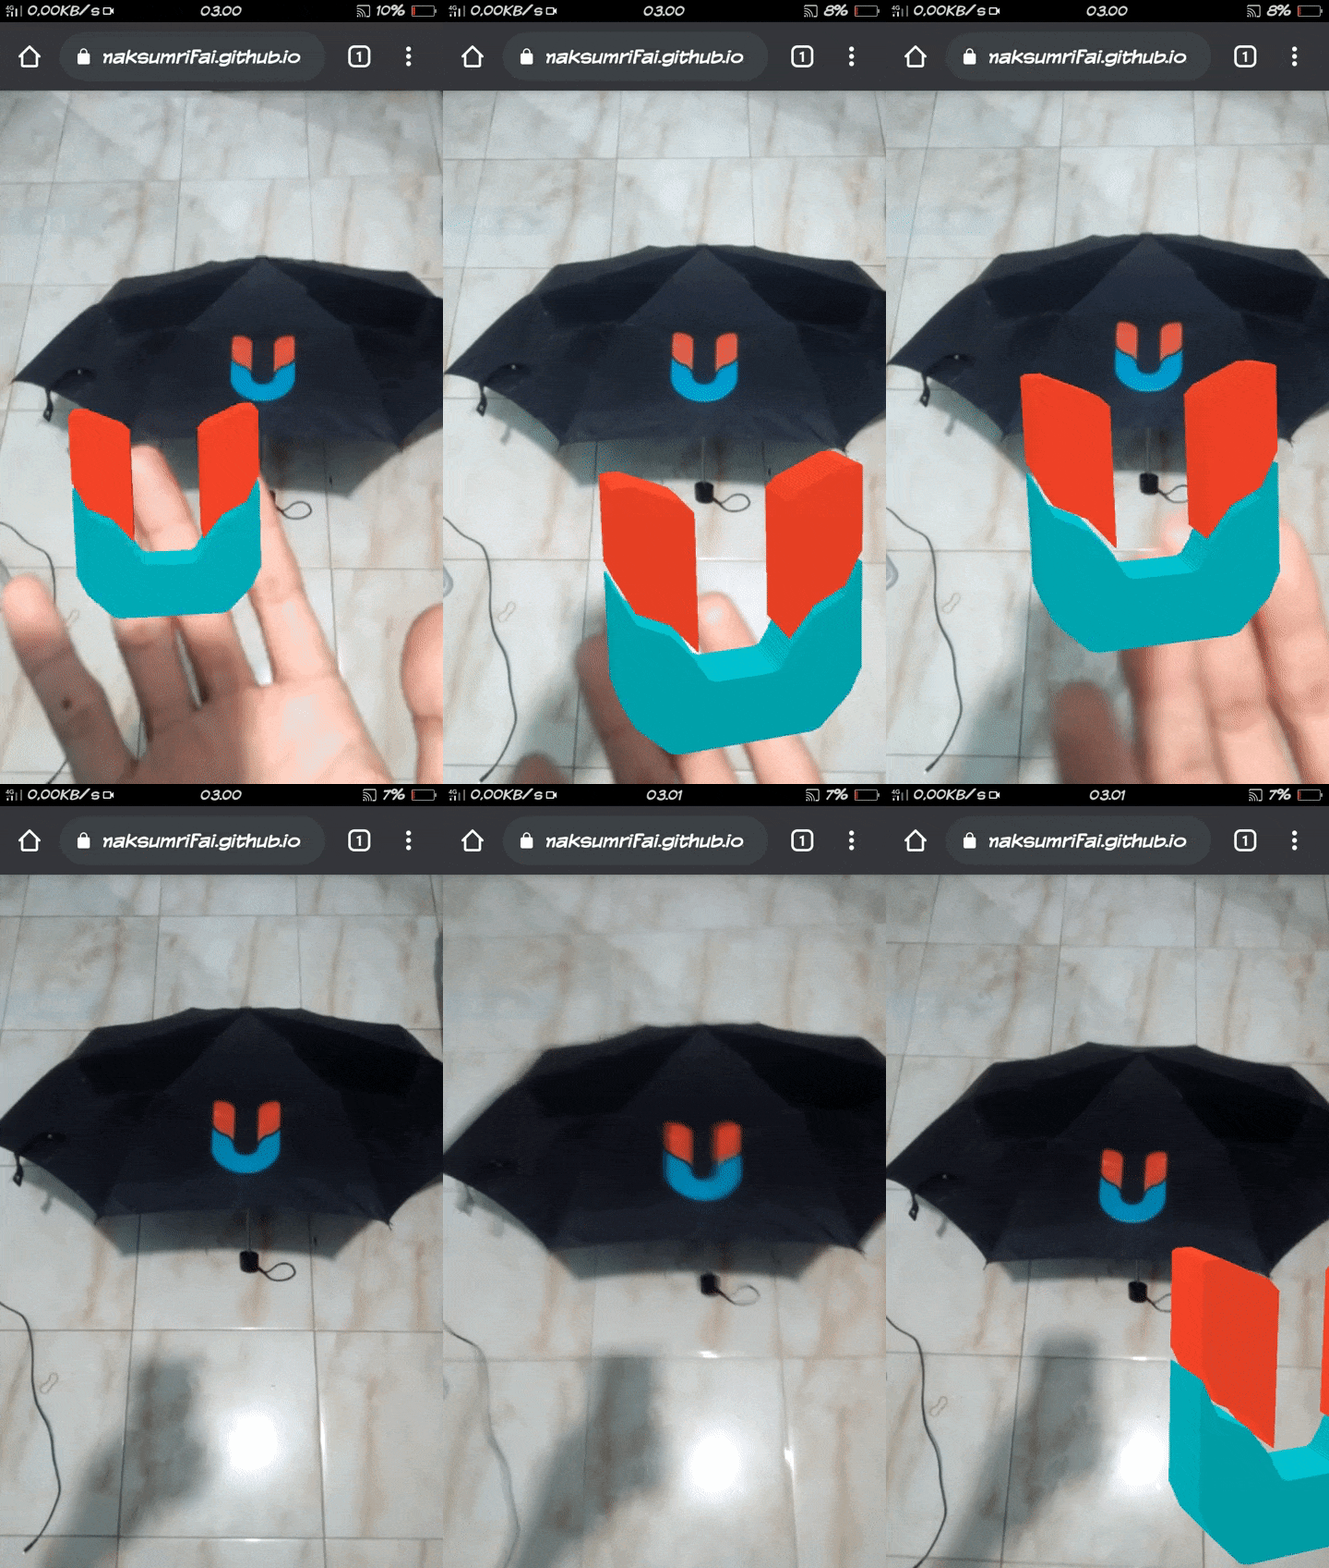
https://github.com/MaksumRifai/voxelar (Repo) | https://maksumrifai.github.io/voxelar (Live)
Open Live Demo with Chrome Mobile Browser or AR/VR/XR Devices, When cam ready, Scan BekasiDev Sticker or Logo from bekasidev.org Or you can use image below.
Note for Desktop Browser you need latest Chrome or Edge that suported and enabled for WebVR Experiences, and also good desktop camera (Webcam), Recommended use Mobile Browser.
AR.js is a lightweight library for Augmented Reality on the Web, coming with features like Image Tracking, Location based AR and Marker tracking.
Web framework for building virtual reality experiences.
Import AR.js:
<script src="https://raw.githack.com/AR-js-org/AR.js/master/aframe/build/aframe-ar-nft.js">
Import Aframe.js:
<script src="https://cdn.jsdelivr.net/gh/aframevr/aframe@1c2407b26c61958baa93967b5412487cd94b290b/dist/aframe-master.min.js"></script>
For this expample, we use Image Tracking Type of AR.js with Aframe.js. Further Reading for another types from AR.js official docs.
Natural Feature Tracking or NFT is a technology that enables the use of images instead of markers like QR Codes or the Hiro marker. It comes in two versions: the Web version (recommended), and the node.js version.
If you want to understand the creation of markers in more depth, check out the NFT Marker Creator wiki. It explains also why certain images work way better than others. An important factor is the DPI of the image: a good dpi (300 or more) will give a very good stabilization, while low DPI (like 72) will require the user to stay very still and close to the image, otherwise tracking will lag.
We create descriptor with this picture (photo.jpg) by uploading to NFT creator web version above then return 3 files to use:.fset, .fset3, .iset. Each of them will have the same prefix before the file extension. That one will be the Image Descriptor name that you will use on the AR.js web app. For example: with files photo.fset, photo.fset3 and photo.iset, your Image Descriptors name will be photo.
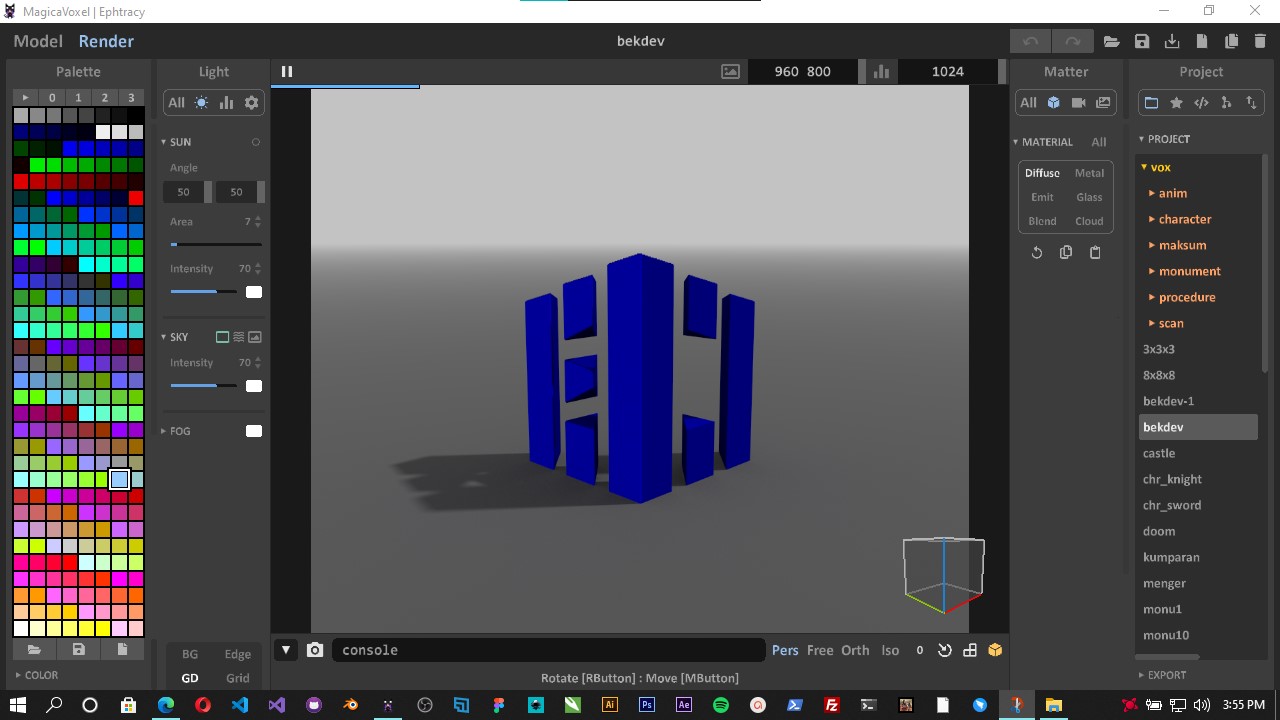
You can download and use 3D models or object from anywhere or create your own with Blender. For this repo, I created my own model based on Bekasidev Logo with MagicaVoxel, this logo vector and raster is also originaly created by me.
You can watch tutorial on my youtube channel here for DTS Kominfo Logo:
- 10 Menit Membuat Logo 3D (Digital Talent Scholarship)
- Membuat rumah dengan MagicaVoxel
- Tutorial Blender 3D Basic : View, Navigation, Transformation
<!-- Main Scene -->
  <a-scene
    vr-mode-ui="enabled: false;"
    renderer="logarithmicDepthBuffer: true;"
    embedded
    arjs="trackingMethod: best; sourceType: webcam;debugUIEnabled: false;"
  >
    <!-- we use cors proxy to avoid cross-origin problems -->
    <a-nft
      type="nft"
      url="https://arjs-cors-proxy.herokuapp.com/https://raw.githack.com/MaksumRifai/voxelar/master/photo"
      smooth="true"
      smoothCount="10"
      smoothTolerance=".01"
      smoothThreshold="5"
    >
    <!-- as a child of the a-nft entity, you can define the content to show. here's a OBJ model entity -->
    <a-entity rotation="-135 -90 90" scale="5 5 5" position="0 0 0" obj-model="obj: #tree-obj; mtl: #tree-mtl"></a-entity>
    </a-nft>
    <!--Load assets to use by nft entity above-->
       <a-assets>
        <a-asset-item id="tree-obj" src="https://arjs-cors-proxy.herokuapp.com/https://raw.githack.com/MaksumRifai/voxelar/master/bekdev.obj"></a-asset-item>
        <a-asset-item id="tree-mtl" src="https://arjs-cors-proxy.herokuapp.com/https://raw.githack.com/MaksumRifai/voxelar/master/bekdev.mtl"></a-asset-item>
       </a-assets>
    <!--End of assets-->
    <!-- static camera that moves according to the device movemenents -->
    <a-entity camera></a-entity>
  </a-scene>
  <!--End of Scene-->
You can refer to A-Frame docs to know everything about content and customization. You can add geometries, 3D models, videos, images. And you can customize their position, scale, rotation and so on.
The only custom component here is the a-nft, the Image Tracking HTML anchor. You may see my other project for references.
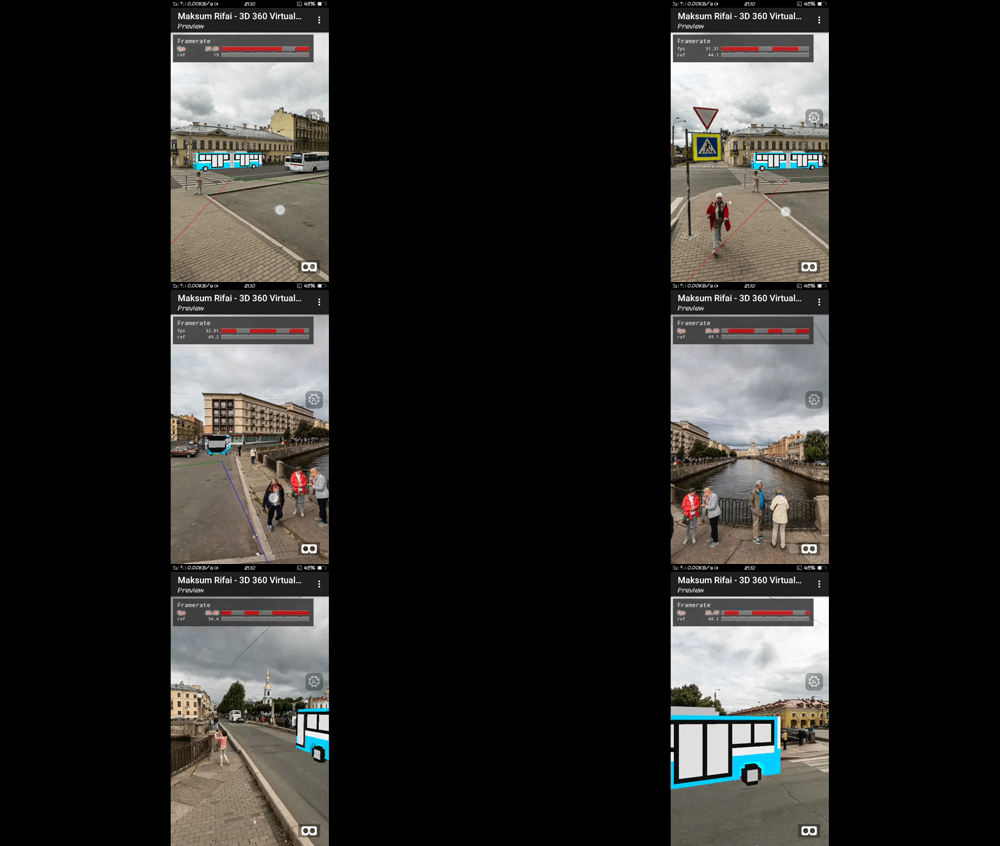
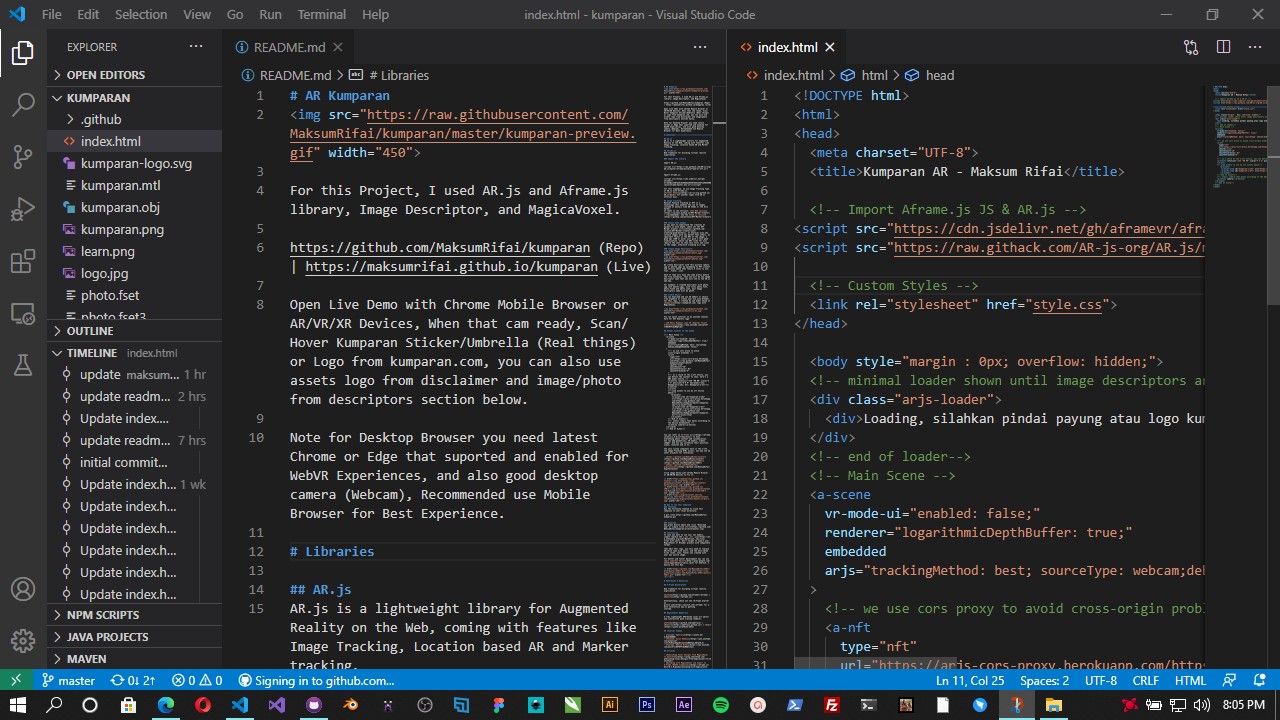
- 360° Image VR, Add 3D bus into 360 Degree Image (Repo | Demo)
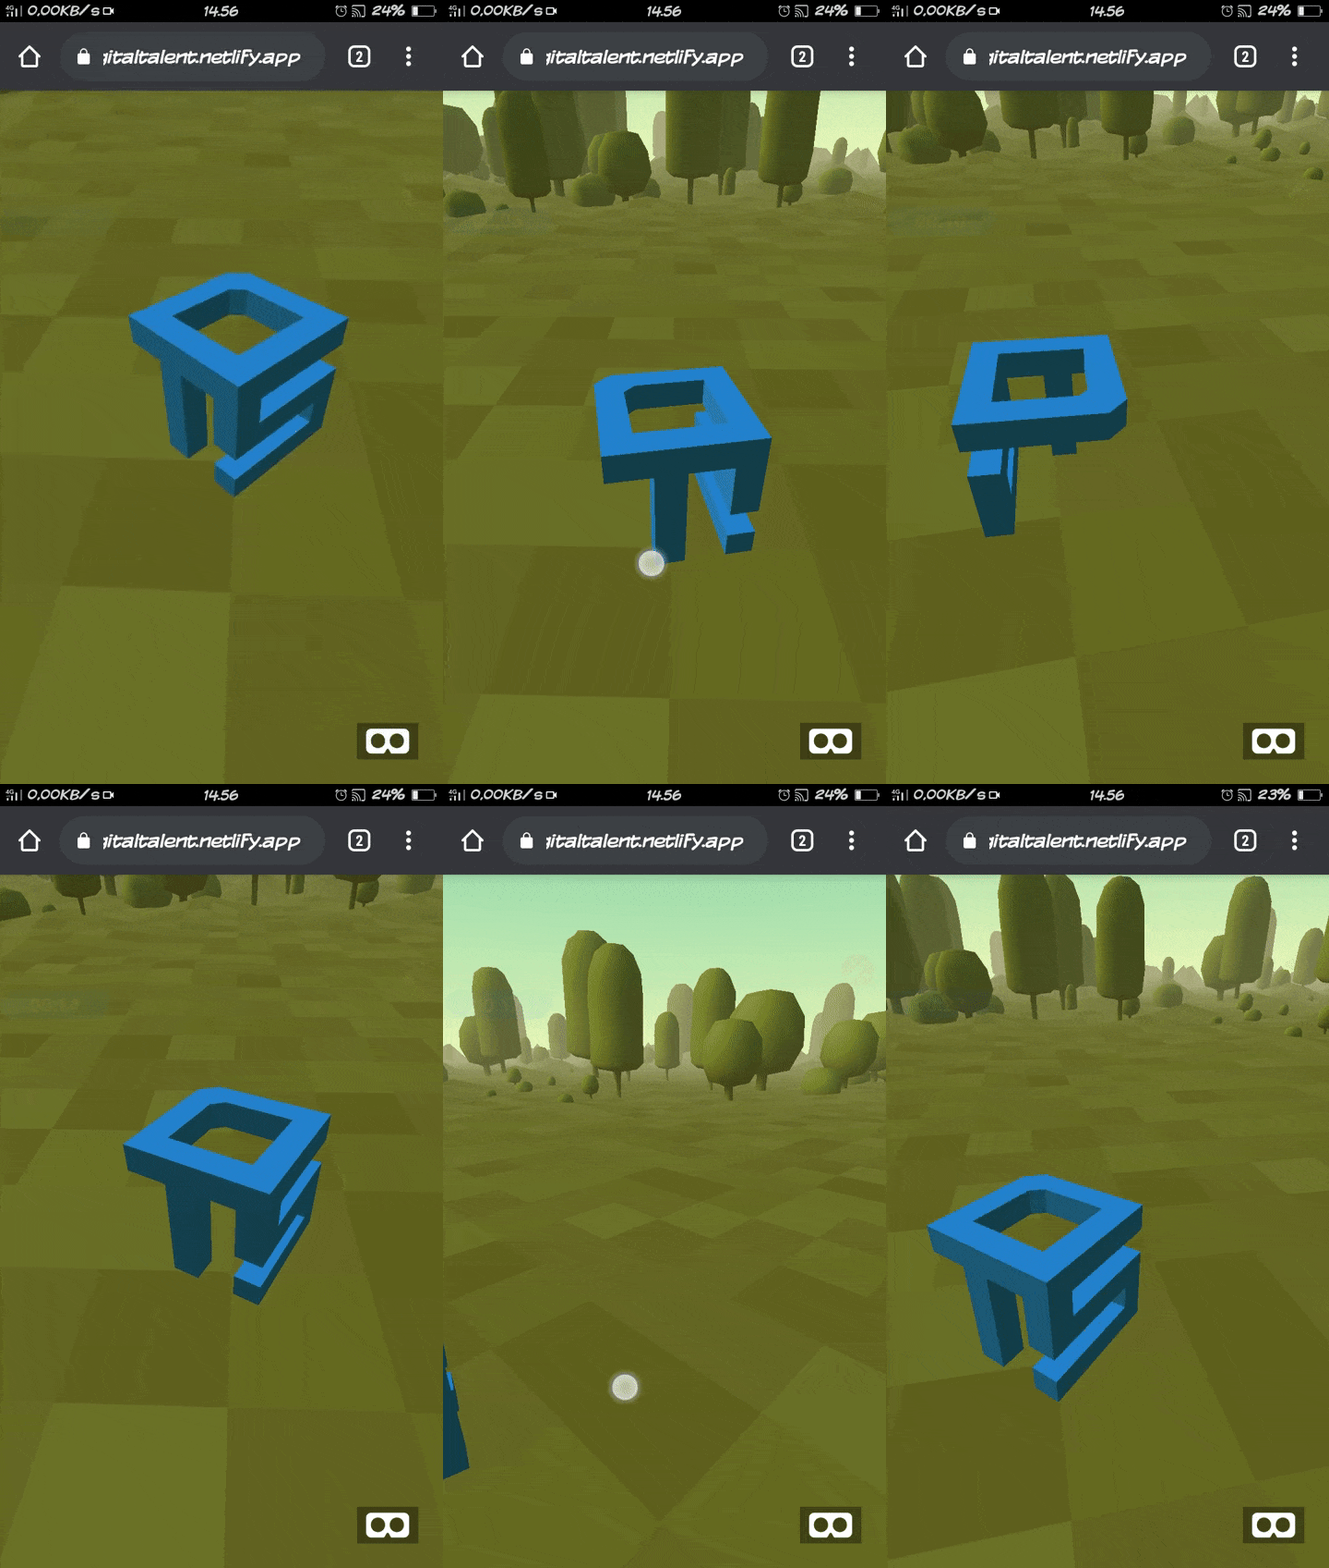
- Simple Object and Animation VR, Add 3D DTS logo Into Environment (Repo | Demo)
- WebAR Image Tracking with Kumparan Logo Umbrella (Repo | Demo)
Run the following command to clone this template to your local directory:
$ git clone https://github.com/MaksumRifai/voxelar.git
Use green button above and click "Download Zip" or simply click here
In case you want to use your own models, simply replace the .obj .mtl .png files with yours. Don't forget to export your MagicaVoxel or Blender project properly.
And edit this repo as you needed, you only need to replace URL/File name with yours, and the descripted files (fset, iset, fset3) you created with your own source image, use your favorite code editor, directly in web browser or github desktop.
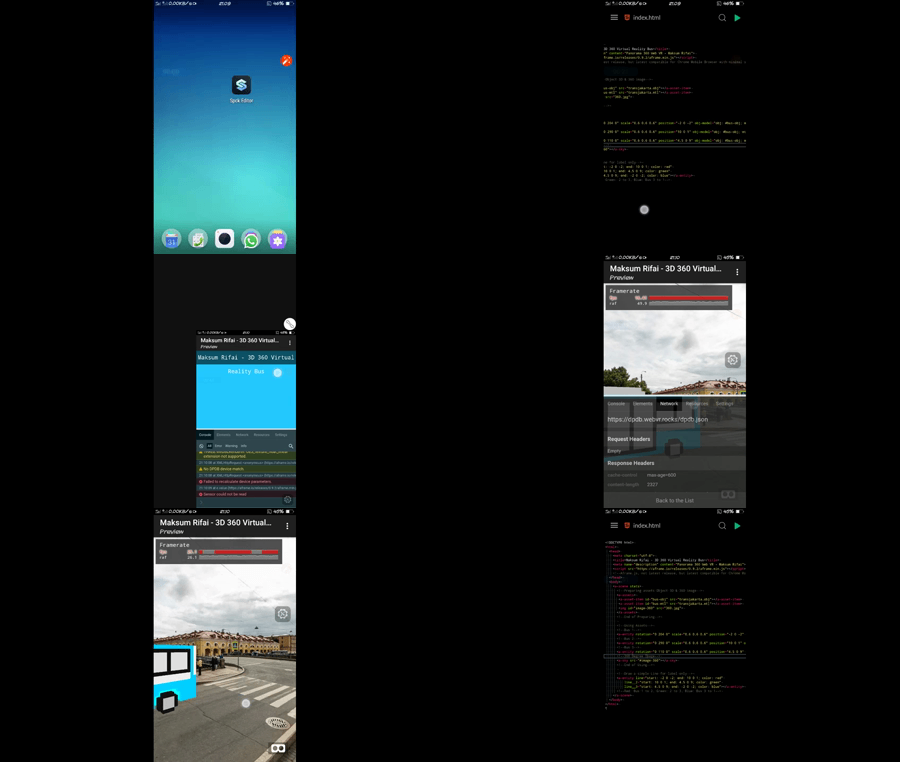
For better and faster development or debugging this project, you can use Spck Code/Git Editor for Android, I mainly use this way.
Web framework for building virtual reality experiences.
Alternatively, check out the A-Frame Starter on glitch.com for a more interactive way on getting started.
A free lightweight GPU-based voxel art editor and interactive path tracing renderer.
