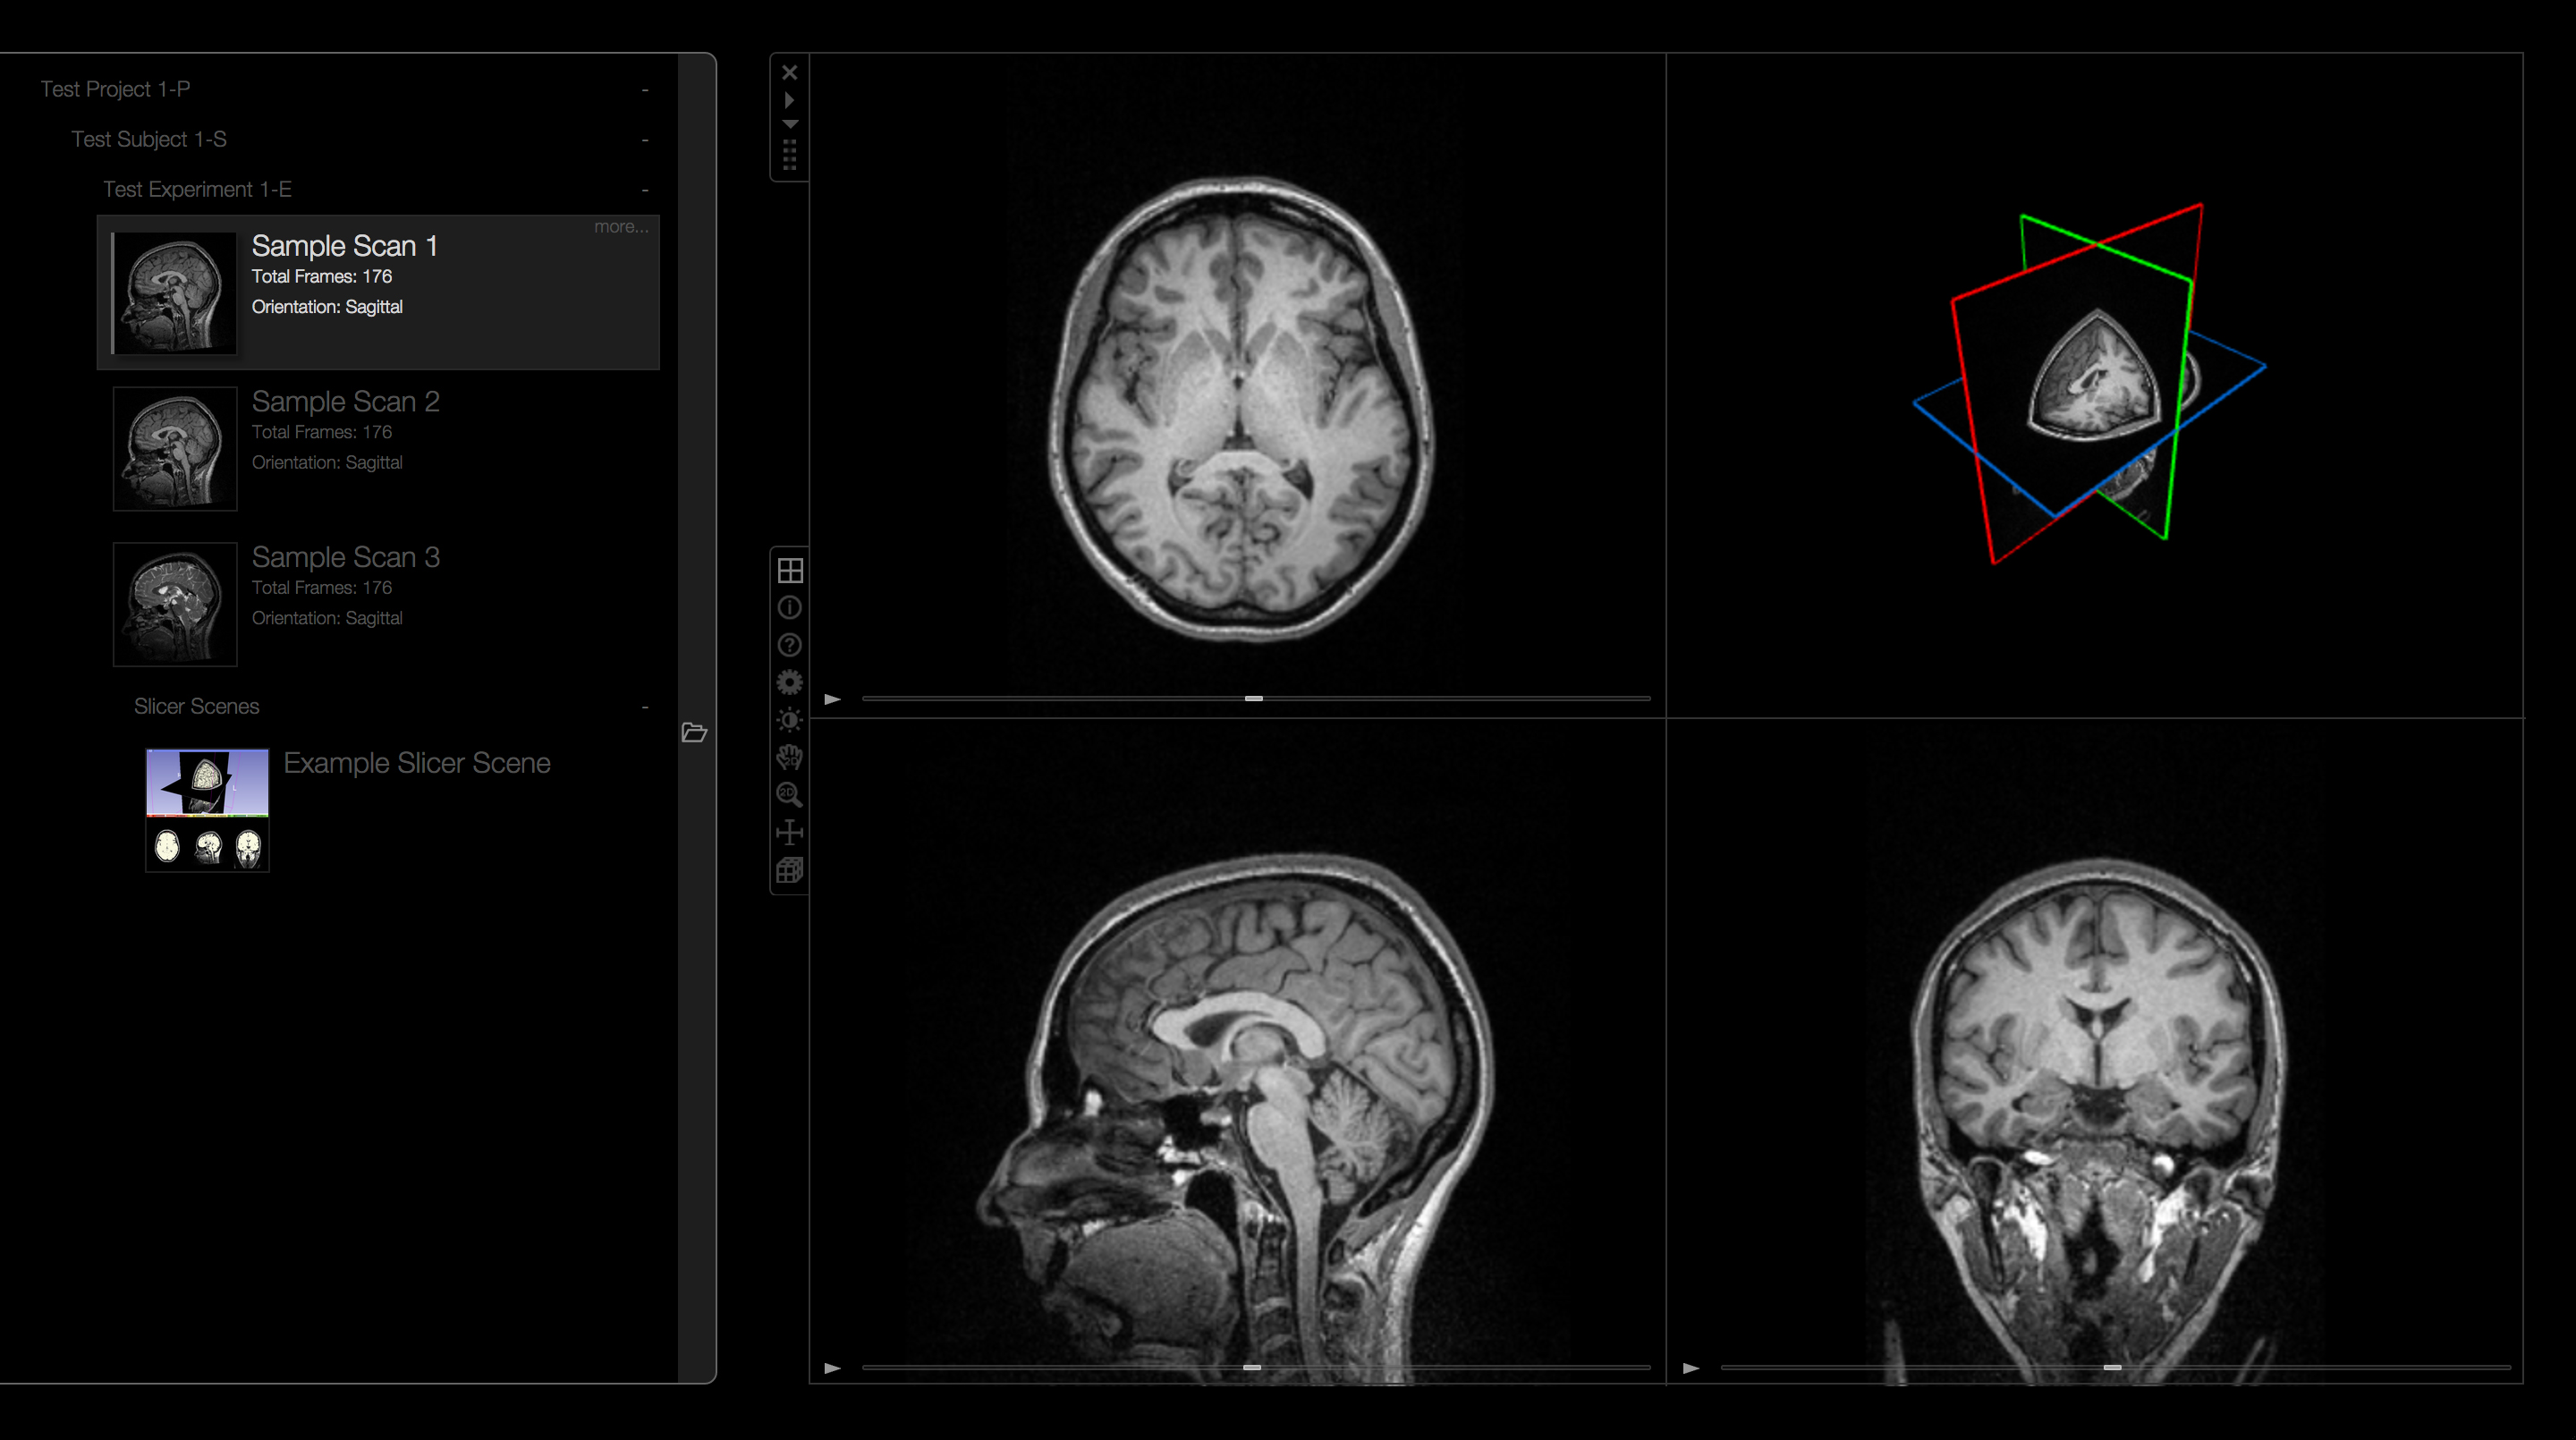
The XNATImageViewer is the official HTML5 web neuroimage viewing module for XNAT. It's built on XTK, Google Closure, JSZip, and Sass.
- Visualize and interact XNAT-hosted image sets in 2D and 3D directly from XNAT.
- Visualize Slicer scenes (.mrb), and their views.
- Visualize DICOM that were previously unsupported in XTK.
To install the XNAT image viewer into an XNAT installation:
NOTE: This instructions differ for different XNAT versions:
For XNAT 1.7 and up:
-
Make sure that you have an XNAT 1.6.4 or later installation or have updated your xnat_builder to 1.6.4 or later (if you've updated just your builder, it would be a good idea to first update your XNAT installation without the XNAT image viewer module and make sure the upgraded XNAT works properly).
-
Clone the XNAT image viewer bitbucket repository.
-
Change directory to the cloned repository folder.
-
Run a maven package operation:
mvn clean package -
Copy the resulting target/xnatx-ximgview-version.jar file to your xnat.home plugins folder.
-
Restart Tomcat
-
The older ImageJ-based image viewer also may have an actions link labeled View Images. You may want to relabel that link, by editing the relevant data types (e.g. MR Session) through the Administer-->Data Types link.
For XNAT 1.6.5 and earlier:
-
Make sure that you have an XNAT 1.6.4 or later installation or have updated your xnat_builder to 1.6.4 or later (if you've updated just your builder, it would be a good idea to first update your XNAT installation without the XNAT image viewer module and make sure the upgraded XNAT works properly).
-
Clone the XNAT image viewer bitbucket repository.
-
Change directory to the cloned repository folder.
-
Run a maven package operation:
mvn -P 1.6.5 clean package -
Copy the resulting target/xnatx-ximgview-version.jar file to your xnat_builder's modules folder (this is either a folder named modules directly under the xnat_builder folder or specified by the xdat.modules.location variable in your build.properties file).
-
Run the update script to install the module in your deployed web application.
-
Start Tomcat, log into your XNAT server, and browse to any of your MR sessions. You should now see an action labeled View Images to view the image over in the Actions box.
-
The older ImageJ-based image viewer also may have an actions link labeled View Images. You may want to relabel that link, by editing the relevant data types (e.g. MR Session) through the Administer-->Data Types link.
