-
Notifications
You must be signed in to change notification settings - Fork 0
Juicy UI Implementation
-
To choose the music track options for user testing, we used Artlist.io, a royalty-free music platform.
-
We selected 4 songs that were filtered using the 'mysterious' category.
-
We then conducted user testing (User Testing) to find the best options. We concluded from the testing the song 'Aftershocks' was the most popular option. See reference details below (APA 7th Edition).
Ardie Son. (n.d.). Aftershocks. On Cello Etudes. https://artlist.io/song/63912/aftershocks
-
Used garage band to enhance the song and cater to our needs in the game. We didn't want the music to be too overbearing and wanted to add some undertones to the music, which included a combination of piano and hip-hop drum machine. IMPORTANT: Files must be in a small 'bit' to export into libGDX as the game can't play high quality music files

-
Implemented it into the code:


private static final String GUIDEBOOK_MUSIC = "sounds/guidebookMusic.mp3"; private static final String[] gameMusic = { GUIDEBOOK_MUSIC };
private void playMusic() { Music music = ServiceLocator.getResourceService().getAsset(GUIDEBOOK_MUSIC, Music.class); music.setLooping(true); music.setVolume(0.3f); music.play(); }
public void stopMusic() { Music music = ServiceLocator.getResourceService().getAsset(GUIDEBOOK_MUSIC, Music.class); music.stop(); }
-
Reviewed the low-fidelity wireframes of the designs.

-
Used Pixel Art to create each icon. Using the tool to click with cells, I wanted to colour and then apply the colour using the standard palette available. Mocked the wireframes an exported them as per the design guidelines.
Output:


As seen above, we made multiple badges for the guidebook. This was due to other teams changing essential details of the game, and we did not want to miss these changes in the guidebook. Thus new symbols or badges could be made to ensure that there was nothing missed, and the guidebook still had fun aesthetics to liven it up. Without pictures, it was deemed boring and need more colour, especially in the final sprint where juicy UI was the main goal.
Also to add new juiciness to the game, multiple hover states were added. These hover states were great for user satisfaction as they could see that the button was being clicked and they could expect an event to occur but it was also essential to create unity in the game as other buttons already had a hover state implemented.
Buttons in still:
Shop on click:
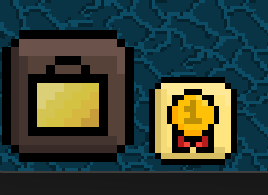
Inventory on click:
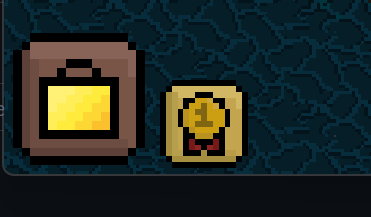
Guidebook on click:
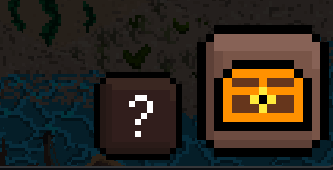
Inventory on click:
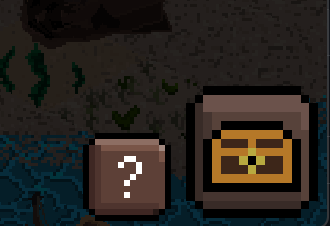
UI Building Pop-up button on click:
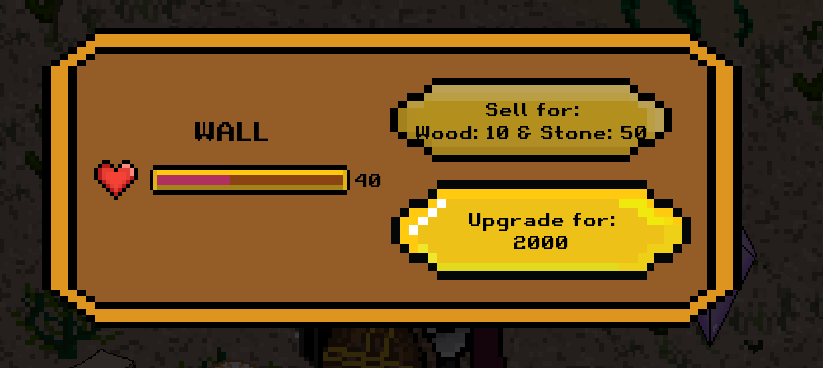
any many more on the main menu and main game interface.
The code that makes this possible can be seen below:
Texture guideBookTexture = new Texture(Gdx.files.internal("images/guidebook.png")); Texture guideBookTextureCheck = new Texture(Gdx.files.internal("images/guideBookCheck.png")); TextureRegionDrawable upGuidebook = new TextureRegionDrawable(guideBookTexture); TextureRegionDrawable downGuidebook = new TextureRegionDrawable(guideBookTexture); TextureRegionDrawable guidebookCheck = new TextureRegionDrawable(guideBookTextureCheck); ImageButton guideBookButton = new ImageButton(upGuidebook, downGuidebook, guidebookCheck);
// Adds hover state to achievements
guideBookButton.addListener(
    new InputListener() {
      @Override
      public void enter(InputEvent event, float x, float y, int pointer, Actor actor) {
        guideBookButton.setChecked(true);
      }

      @Override
      public void exit(InputEvent event, float x, float y, int pointer, Actor actor) {
        guideBookButton.setChecked(false);
      }
    });
This code ensures that when the mouse is over the guidebook Button is will toggle between the alternative image that is underneath or in this case the guideBookTextureCheck.
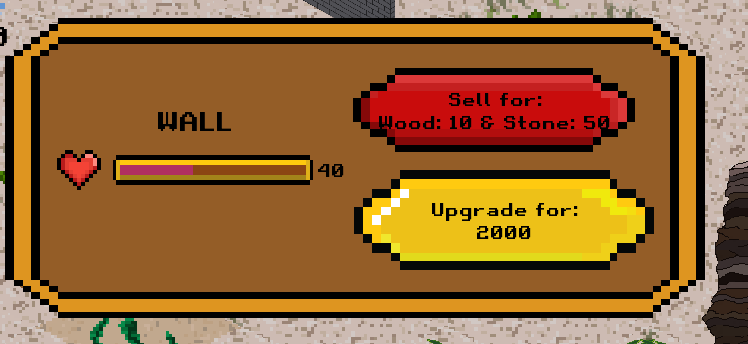
This method is also used with the building UI pop-up but has an if statement for insufficient funds, the results can be seen below:
To create the main menu animation, a series of images were designed on Pixilart with the starting animation point being the main menu screen designed in Sprint 1. The image was moved 3 pixels to the left and then filled to create the illusion of movement. Refer to Figure 1 for the .gif designed, below:
Figure 1: Animated Atlantis Sinks Main Menu Screen
The main menu screen was registered as all .pngs designed loading it in MainMenuScreen as shown below:
public MainMenuScreen(AtlantisSinks game) {
    ...
    ArrayList<String> mainTextures = new ArrayList<>(List.of(mainMenuTextures));
    for (int i = 1; i <= 55; i++) {
        mainTextures.add("images/atlantis_background/atlantis_background (" + i + ").png");
    ...
}
To render the frames in a loop animation and the render method in
if (this.time > 0.4f && loadComplete) {
    ServiceLocator.getEntityService().getNamedEntity("menu").getComponent(MainMenuDisplay.class).nextFrame();
    rootTable = ServiceLocator.getEntityService().getNamedEntity("menu").getComponent(MainMenuDisplay.class)
       .getDisplay();
    ServiceLocator.getEntityService().getNamedEntity("menu").getComponent(MainMenuDisplay.class).updateDisplay();
    this.time = delta;
}
public void updateDisplay() {
    if (rootTable == null) {
        //layover.remove();
        rootTable = display();
        return;
    }
    Texture colour = new Texture(Gdx.files.internal("images/atlantis_background/atlantis_background (" + currentStep + ").png"));
    Drawable backgroundColour = new TextureRegionDrawable(colour);
    rootTable.setBackground(backgroundColour);
}
The currentStep gets the image associated with the current animation frame and thus the new frame is rendered.
The assets for loading screen and main menu is loaded first before the UI is created. The assets for the Maingame is loaded after as shown below.
  private static String[] mainMenuScreenTextures = {
      "images/uiElements/exports/title.png",
      "loadingAssets/loading_screen.png",
      "loadingAssets/load_bar.png"
  };
  private static String[] mainMenuTextures = {
      "images/uiElements/exports/title.png",
      "images/Centaur_Back_left.png",
          .......all other assets.......
      "images/shop_structures_sprites/Trap2_shop_sprite.png"
  };
The loading display using the method loadUpdate() is rendered first thing after the Main menu UI is created. After which the assets are loaded, loadAssetsSwitch ensures the method is run only once.
public void render(float delta) {
    this.time += delta;

    if (this.time > 0.4f && loadAssetsSwitch) {
      ServiceLocator.getEntityService().getNamedEntity("menu").getComponent(loader.class).loadUpdate();
      this.time = delta;
      loadAssetsSwitch = false;
      loadAssets();
    }
loadAssets() queues the assets to the assets manager. assetManager.getProgress() gets the current load progress and triggers the progress bar which is rendered onto the screen in the same cycle. If the loading is complete the assetManager.isFinished() returns true and the loadComplete switch is set to true. If the loading isn't complete however, the assetManager is prompted to continue loading assets every 1 millisecond. Any exceptions are printed to the terminal.
    if (this.time > 0.4f && !loadComplete) {
      AssetManager assetManager = ServiceLocator.getResourceService().getAssetManager();
      float currProgress = assetManager.getProgress() * 100;
      logger.info("Loading... {}%", currProgress);
      ServiceLocator.getEntityService().getNamedEntity("menu").getEvents()
              .trigger("loadStatUpdate", currProgress);
      if (assetManager.isFinished()) {
        loadComplete = true;
      } else {
        try {
          assetManager.update(1);
        } catch (Exception e) {
          logger.error(e.getMessage());
        }
      }
    }
An image is loaded and displayed on the screen with set width to ensure the bar starts from 0.
    loadBarFront = new Image(new Texture(Gdx.files.internal("loadingAssets/load_bar.png")));
    loadBarFront.setSize(0, 18);
The method updateLoadingStat listens for the update trigger in the above method and updates the progress bar in the screen by resizing the image.
menu.getEvents().addListener("loadStatUpdate", this::updateLoadingStat);
Since, the progress start at 30% and ends at 95%. it's multiplied by 8 and added by 30 to make the progress bar appear accurate.
    public void updateLoadingStat(float loadProgress) {
        loadBarFront.setWidth(loadProgress * 8 + 30);
    }
All loading tip were written into a .json file in a list manner as shown below:
[
  "The ancient crystal Ilios is the very heart of Atlantis. Protect it with your life!",
  "Rumors have it that the ancient cystal Ilios was gifted by the gods themselves",
  "Prepare for the coming of Typhon!",
  "Who knows what danger lurks in the oceans surrounding Atlantis?",
  "Atlantis counts on you Chiron! You are its hero!",
  "\"To sink or not sink? That'll be 10 gold coins\" - An Oracle",
  "You have yet to defeat Typhon once and for all!"
]
The .json file is parsed using Gson in loader.json and a random tip is generated with the following getRandomTip method:
private static String[] parseTipsJson(String path) {
    Gson gson = new Gson();
    BufferedReader buffer;
    try {
        buffer = Files.newBufferedReader(Paths.get(path));
    } catch (IOException e) {
        System.out.println("File not valid");
        return null;
    }
    return gson.fromJson((Reader) buffer, String[].class);
}

private String getRandomTip() {
    return tips[(int)(TimeUtils.nanoTime() % tips.length)];
}
A future recommendation would be to use a more randomised number generator to get a tip as it currently relies on the current game time and thus is not very random.
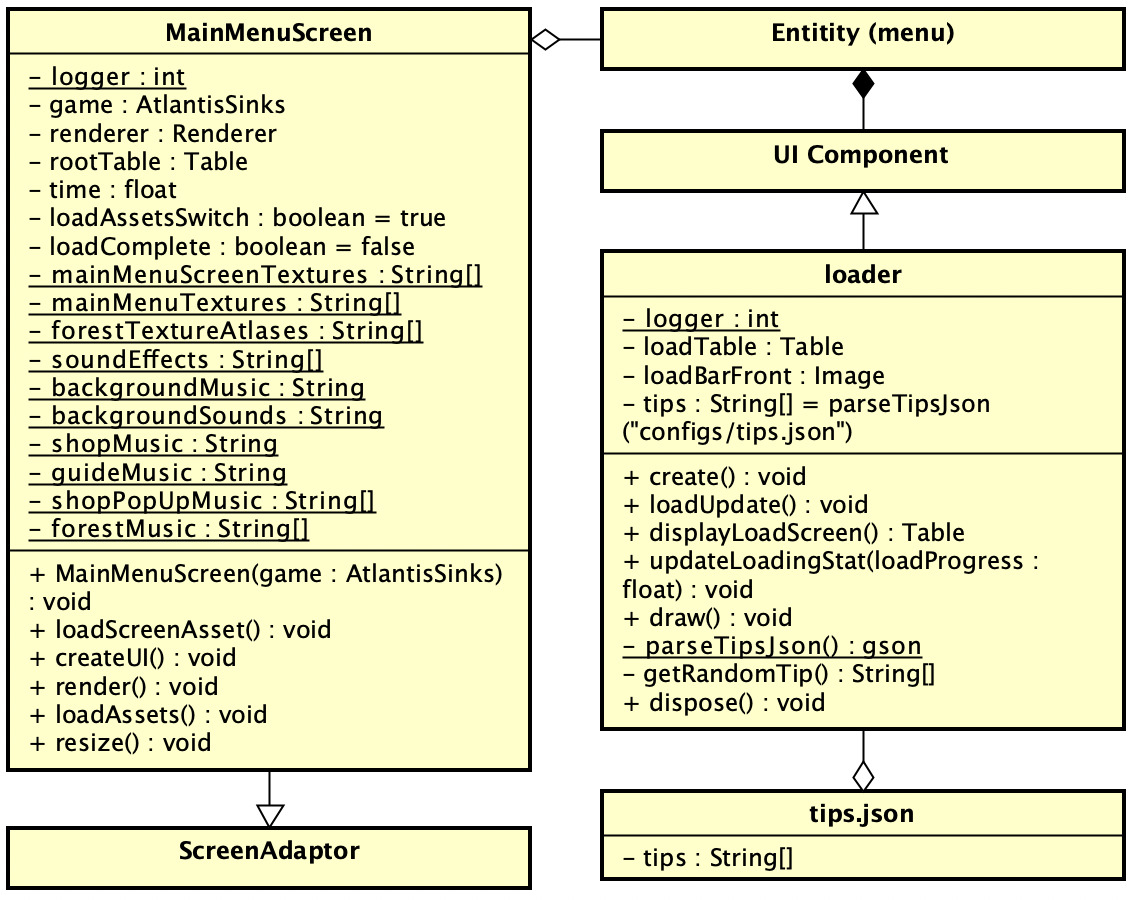
Below is a UML diagram of all classes relating to implementation to load screen and how they are linked:
- Youtube Video of Guidebook: https://www.youtube.com/watch?v=4tgt0jUV5qc
Note music was updated from this recording, so please see the actual game.
- Youtube Video of Button Hovering Effects: https://youtu.be/FuD7mOtU4cQ
- Youtube Video of Loading Screen: https://youtu.be/f4J_tymGm_g
