-
Notifications
You must be signed in to change notification settings - Fork 130
UI_Popups
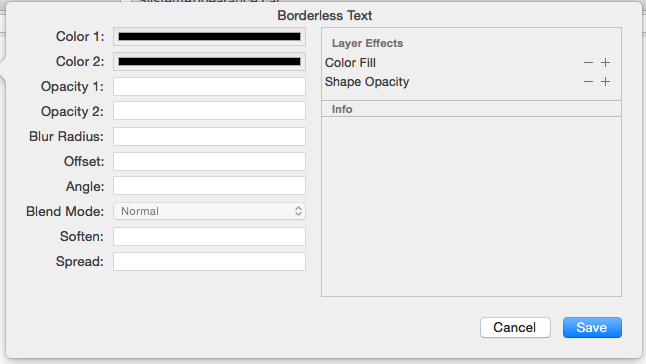
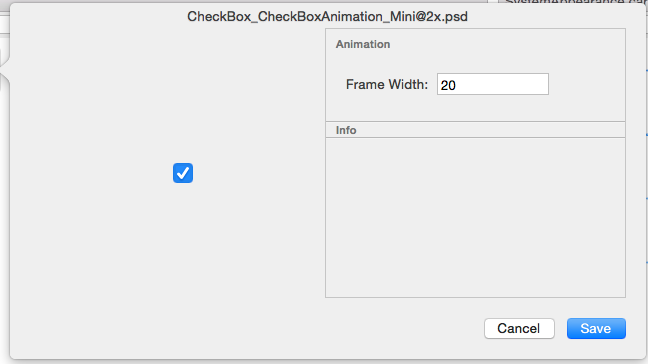
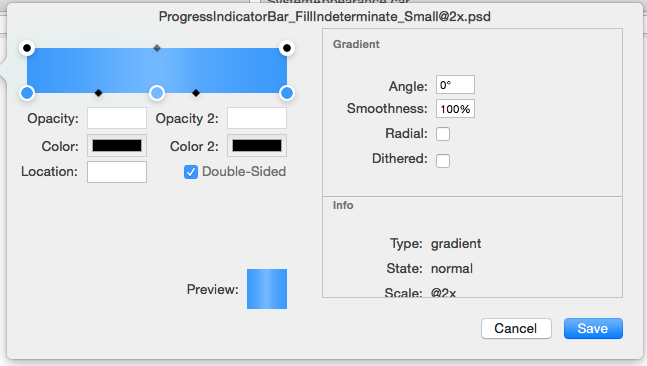
There are five types of popups that can be found based on the type of content selected from the Main Content Window. These popups are where the magic happens for almost everything besides creating the image. These windows contain everything you would need to get as detailed as you would want to be with each individual piece of content embeded in the car file.
For exapmle you can find information on how the images are sliced, adjust the slices to your liking, a full listing of the item's attributes, adjust colors or gradients. The list goes on.
When this popup is opened it can only be closed by clicking cancel as to not disturb the editing process if an accidental click is made outside of its area.
Each popup has the same general layout and we shall go over these now based off of this image:
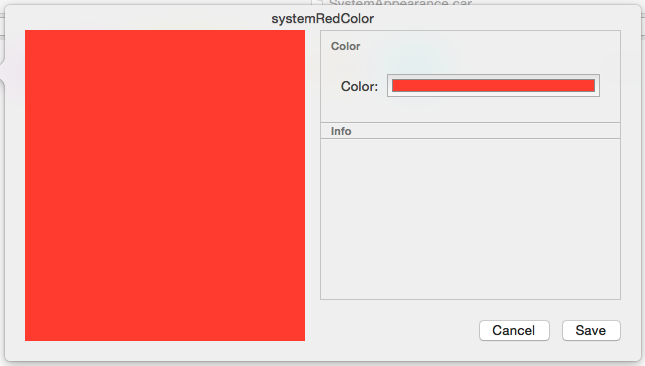
The left hand side is the Preview window (excluding gradient and effect). The right hand side is the asset inspector. This part contains a wealth of information and settings that can be changed for the content type. On the bottom right are the Cancel, Save. Save will save the changes you have made to the item and cancel will close it without saving any of your changes. (Be warned there is no verification for clicking cancel if you have made changes all information will be immediately lost.)
There is one panel in the Asset Inspector that is the same thorughout all the different types of content and that is the Info panel.
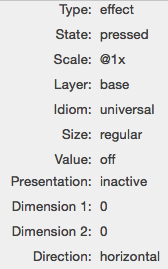
Lets go through each item listed here.
one part nine part effect animation three part horizontal gradient three part vertical sixpart
disabled rollover pressed normal
1 2
pattern overlay base highlight
universal
mini small regular
on off mixed
active inactive
0
0
horizontal pointing up pointing right pointing left pointing down
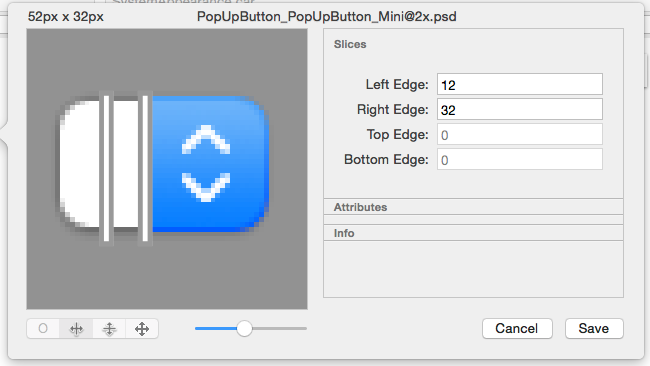
This is probably the most common popup that you will encounter in this app. To break this view down on the bottom left you have 4 buttons that show how the image is stretched when drawn. From left to right they are, No stretching, only vertical stretching, only horizontal stretching, and stretching both vertically and horizontally. The darkened (active) button state informs you of what stretching occurs with the image. Next to that you have the zoom slider. This one works as it does in finder and zooms the image fully so that you can see each individual pixel.
