Pre-render Observable notebooks with Puppeteer! Inspired by d3-pre
Observable notebooks run in the browser and use browser APIs, like SVG, canvas, webgl, and so much more. Sometimes, you may want to script or automate Observable notebooks in some way. For example, you may want to:
- Create a bar chart with custom data
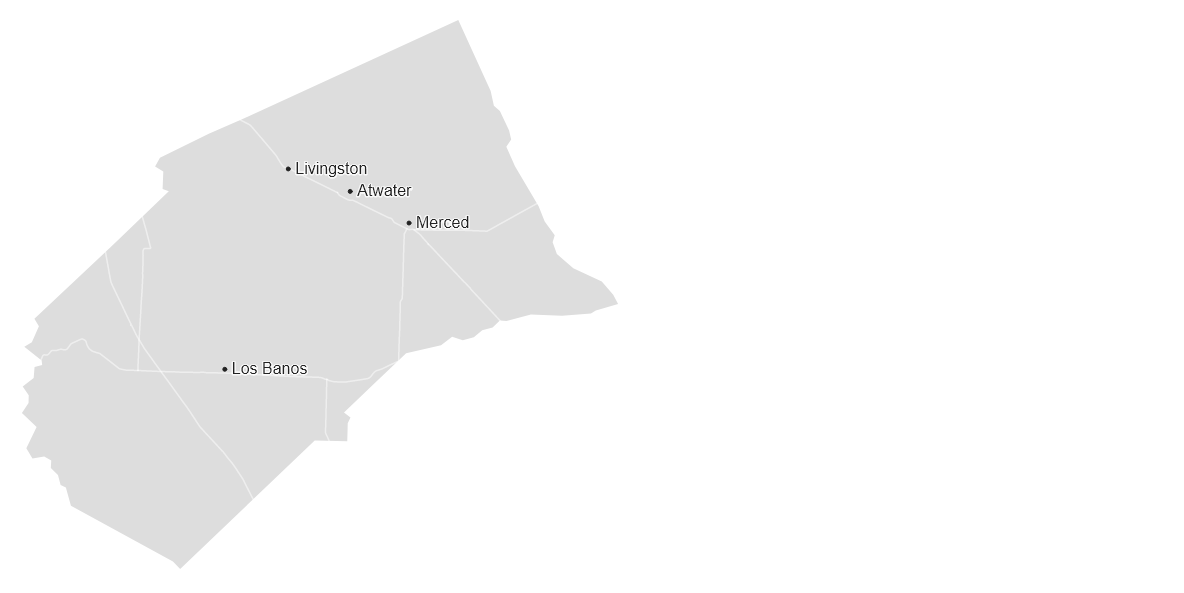
- Generate a SVG map for every county in California
- Render frames for a MP4 screencast of a custom animation
If you wanted to do this before, you'd have to manually open a browser, re-write code, upload different file attachments, download cells, and repeat it all many times. Now you can script it all!
Check out examples/ for workable code.
const { load } = require("@alex.garcia/observable-prerender");
(async () => {
  const notebook = await load("@d3/bar-chart", ["chart", "data"]);
  const data = [
    { name: "alex", value: 20 },
    { name: "brian", value: 30 },
    { name: "craig", value: 10 },
  ];
  await notebook.redefine("data", data);
  await notebook.screenshot("chart", "bar-chart.png");
  await notebook.browser.close();
})();const { load } = require("@alex.garcia/observable-prerender");
(async () => {
const notebook = await load(
"@datadesk/base-maps-for-all-58-california-counties",
["chart"]
);
const counties = await notebook.value("counties");
for await (let county of counties) {
await notebook.redefine("county", county.fips);
await notebook.screenshot("chart", `${county.name}.png`);
await notebook.svg("chart", `${county.name}.svg`);
}
await notebook.browser.close();
})();Some of the resulting PNGs:
| - | - |
|---|---|
 |
 |
 |
 |
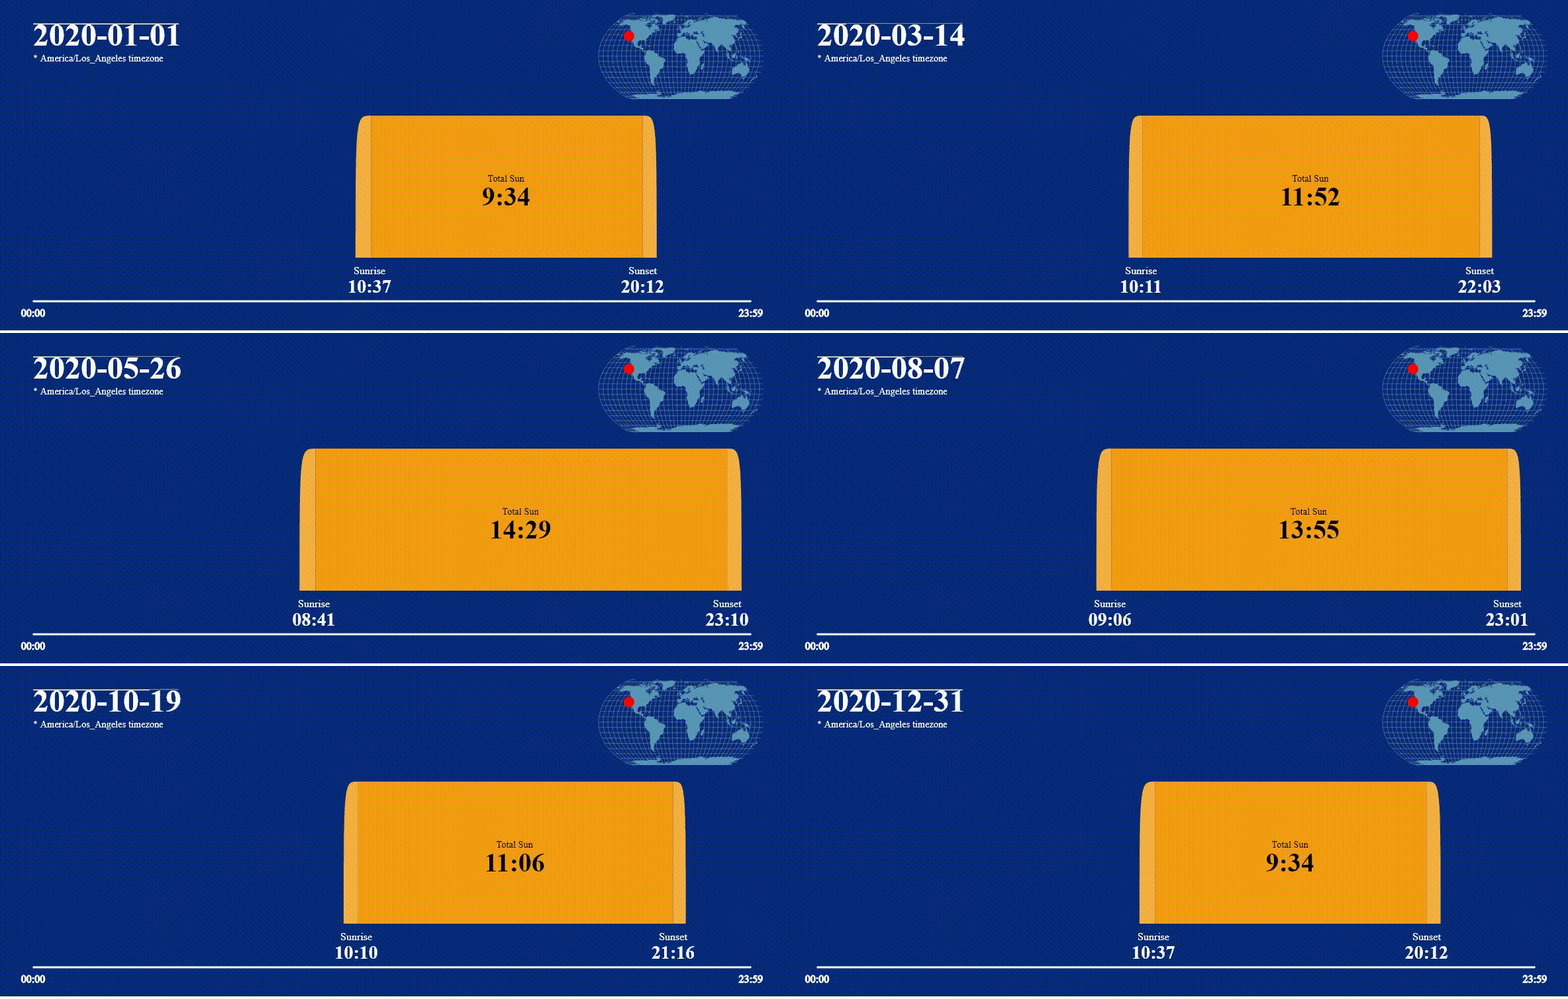
Create PNG frames with observable-prerender:
const { load } = require("@alex.garcia/observable-prerender");
(async () => {
  const notebook = await load("@asg017/sunrise-and-sunset-worldwide", [
    "graphic",
    "controller",
  ]);
  const times = await notebook.value("times");
  for (let i = 0; i < times.length; i++) {
    await notebook.redefine("timeI", i);
    await notebook.waitFor("controller");
    await notebook.screenshot("graphic", `sun${i}.png`);
  }
  await notebook.browser.close();
})();
Then use something like ffmpeg to create a MP4 video with those frames!
ffmpeg.exe -framerate 30 -i sun%03d.png -c:v libx264 -pix_fmt yuv420p out.mp4Result (as a GIF, since GitHub only supports gifs):
You can pass in raw Puppeteer browser/page objects into load(), which works really well with 3rd party Puppeteer tools like puppeteer-cluster. Here's an example where we have a cluster of Puppeteer workers that take screenshots of the chart cells of various D3 examples:
const { Cluster } = require("puppeteer-cluster");
const { load } = require("@alex.garcia/observable-prerender");

(async () => {
  const cluster = await Cluster.launch({
    concurrency: Cluster.CONCURRENCY_CONTEXT,
    maxConcurrency: 2,
  });

  await cluster.task(async ({ page, data: notebookId }) => {
    const notebook = await load(notebookId, ["chart"], { page });
    await notebook.screenshot("chart", `${notebookId}.png`.replace("/", "_"));
  });

  cluster.queue("@d3/bar-chart");
  cluster.queue("@d3/line-chart");
  cluster.queue("@d3/directed-chord-diagram");
  cluster.queue("@d3/spike-map");
  cluster.queue("@d3/fan-chart");

  await cluster.idle();
  await cluster.close();
})();Check out the /cli-examples directory for bash scripts that show off the different arguments of the bundled CLI programs.
npm install @alex.garcia/observable-prerenderAlthough not required, a solid understanding of the Observable notebook runtime and the embedding process could help greatly when building with this tool. Here's some resources you could use to learn more:
Load the given notebook into a page in a browser.
-
notebook<[string]> ID of the notebook on observablehq.com, like@d3/bar-chartor@asg017/bitmoji. For unlisted notebooks, be sure to include thed/prefix (e.g.d/27a0b05d777304bd). -
targets<[Array]<[string]>> array of cell names that will be evaluated. Every cell intargets(and the cells they depend on) will be evaluated and render to the page's DOM. If not supplied, then all cells (including anonymous ones) will be evaluated by default. -
configis an object with key/values for more control over how to load the notebook.
| Key | Value |
|---|---|
browser |
Supply a Puppeteer Browser object instead of creating a new one. Good for headless:false debugging. |
page |
Supply a Puppeteer Page object instead of creating a new browser or page. Good for use in something like puppeteer-cluster |
OBSERVABLEHQ_API_KEY |
Supply an ObservableHQ API Key to load in private notebooks. NOTE: This library uses the api_key URL query parameter to supply the key to Observable, which according to their guide, is meant for testing and development. |
height |
Number, height of the Puppeteer browser that will be created. If browser is also passed, this will be ignored. Default 675. |
width |
Number, idth of the Puppeteer browser that will be created. If browser is also passed, this will be ignored. Default 1200. |
headless |
Boolean, whether the Puppeteer browser should be "headless" or not. great for debugging. Default true. |
.load() returns a Notebook object. A Notebook has page and browser properties, which are the Puppeteer page and browser objects that the notebook is loaded with. This gives a lower-level API to the underlying Puppeteer objects that render the notebook, in case you want more fine-grain API access for more control.
Returns a Promise that resolves value of the given cell for the book. For example, if the @d3/bar-chart notebook is loaded, then .value("color") would return "steelblue", .value("height") would return 500, and .value("data) would return the 26-length JS array containing the data.
Keep in mind that the value return is serialized from the browser to Node, see below for details.
Redefine a specific cell in the Notebook runtime to a new value. cell is the name of the cell that will be redefined, and value is the value that cell will be redefined as. If cell is an object, then all of the object's keys/values will be redefined on the notebook (e.g. cell={a:1, b:2} would redefine cell a to 1 and b to 2).
Keep in mind that the value return is serialized from the browser to Node, see below for details.
Take a screenshot of the container of the element that contains the rendered value of cell. path is the path of the saved screenshot (PNG), and options is any extra options that get added to the underlying Puppeteer .screenshot() function (list of options here). For example, if the @d3/bar-chart notebook is loaded, notebook.screenshot('chart')
If cell is a SVG cell, this will save that cell's SVG into path, like .screenshot(). Keep in mind, the browser's CSS won't be exported into the SVG, so beware of styling with class.
Use Puppeteer's .pdf() function to render the entire page as a PDF. path is the path of the PDF to save to, options will be passed into Puppeteer's .pdf() function. This will wait for all the cells in the notebook to be fulfilled. Note, this can't be used on a non-headless browser.
Returns a Promise that resolves when the cell named cell is "fulfilled" (see the Observable inspector documentation for more details). The default is fulfilled, but status could also be "pending" or "rejected". Use this function to ensure that youre redefined changes propagate to dependent cells. If no parameters are passed in, then the Promise will wait all the cells, including un-named ones, to finish executing.
Replace the FileAttachments of the notebook with those defined in files. files is an object where the keys are the names of the FileAttachment, and the values are the absolute paths to the files that will replace the FileAttachments.
Returns the ElementHandle of the container HTML element for the given observed cell. Can be used to call .click(), .screenshot(), .evaluate(), or any other method to have more control of a specfic rendered cell.
observable-prerender also comes bundled with 2 CLI programs, observable-prerender and observable-prerender-animate, that allow you to more quickly pre-render notebooks and integrate with local files and other CLI tools.
Pre-render the given notebook and take screenshots of the given cells. <notebook> is the observablehq.com ID of the notebook to load, same argument as the 1st argument in .load(). [cells...] is the list of cells that will be screenshotted from the notebook. By default, the screenshots will be saved as <cell_name>.<format> in the current directory.
Run observable-prerender --help to get a full list of options.
Pre-render the given notebook, iterate through the values of the cellIterator cell on the cell cell, and take screenshots of the argument cells. <notebook> is the observablehq.com ID of the notebook to load, same argument as the 1st argument in .load(). [cells...] is the list of cells that will be screenshotted from the notebook. --iter is the only required option, in the format of cell:cellIterator, where cell is the cell that will change on every loop, and cellIterator will be the cell that contains all the values.
Run observable-prerender-animate --help to get a full list of options.
This library is mostly a proof of concept, and probably will change in the future. Follow Issue #2 to know when the stable v1 library will be complete. As always, feedback, bug reports, and ideas will make v1 even better!
There is a Puppeteer serialization process when switching from browser JS data to Node. Returning primitives like arrays, plain JS objects, numbers, and strings will work fine, but custom objects, HTML elements, Date objects, and some typed arrays may not. Which means that some methods like .value() or .redefine() may be limited or may not work as expected, causing subtle bugs. Check out the Puppeteer docs for more info about this.
You won't be able to make neat screencasts from all Observable notebooks. Puppeteer doesn't support taking a video recording of a browser, so instead, the suggested method is to take several PNG screenshots, then stitch them all together into a gif/mp4 using ffmpeg or some other service.
So what should you screenshot, exactly? It depends on your notebook. You probably need to have some counter/index/pointer that changes the graph when updated (see scrubber). You can programmatically redefine that cell using notebook.redefine in some loop, then screenshot the graph once the changes propagate (notebook.waitFor). But keep in mind, this may work for JS transitions, but CSS animations may not render properly or in time, so it really depends on how you built your notebook. it's super hard to get it right without some real digging.
If you run into any issues getting frames for a animation, feel free to open an issue!
In this project, "Benchmarking" can refer to three different things: the op-benchmark CLI tool, internal benchmarks for the package, and external benchmarks for comparing against other embedding options.
op-benchmark is a CLI tool bundled with observable-prerender that measures how long every cell's execution time for a given notebook. It's meant to be used by anyone to test their own notebooks, and is part of the observable-prerender suite of tools.
/benchmark-internal is a series of tests performed against observable-prerender to ensure observable-prerender runs as fast as possible, and that new changes to drastically effect the performace of the tool. This is meant to be used by observable-prerender developers, not by users of the observable-prerender tool.
/benchmark-external contains serveral tests to compare observable-prerender with other Observable notebook embeding options. A common use-case for observable-prerender is to pre-render Observable notebooks for faster performance for end users, so these tests are to ensure and measure how much faster observable-prerender actually is. This is meant for observable-prerender developers, not for general users.

