-
Notifications
You must be signed in to change notification settings - Fork 2
For Users: Web Interface
Any modern web browser, such as Mozilla Firefox, Google Chrome, Microsoft Edge, or Internet Explorer (>=10). Use as latest version as possible ❗
PrimerServer contains three modules that can be easily switched by the navigation tabs:
- Design & Check: accepts a list of user input sites, runs the whole pipeline, and returns appropriate primer pairs with specificity
- Specificity Check: accepts a list of user-provided primers and returns possible amplicons for each primer group
- Recently Saved Results: shows a list of results saved by users
By default, the module "Design & Check" would be shown in the first visit. Your browser would remember your last used module and apply it automatically in the next visit.
In the demo server, you can do a simple test using the example database to understand the usage. Steps are the same as those in the Installation wiki.
In the example database, there are two sequences. They are from fragments of the D05 and A12 chromosome of the Gossypium. hirsutum reference genome (NAU v1.1) with high similarity.
Select one of the template you need.
- Target Region: This corresponds to the
SEQUENCE_TARGETtag in Primer3. In this category, users would define a small target region (for example: SNP, INDEL or target exon/gene) and all primer pairs must flank it. Possible usage: sequencing specific sites such as INDELs, SNPs or target gene fragments.
- Include Region: This corresponds to the
SEQUENCE_INCLUDED_REGIONtag in Primer3. In this category, users would define a large region (usually the whole template) and all primer pairs are picked within this region. Possible usage: quantifying specific products such as qRT-PCR
- Force 3' End: This corresponds to the
SEQUENCE_FORCE_LEFT_ENDandSEQUENCE_FORCE_RIGHT_ENDtag in Primer3. In this situation, users would define a single-base position and all left or right primers are forced to place their 3' ends to this position. Possible usage: genotyping for SNP sites.
This type must be used in caution. A single mis-match in the 3' end might not certainly block the alternative allele. Additional mismatches within the three bases closest to the SNP site should be manually introduced after you get the primer sequences.
Carefully setting your product size range. They would be applied to all of the sites. If you want to give different size ranges to different sites, it is better to set them in the Input Sites.
One site per line. Usually you can not input too many sites. The upper limit is controlled by the system administor. In the demo server, the upper limit is 100. For each site, you should give these items (seperated by spaces):
- Template sequence ID (:exclamation: Required): It must be exactly the same as those defined in the database.
Two ways to see the available ID format:
- In the selection menu, there would be examples of the sequence IDs.

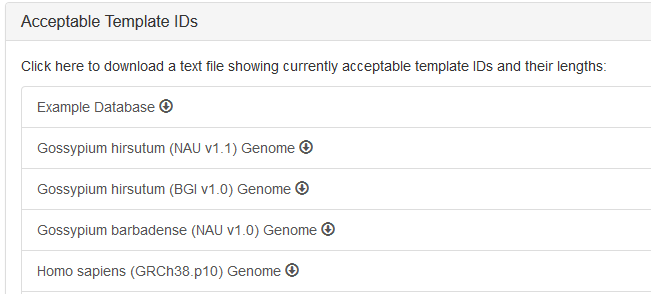
- By clicking the ❓ icon, you can see the help modal including a list of databases. Click the item to download available IDs.
For example, the IDs of the example databases would be:seq1 655 seq2 564Columns are: ID; length
- Position (1-based, Optional, if absent, setting as 1)
- Region Length (Optional, if absent, setting as 1)
- Min Product Size (Optional)
- Max Product Size (Optional)
These parameters are the same as those in Primer3. Default ones are enough in most situations.
- Checking Prodcut Size (bp): setting this according to your case. Amplicons within this size range are reported.
- Min. Tm Difference: Amplicons within this Tm range are reported.
If an oligonucleotide binds perfactly to the template, the Tm (melting temperature) value is the highest. Mismatches would lower down the Tm value. The more mismatches, the lower Tm value.
- Max. Primers Return Number: In the final report, PrimerServer would report this number of primers for each site.
- Filter with 3' End Validation: If true, PrimerServer would not report amplicons with 3' end mistach to the template.
- Max. Amplicons Return Per Primer: Some primers might have thousands of amplicons 😨 (for example, primers locating in the repeat elements), PrimerServer would report this number of amplicons.
This is some paramters for the blastn program in NCBI BLAST+. Usually the default values are engough. Adjusting them if need.
Setting these parameters according to your experimental conditions.
Usually you would select background database that is the same as template database. However multiple selection is allowable.
PrimerServer would remember the order of your selection. If multiple background databases are selected, the first (marked with ⭐) is regarded as the main database. That is, a primer would be treated as specific if it has only one amplicon in the main database, regardless of others
The maximum number of selected databases is controlled by the system admin. For the demo server, this number is 4.
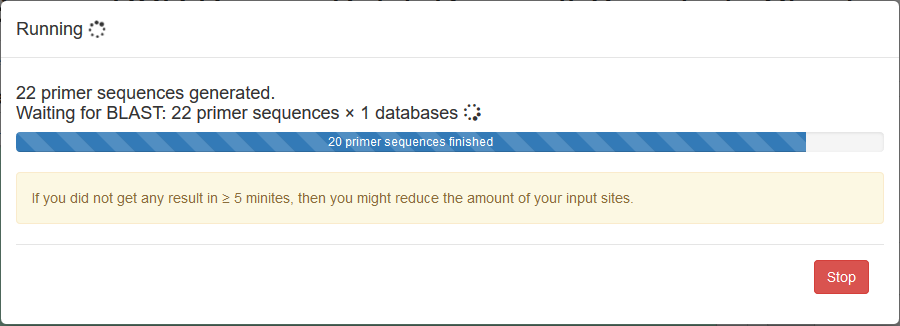
A progress window indicating the BLAST process (the main time-consuming process) would be shown when running the app. Users can click button to stop the process if they feel it too long to finish.
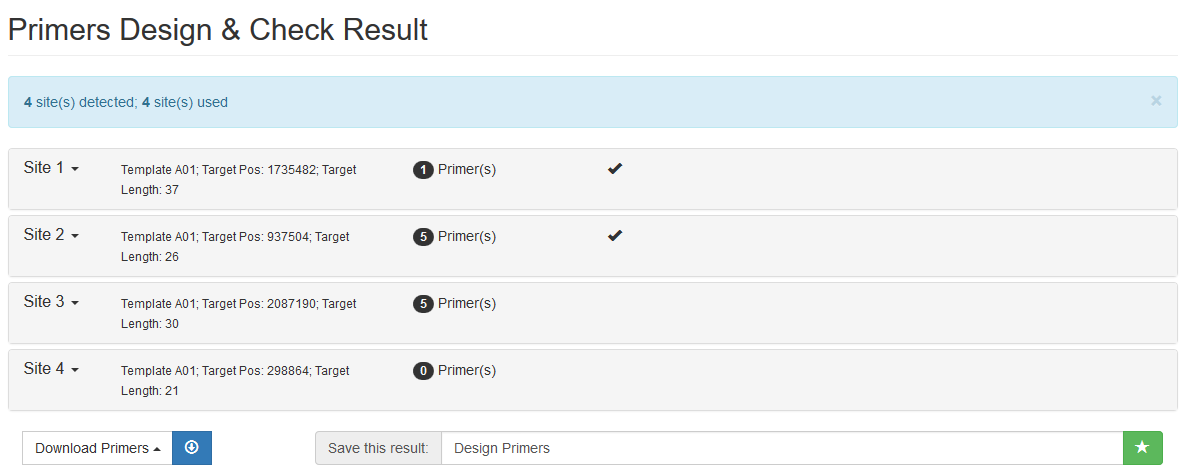
Each site is listed in a collapsible panel. By default, the first panel is expanded and the others are collapsed. Users can expand the panel to see the obtained primers for each site. If a site contains unique primers, a tick is marked in the panel title.
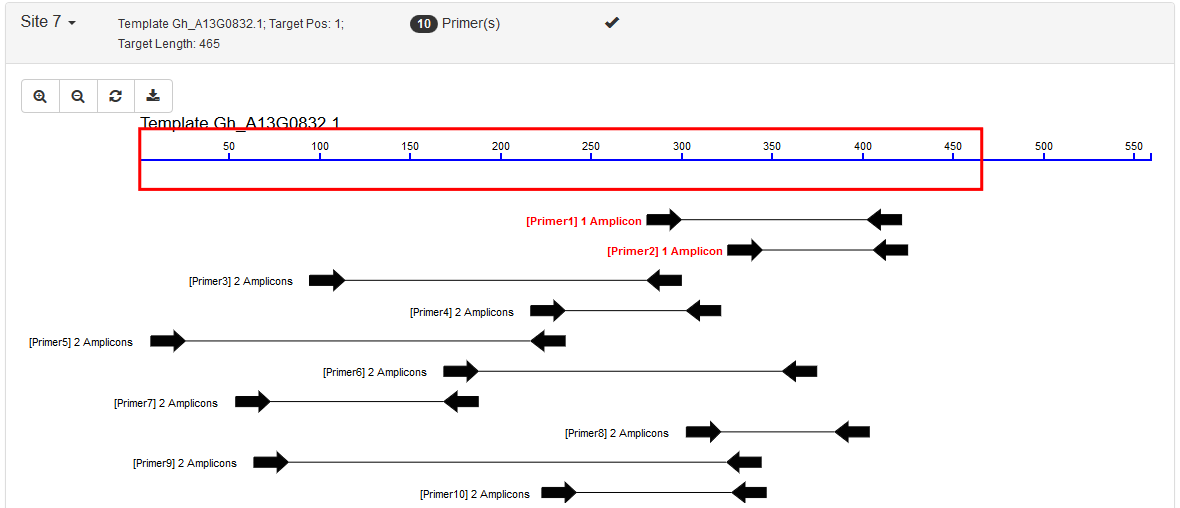
It includes two parts: an interactive graph indicating positions of the target region and its primers; and a list showing all the primers. Primers are sorted and ranked by the number of their possible PCR amplicons and then by the penalty score from Primer3.
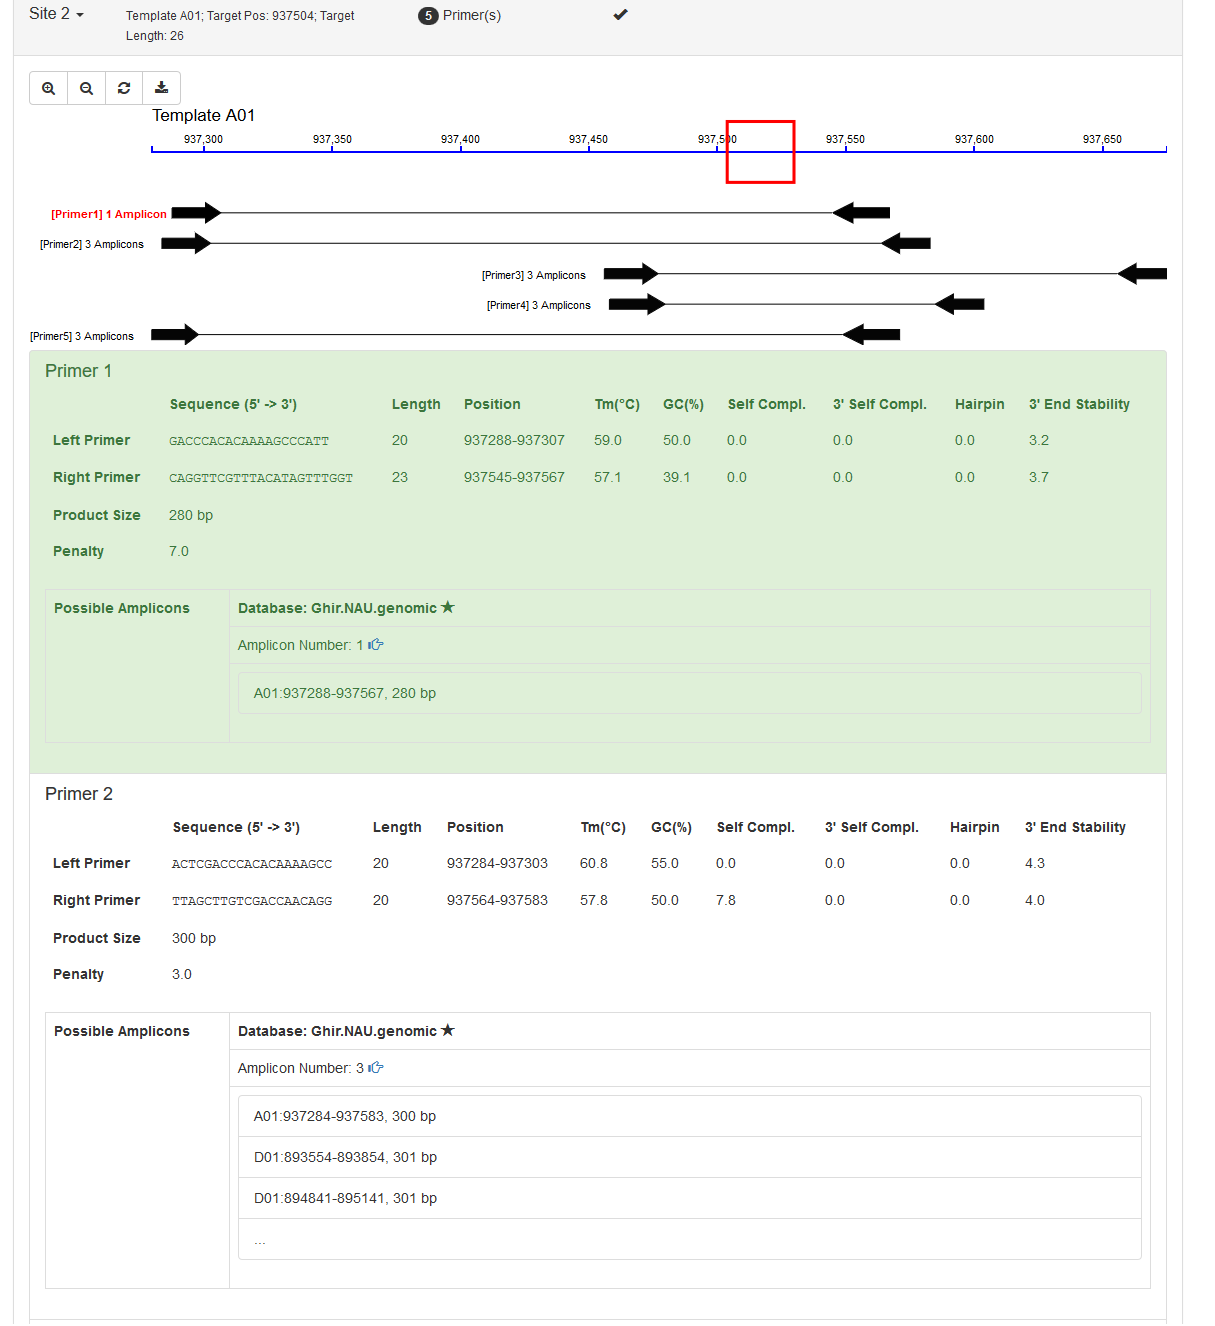
In the bottom, there are several options to save the results. Users can either download as text files to their local devices or save the graphic HTML results in PrimerServer.
Available options are:
- Primer: Unique Hit - Only download primers having single amplicon
- Primer: all Hits - Download all primers
- Best Primer per Site - Only download the best primer within one site
- All Primers per Site - Download all primers within one site
After running, click the save icon in the bottom (You can input titles). A modal would pop out to confirm your results. After confirmation, you would be taken to the result's page.
- Input Primer Sequences: One primer group per line. A primer group represents an individual PCR system. Usually it includes two primer sequences (a forward one and a reverse one). However multiple primers for multiplex PCR is also allowable. For each primer group, you should give these items (seperated by spaces):
- Site ID (arbitrary ID)
- Primer Rank (Integer, Optional, if absent, setting as 1)
- Primer Seq 1
- Primer Seq 2
- ......
Even if only two primers (F and R) in a group, there are four combinations to form amplicons: F+F, F+R, R+F, R+R
- Select Checking Databases (Background)
- This is the same as the first module.
This is the same as the first module, except that the graph of primer positions is absent in this module.
Here lists all the users’ saved results sorted by the time when they were saved. The name lists are stored in the user’s browser while the corresponding HTML files are saved in the server-side. A status column is shown for each row, indicating whether the previously saved results are still available ✔️ or not ✖️ (Results saved long ago might be removed by the server administrator). In addition, users can also select and remove rows they no longer needed by themselves.


