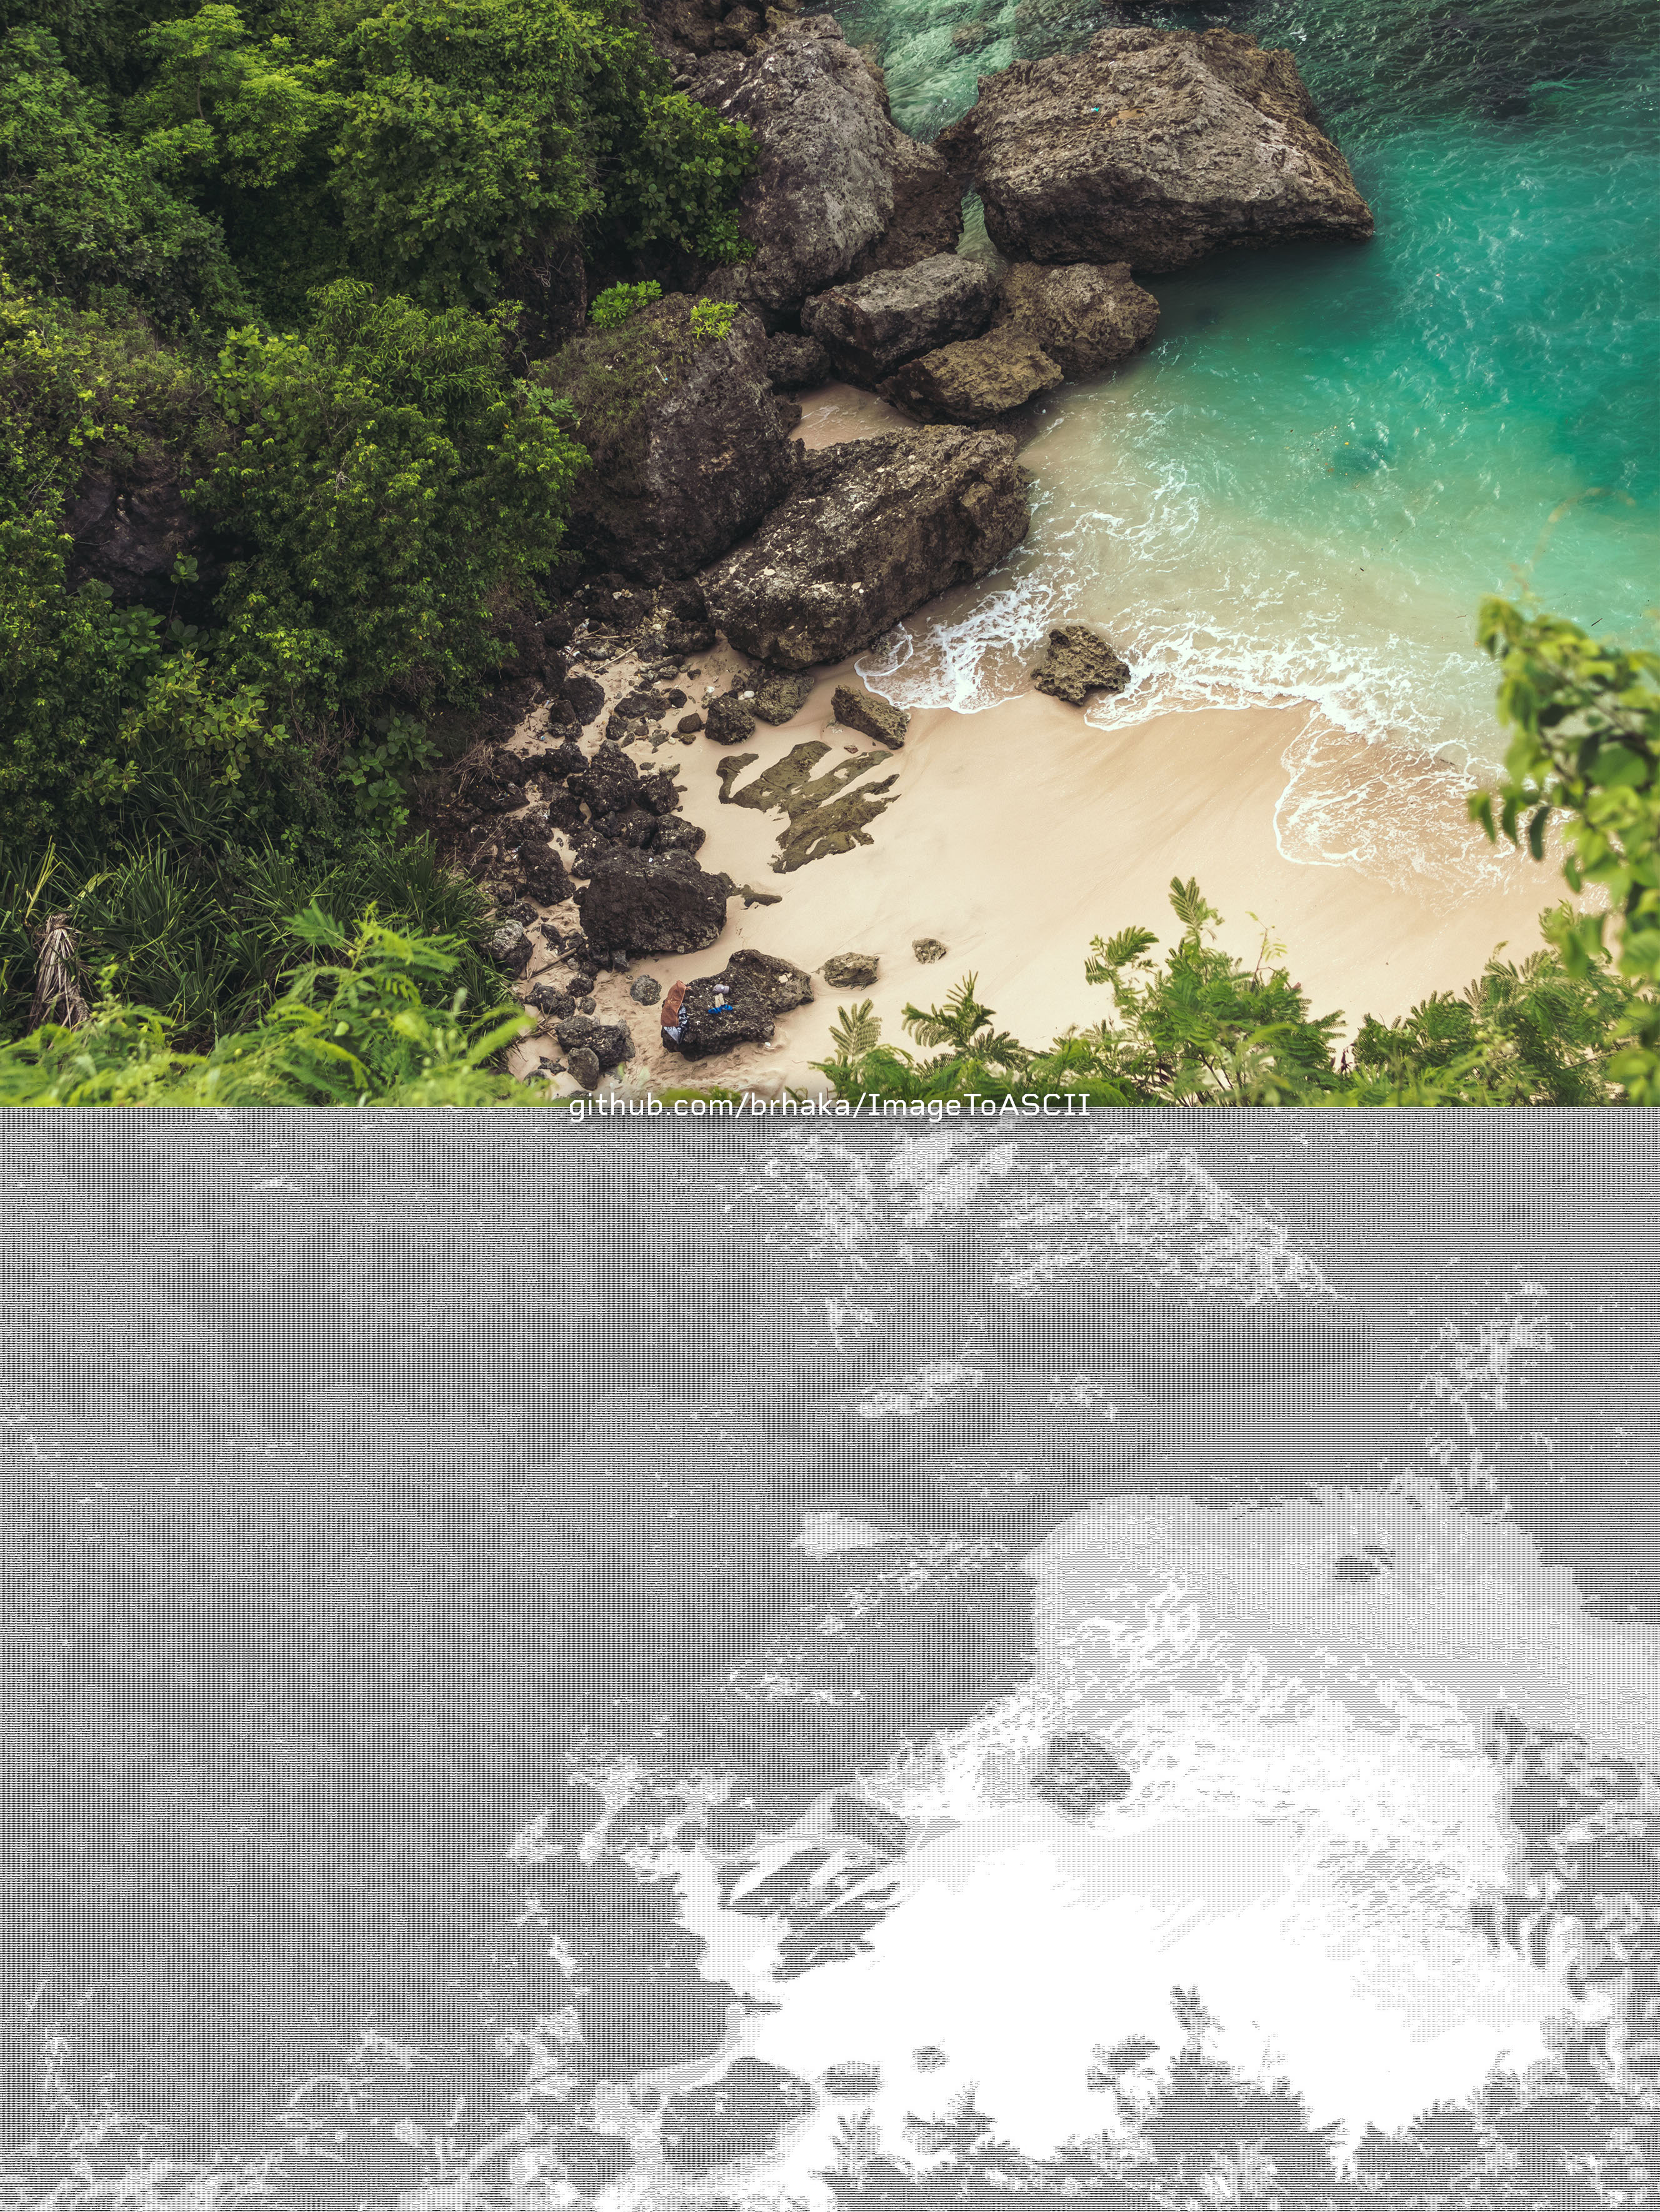
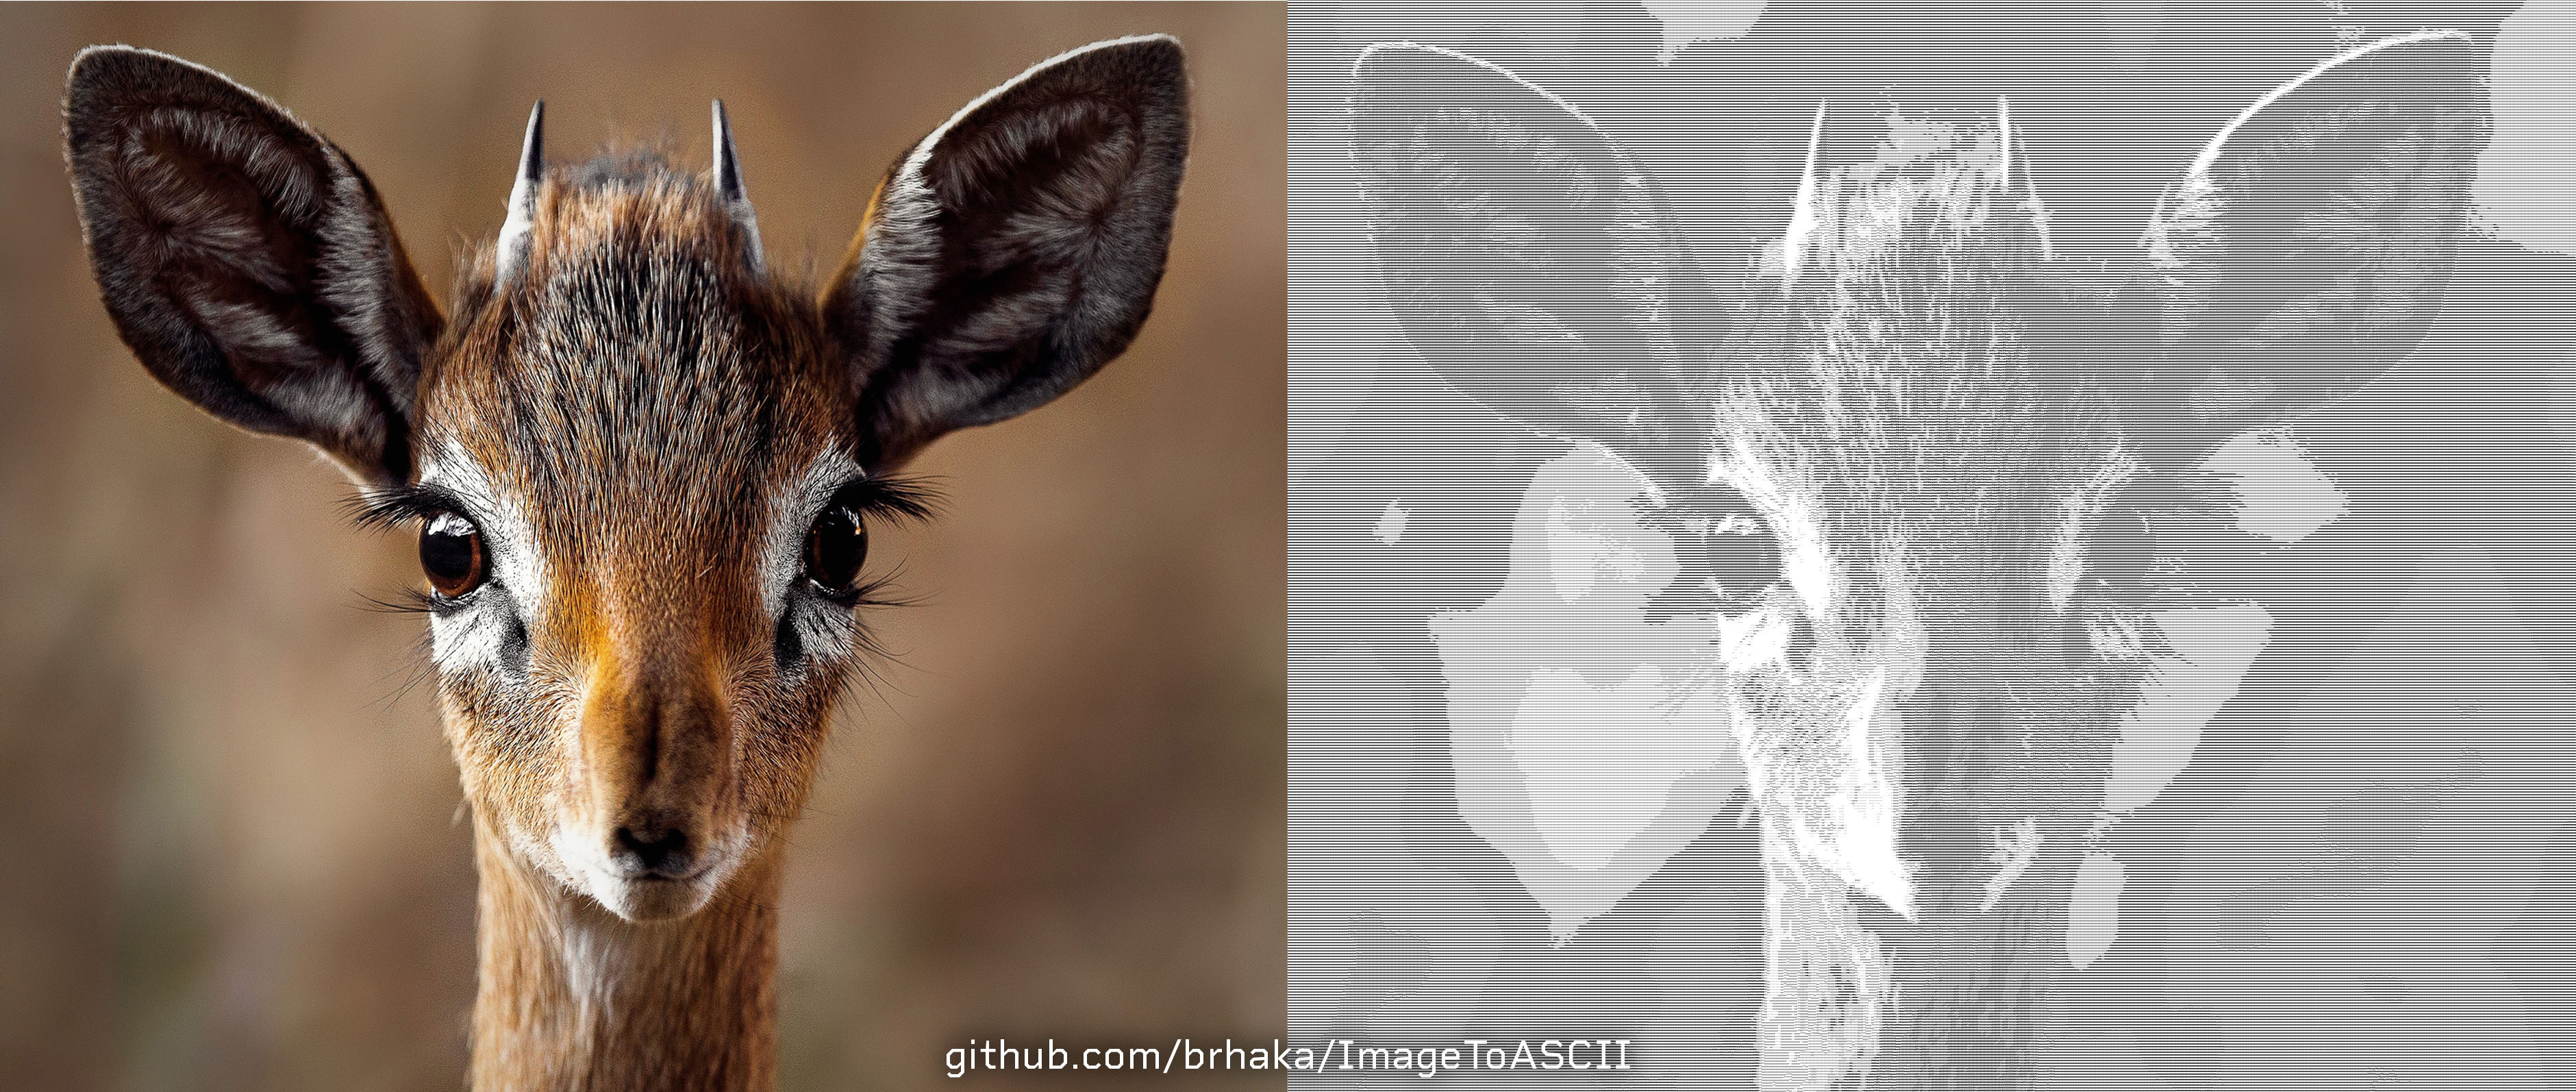
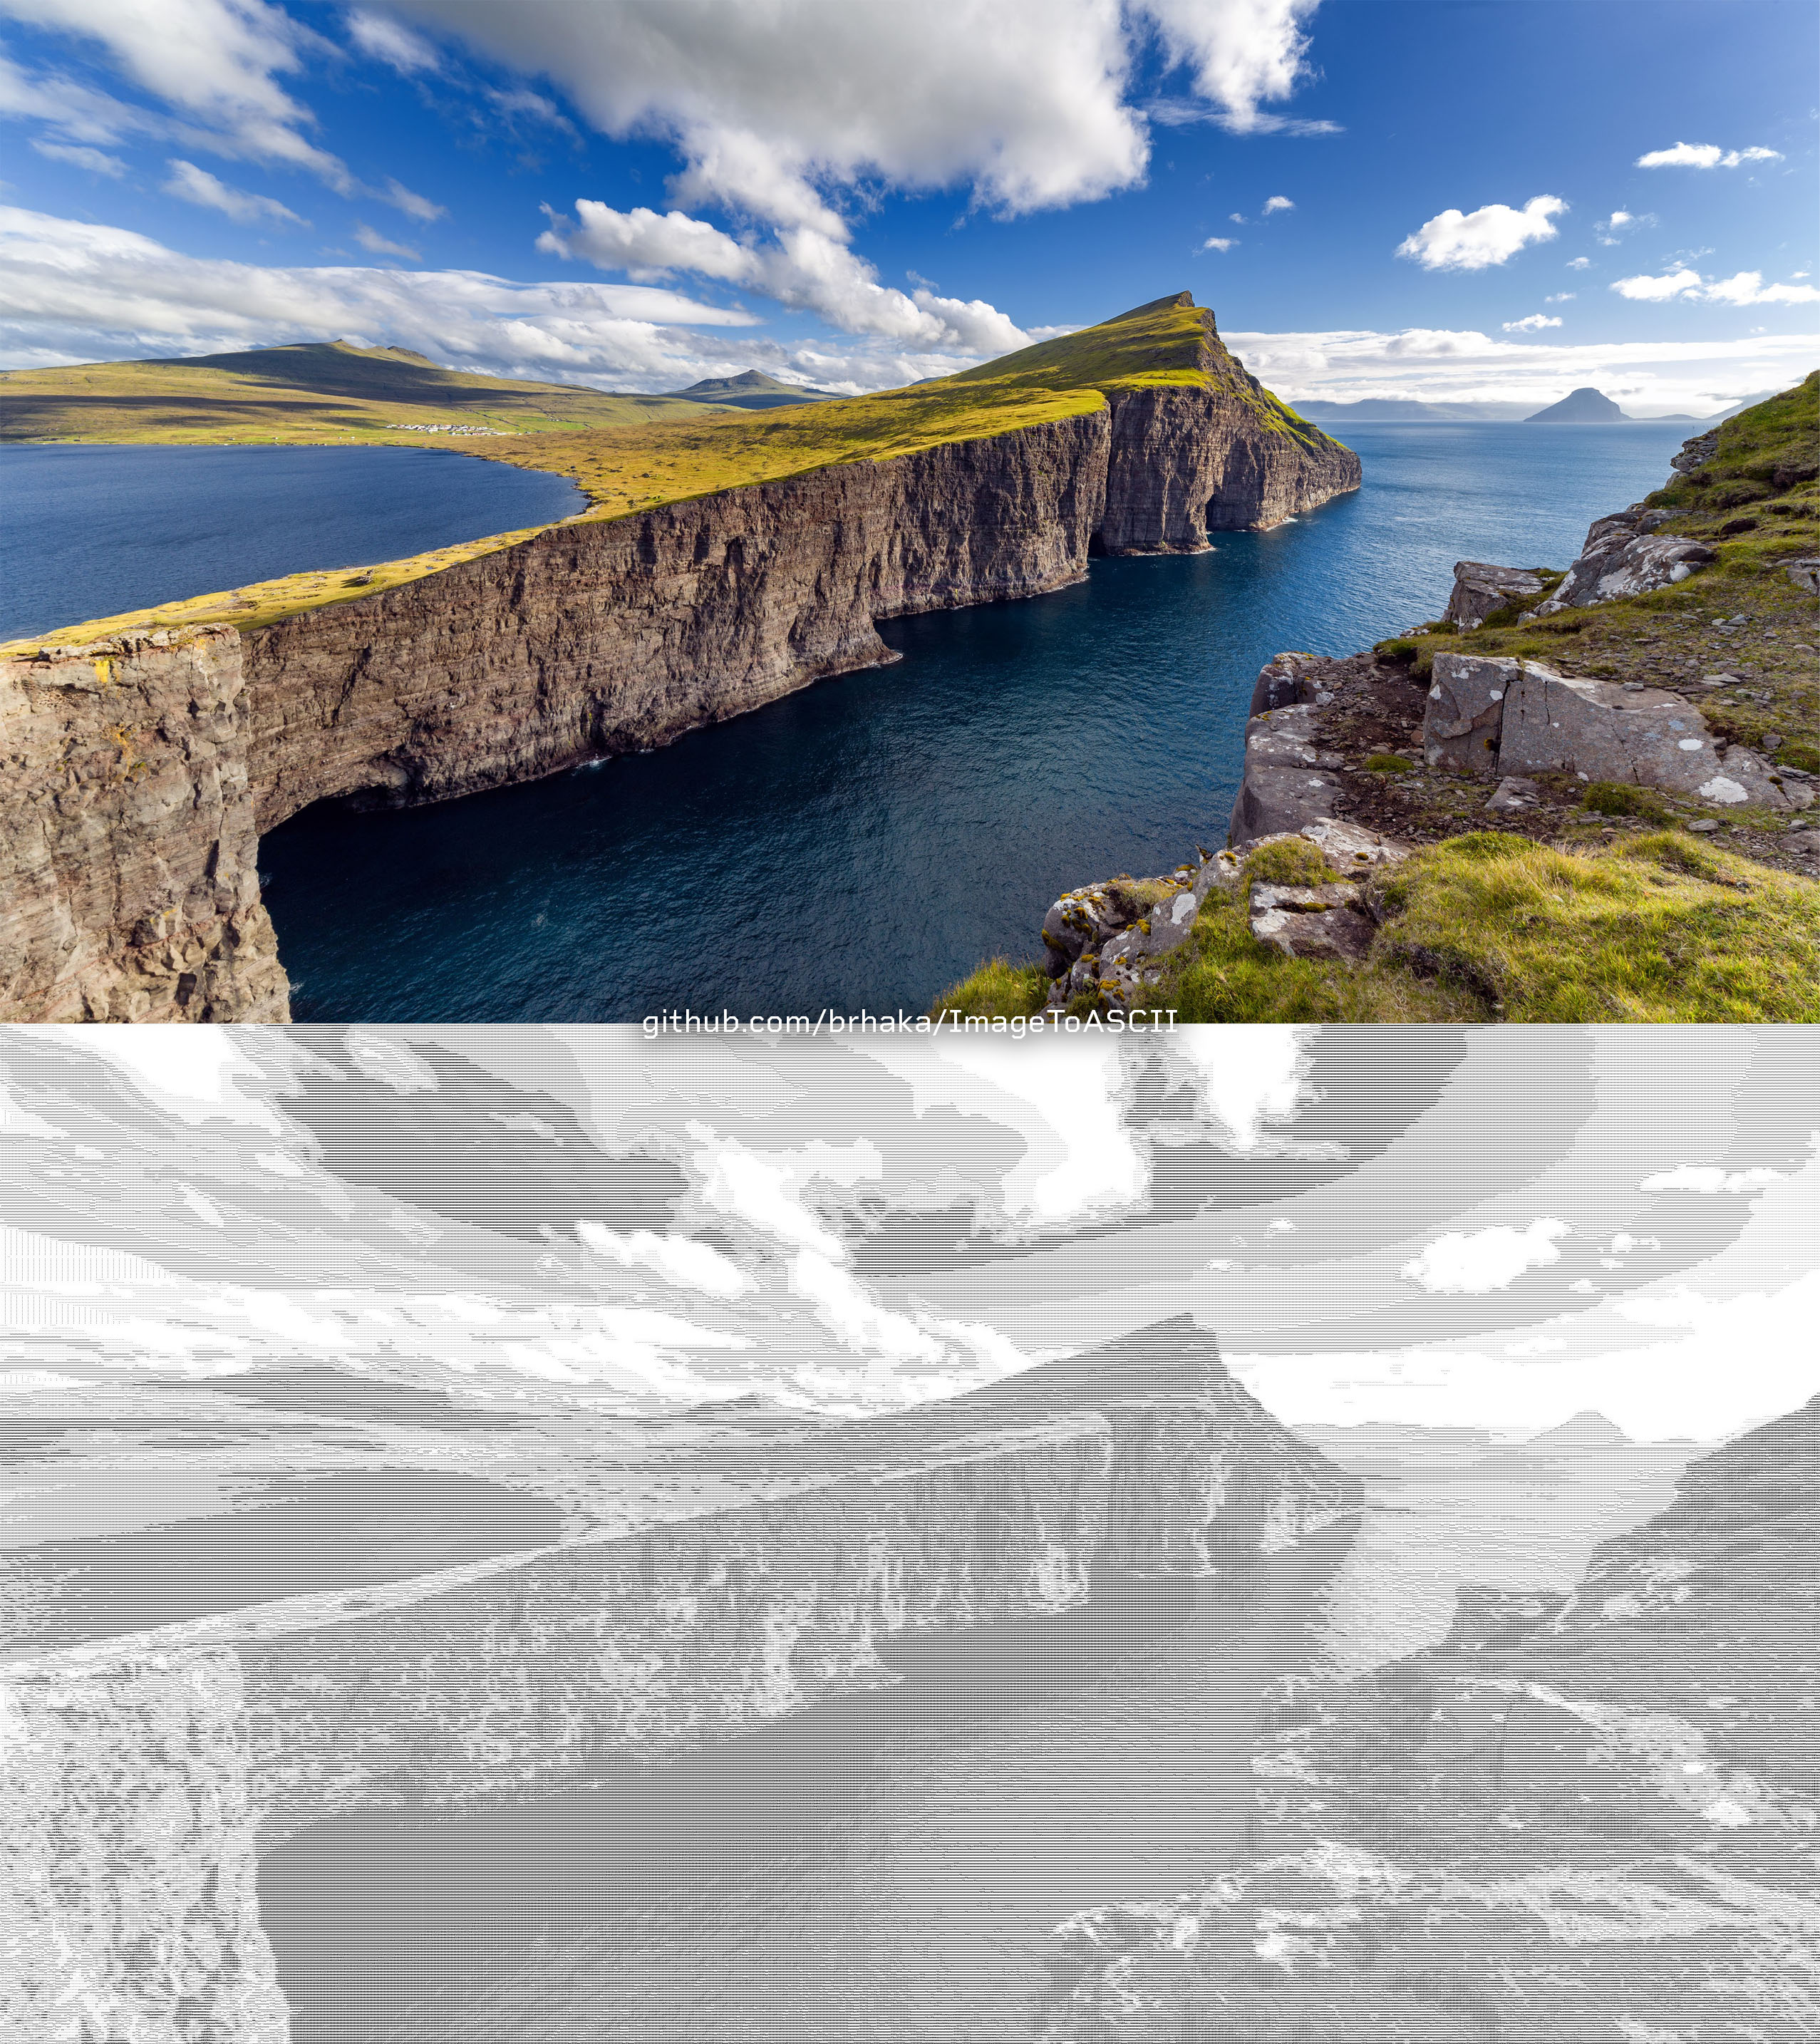
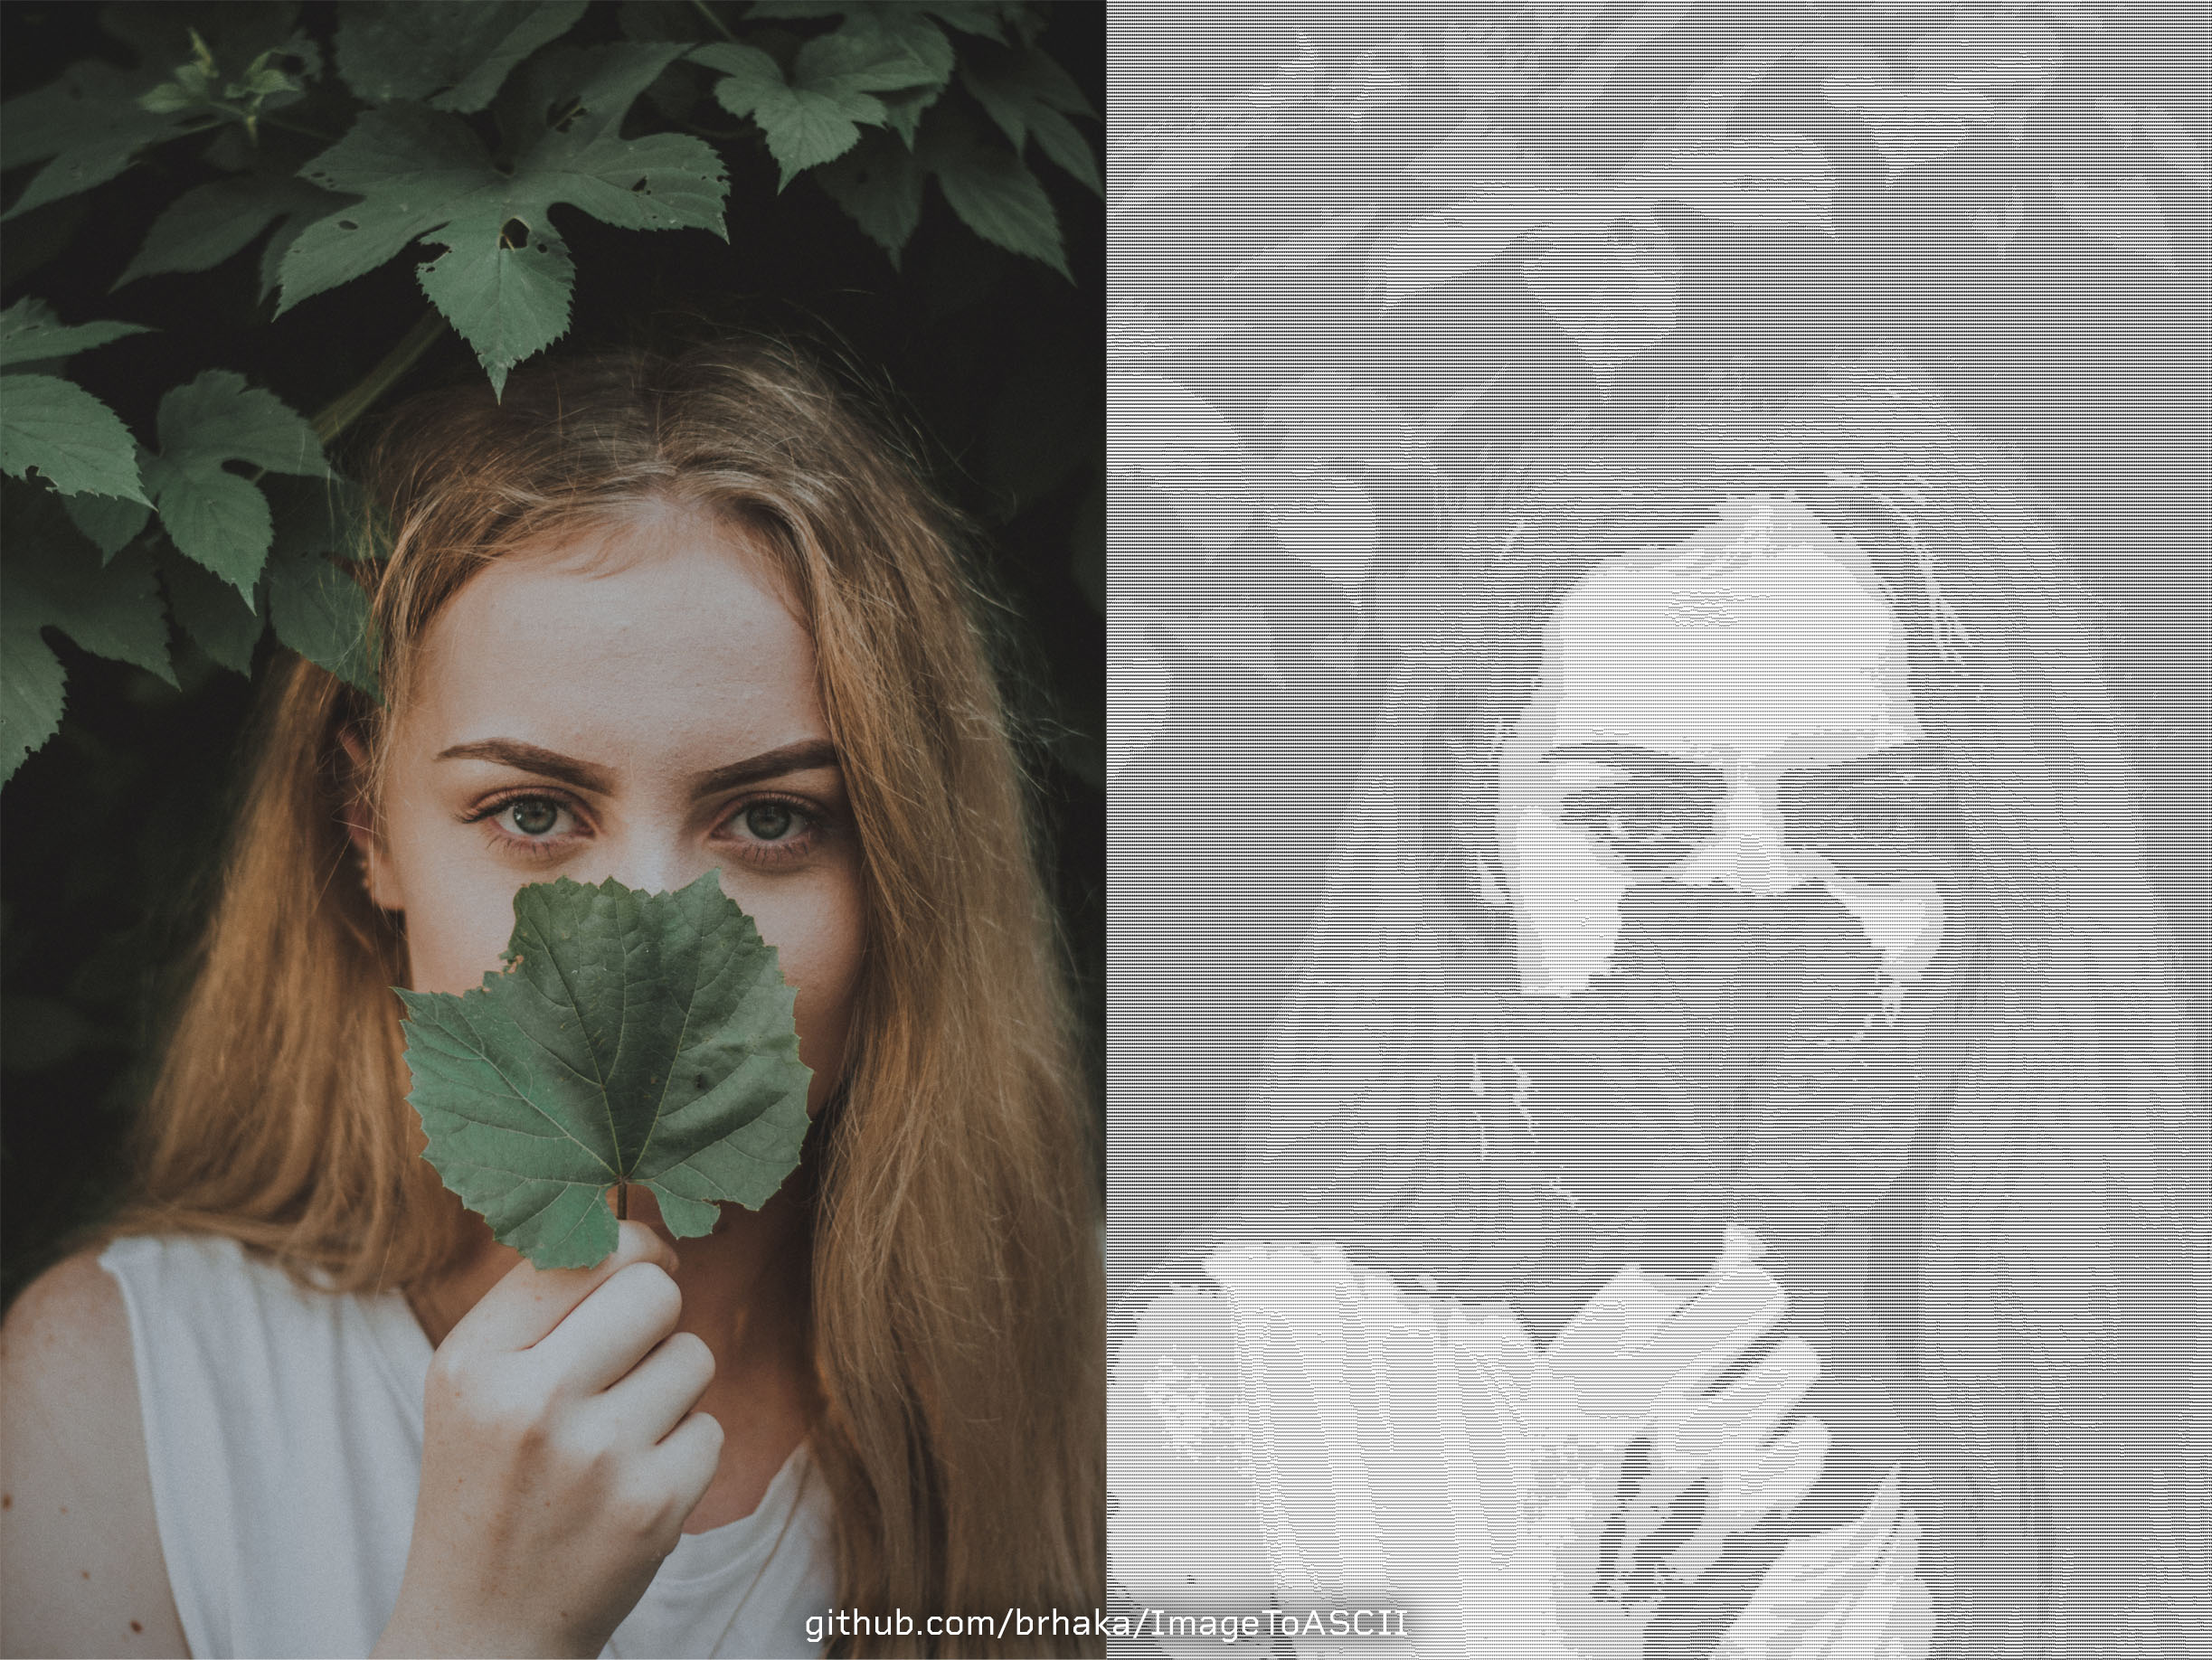
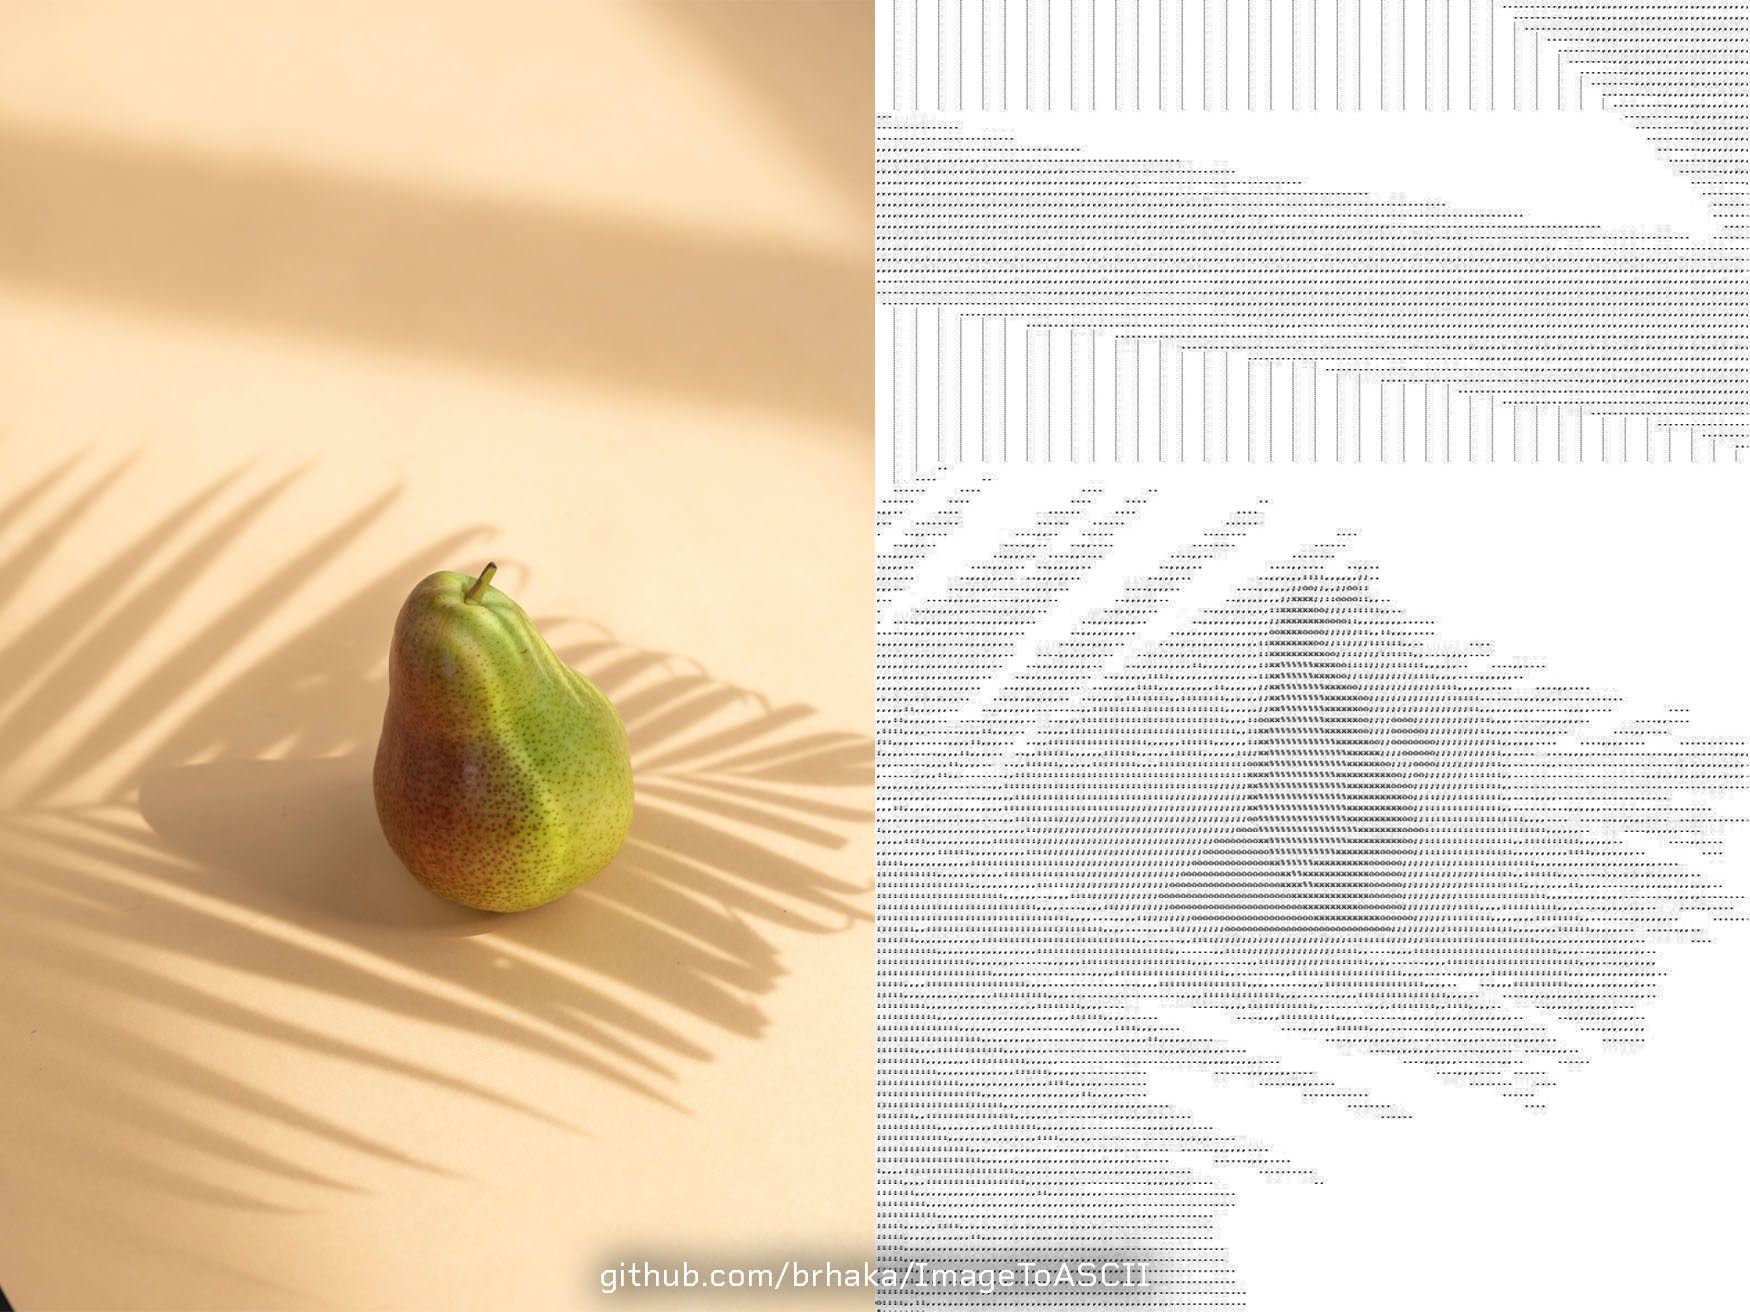
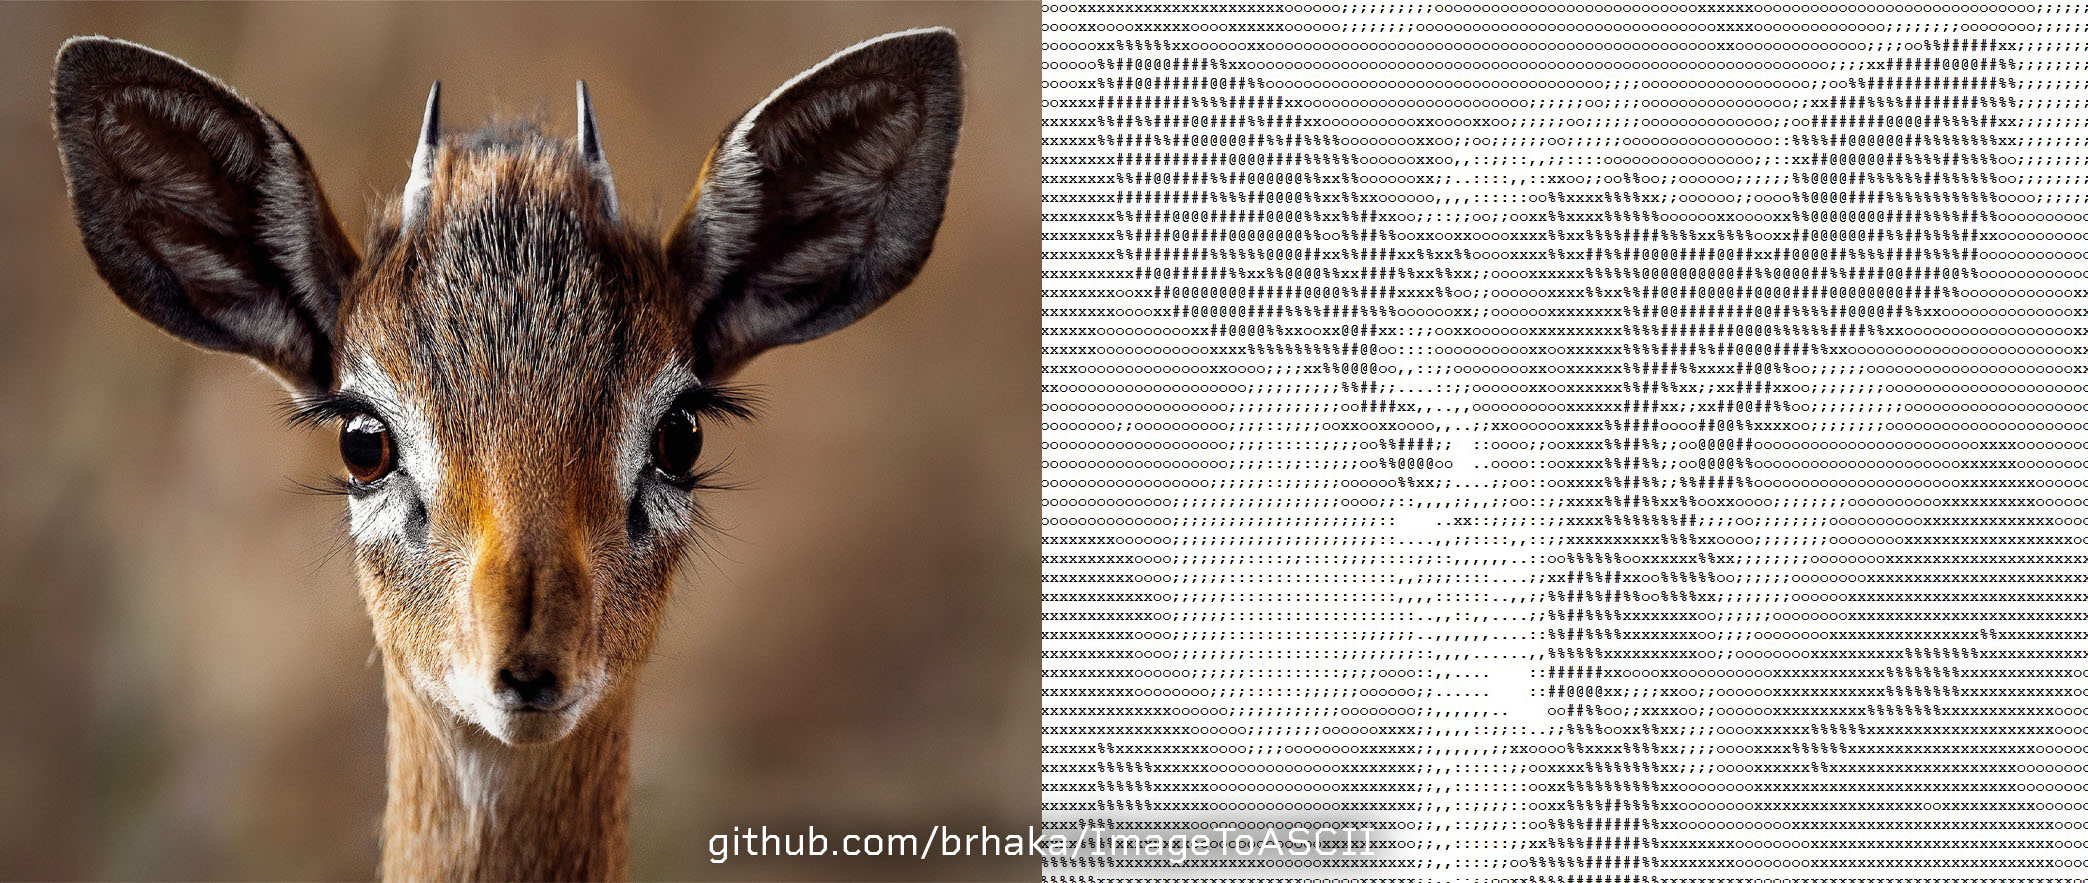
ImageToASCII runs on the Command-Line.
You must provide a path to the image you want to convert. You can do this by passing it as a Command-Line argument (./ImageToASCII "./image.png"). In the case where no argument is passed, ImageToASCII will prompt you to write the image path on the command-line.
Another input that ImageToASCII requires is the Image Resize Factor. You can enter a value between 1 and 50. The image will be resized according to the entered value. E.g.: With a resize factor of 10, a 3840x2160 (pixels) image becomes a 384x216 (characters) ASCII art.
There are also other inputs ImageToASCII will ask you, such as wether you want to store the path to the image for later use and also wether you want to use the stored path (if previously stored).
The ASCII art is saved to a file named ascii.brk. The extension is symbolic, but since NotePad has a limit of 1024 characters per line, to avoid confusion, it is not saved as a .txt file. You can open the .brk file with any text editor. Personally, I use NotePad++.
Since the program has no control over which font the ASCII art is being visualized, a whitespace is inserted after each character. E.g.: '@' becomes '@ '
Please have in mind that the larger your ASCII art is, the more detailed it can be. It will be also heavier. E.g.: 1 character = 1 byte, so a 384x216 ASCII art weights 82.944 bytes PLUS whitespaces between columns. Total of 165.888 bytes.
ImageToASCII is compiled to a single file, for easier use. There is a specific file for each OS version. If you wish to use ImageToASCII on Linux, download the ImageToASCII-Linux file. On MacOS, download the ImageToASCII-MacOS file and on Windows, download the ImageToASCII-Windows_x86_x64.exe file. You can start your download at the Releases section. It's also possible to compile the source code.
To start the program, all you need to do is execute it via command-line. E.g: ./ImageToASCII-Linux "./image.png"
The master branch contains the most recent stable release source code. The development branch contains the current development source code. It may be unstable.
It's also possible to download the source code and compile it yourself. First, you must clone or fork this repository into an empty directory. Then, via command-line, you can run the following commands:
make LINUX and make MACOS will compile the Linux and MacOS versions of the program. The output files are named ImageToASCII-Linux and ImageToASCII-MacOS, respectively. This command uses gcc. In order to execute it on Linux, it must be compiled on Linux and the same rule is applied to MacOS.
make WIN will compile the Windows (x86 and x64) version of the program. The output file is named ImageToASCII-Windows_x86_x64.exe. This command uses mingw.
The make, make all, make re and make ImageToASCII commands will compile the Linux, MacOS and Windows versions of the program.
To compile a version that won't use ANSI colors on the output, add USE_COLORS=0 to your make * command. E.g: make WIN USE_COLORS=0
- Supports JPG, JPEG, PNG, TGA, BMP, PSD, HDR, PIC
- Works with any image resolution
- Clean and detailed ASCII arts
- Linux, MacOS and Windows versions
- Lightweight
- Open Source
Images by pexels.com and Eirik Sørstrømmen
Like what you see? Please, feel free to fork this repository, and make any change you like. If you want to propose a nice feature, please create a separate branch on your fork, named after the feature you want to implement, then make a pull request from that branch. Thank you!


