Build out emulated networking gear known as GNS3.
-
Take a moment to clean up your Remote Desktop. For now, close all other terminal spaces or windows you might have open.
-
Open a new terminal, then change directory to the
/home/student/directorystudent@beachhead:~$cd ~ -
The next script with add a repository, run apt-get to install updates and packages, and get the necessary installation files. It will install GNS3, and create a directory for you called,
~/napalm-net/where we'll save our GNS3 work.student@beachhead:~$wget https://static.alta3.com/projects/ansible/gns_setup.sh -O gns_setup.sh -
Now run the setup script to install GNS3 in the Alta3 remote desktop environment.
student@beachhead:~$sh gns_setup.sh -
Twice during this process, you'll need to press the ENTER key (when prompted). When the script finishes, you'll see a checksum value, ensure the one printed on your screen matches the one below.
EXPECTED RESULT:
ae8ef61b656cb7a9cd4e1c39eee2af36e60e0bdc00a204ff418d60097ccb2b8352a93d561089876bccd3cc5343002d1b605fcfaf01a3d77685fdd34d3bf25d8f /home/student/napalm-net/vEOS-lab-4.17.8M.vmdk -
Next we will start up GNS3 and get it configured.
student@beachhead:~$sudo gns3 &ignore the warning about running gns3 as root. Sometimes there is also a warning about not being able to connect to the gns3 server. We haven't set the server up yet so that warning is not useful information right now. From the Help dropdown of GNS3, open the setup wizard to begin configuring GNS3.
-
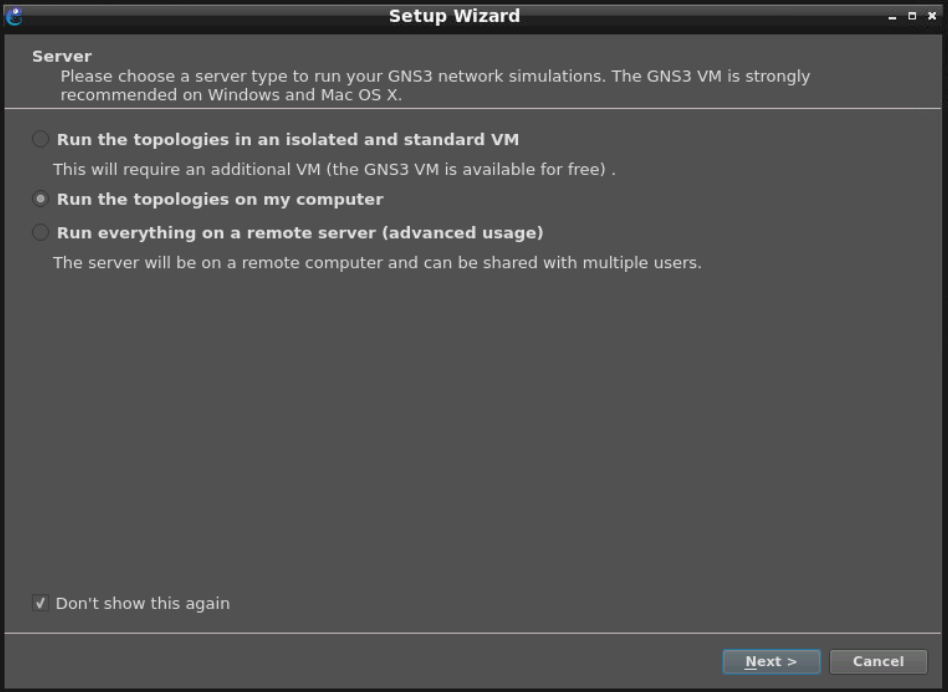
Setup Wizard > Run the topologies on my computer > Next
-
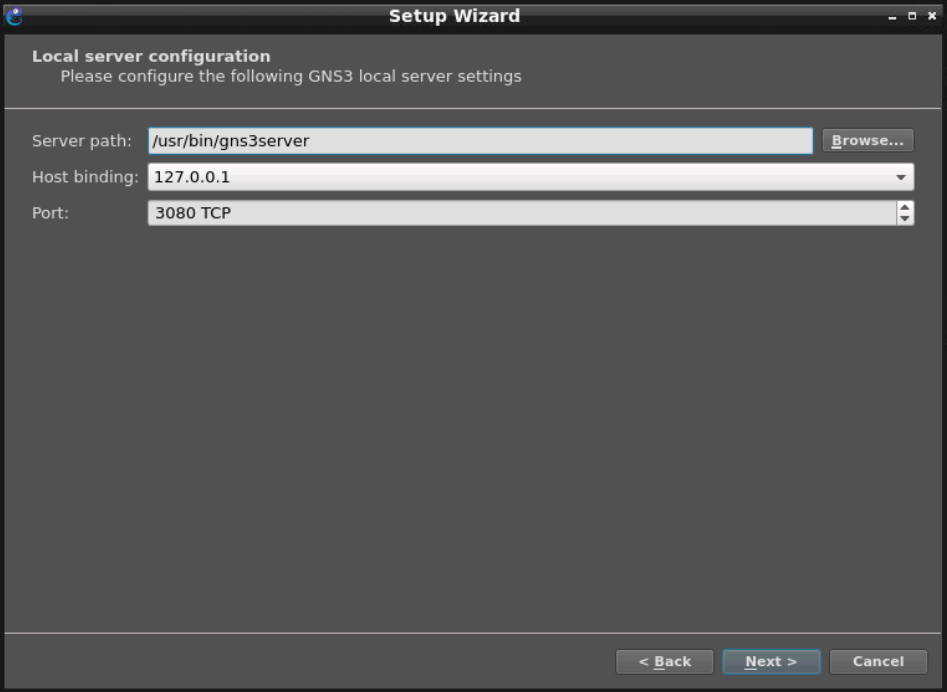
Setup Wizard > Local Server Config > NO CHANGES > Next
-
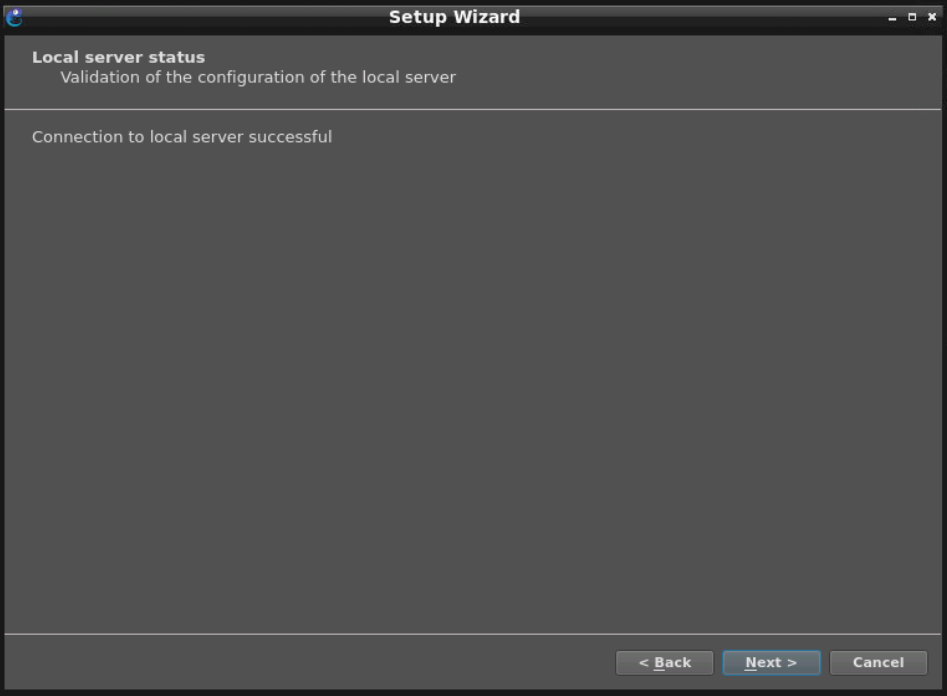
Setup Wizard > Local Server Status > Connection Successful > Next
-
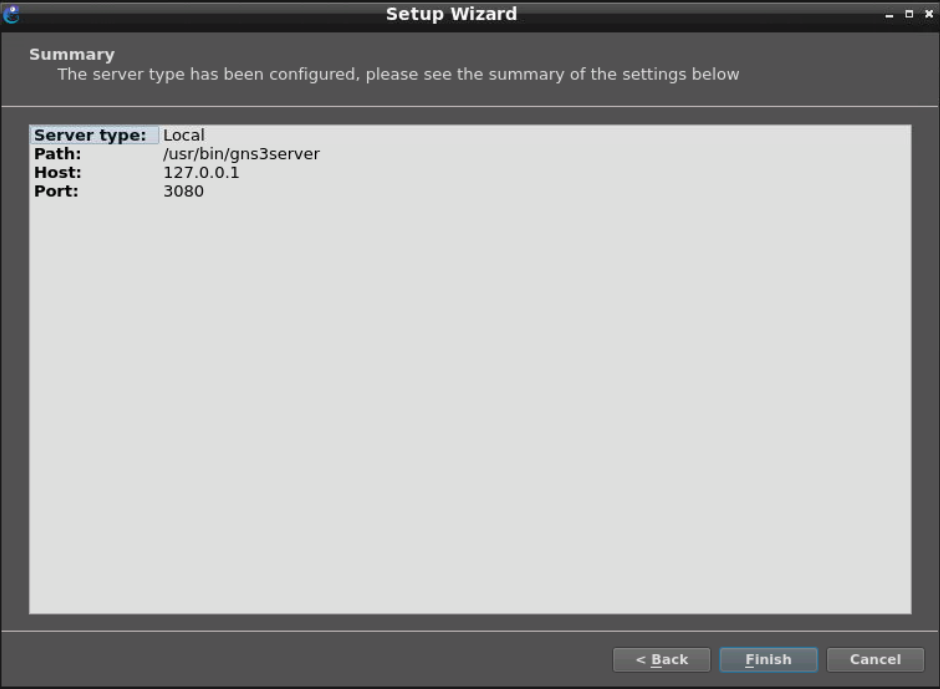
Setup Wizard > Summary > Finish
-
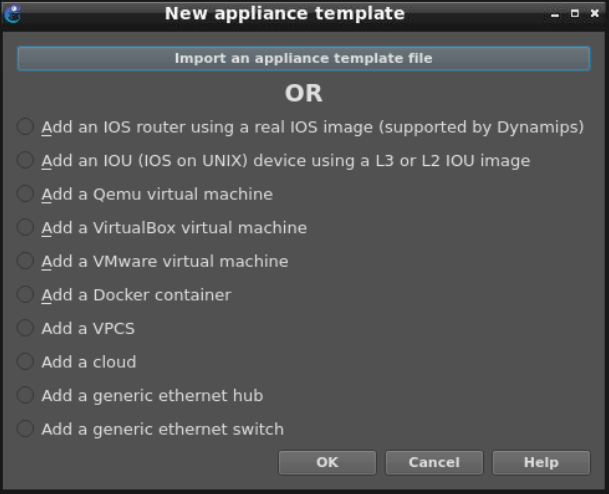
New Appliance Template > Import an appliance template file
-
Open appliance > Click student (on the left), then navigate to the napalm-net folder > double click the
arista-veos.gns3afile -
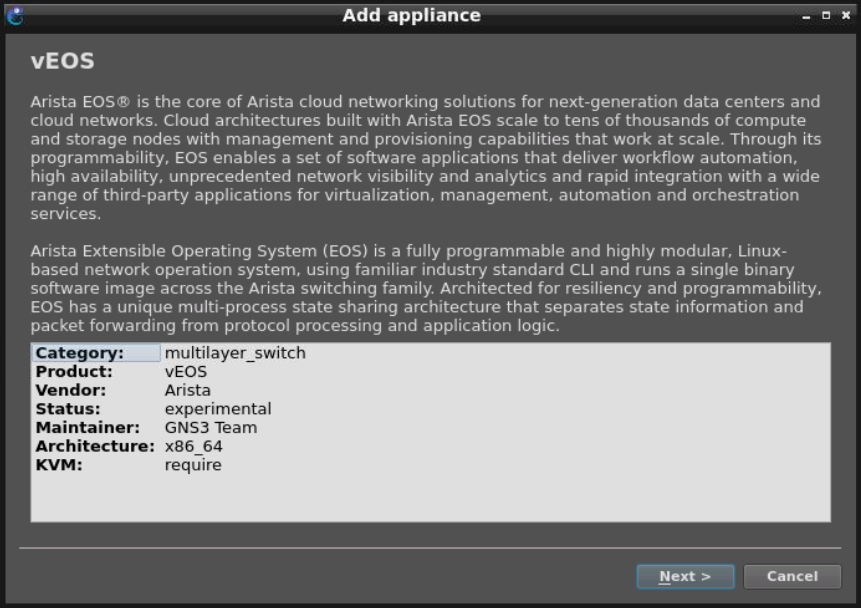
Add appliance > Summary of appliance > Next
-
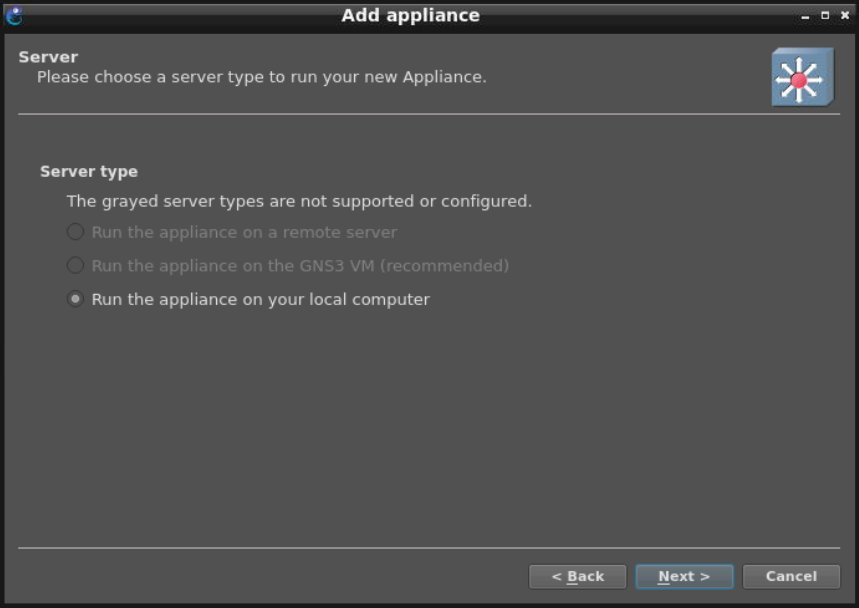
Add appliance > Server > Select Run the appliance on your computer > Next
-
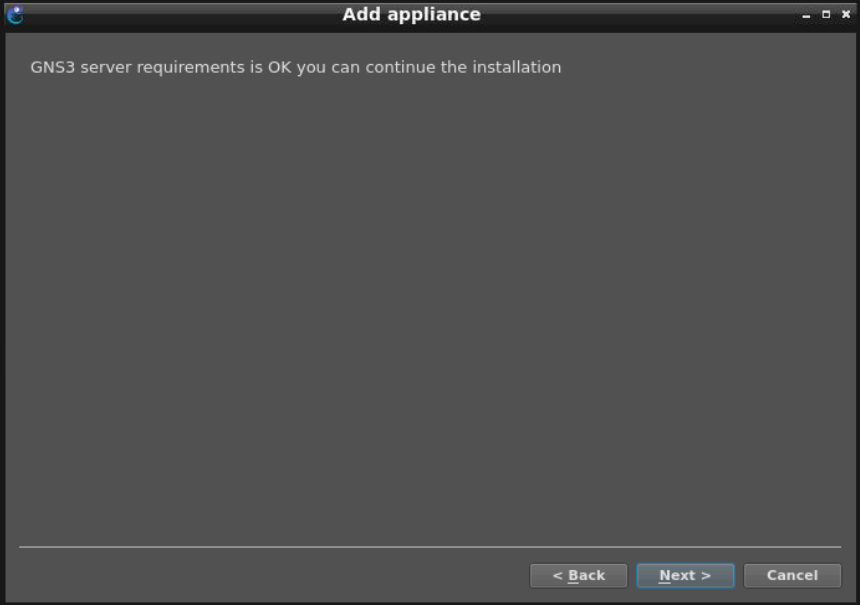
Add appliance > Requirements OK you can continue, (thanks for your permission computer) > Next
-
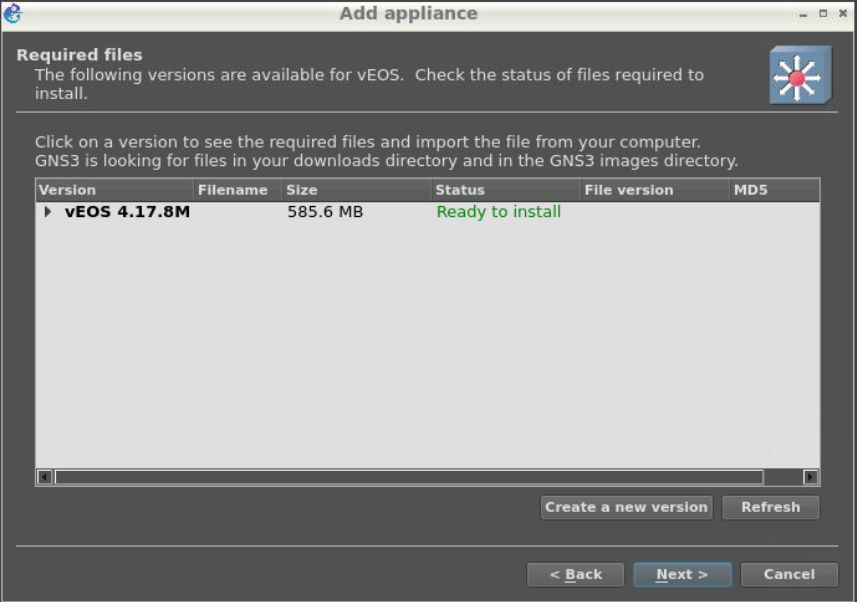
Add appliance > Required files > Choose vEOS 4.17.8 > Next
-
Appliance > Would you like to install vEOS 4.17.8 > Yes
-
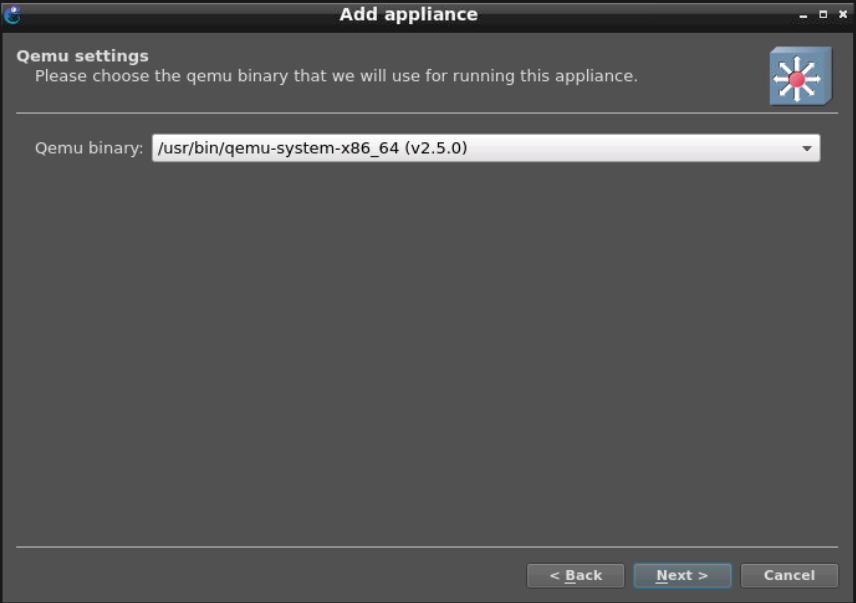
Add appliance > Qemu binary NO CHANGES > Next
-
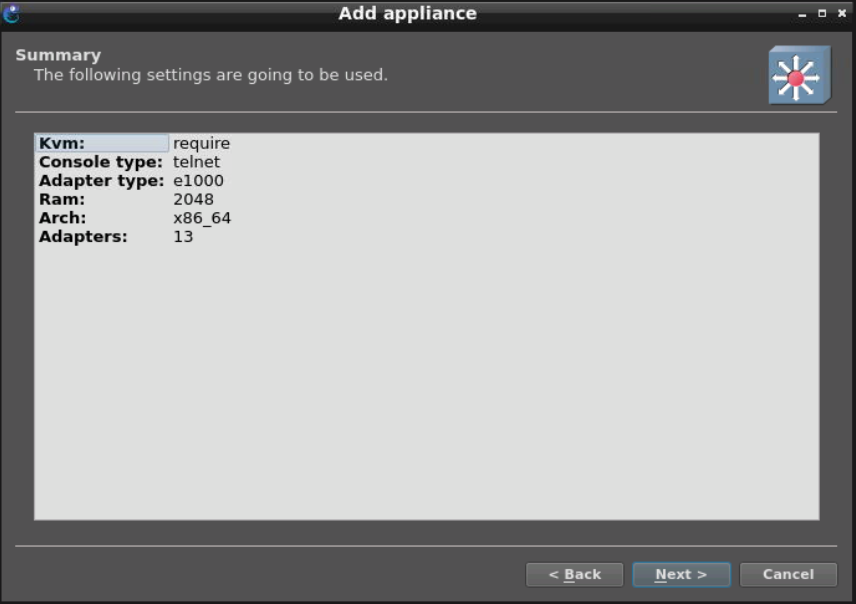
Add appliance > Summary > Next
-
Add appliance > Usage: note the username/password > Finish
-
Add appliance > Installed! > OK
-
Create a new project called NAPALM-NET Click File > Project > New Project > Name: NAPALM-NET, Location: NO CHANGES > OK
-
Now we will fix GNS3 console launcher
-
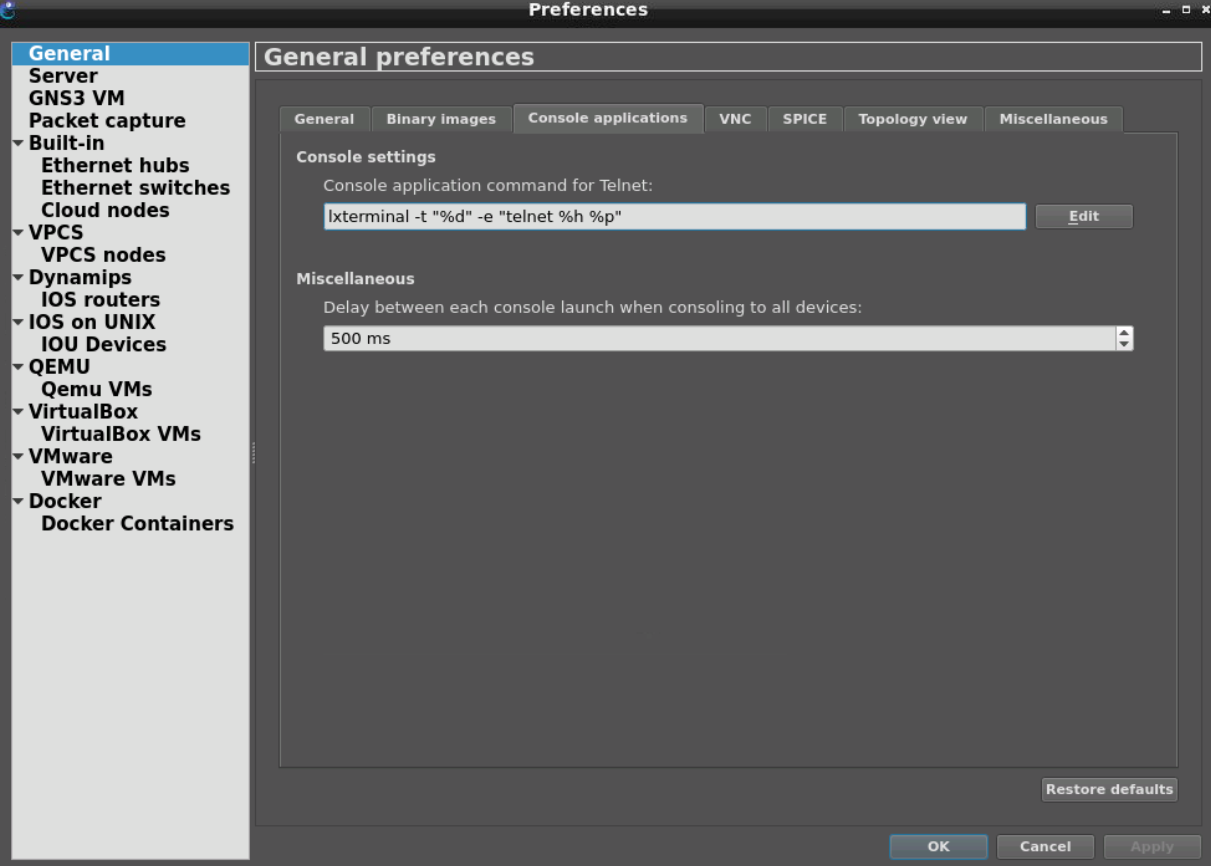
Edit > Preferences > General > Console applications > Console settings > Edit. Then change it to:
lxterminal -t "%d" -e "telnet %h %p"> OK -
Apply > OK
The objective of this lab is to ensure GNS3 can communicate with our local system.
-
The following are steps we need to issue on our host machine (beachhead) in order to ensure our GNS3 application has access to our local host. The following steps are examples of network function virtualization, using OpenVSwitch. Unfortunately, we can't go terribly deep into this topic within this course, but we left them in (rather than script them), because we thought some people might actually enjoy seeing these types of changes being made.
-
Do NOT close GNS3, but open a new terminal.
-
Change to the student home directory.
~= your home directory which is/home/student/.student@beachhead:/$cd ~ -
Create an OpenVSwitch called napalm-net.
sudo ovs-vsctl add-br napalm-net -
Now we need to add a port on the new instance of OVS.
sudo ovs-vsctl add-port napalm-net host0 -- set Interface host0 type=internal -
Create a tap? a layer 2 device that acts like an ethernet adapter.
sudo ip tuntap add dev tap1 mode tap -
Turn up the tap.
sudo ip link set dev tap1 up -
Apply an IP address to the host port host0.
sudo ip addr add 172.16.2.100/24 dev host0 -
Turn up the port host0.
sudo ip link set dev host0 up -
Place the tap in napalm-net.
sudo ovs-vsctl add-port napalm-net tap1 -
Confirm that napalm-net has been correctly configured.
sudo ovs-vsctl showThis shows what it should look like. Note, that the order your ports appear in may be different.
Bridge napalm-net Port "tap0" Interface "tap1" Port "host0" Interface "host0" type: internal Port napalm-net Interface napalm-net type: internal ovs_version: "2.5.4" -
Those steps gave connectivity to the GNS3 environment running on our local host. That will be critical, if we're eventually going to drive our virtualized appliances with Python or Ansible.
-
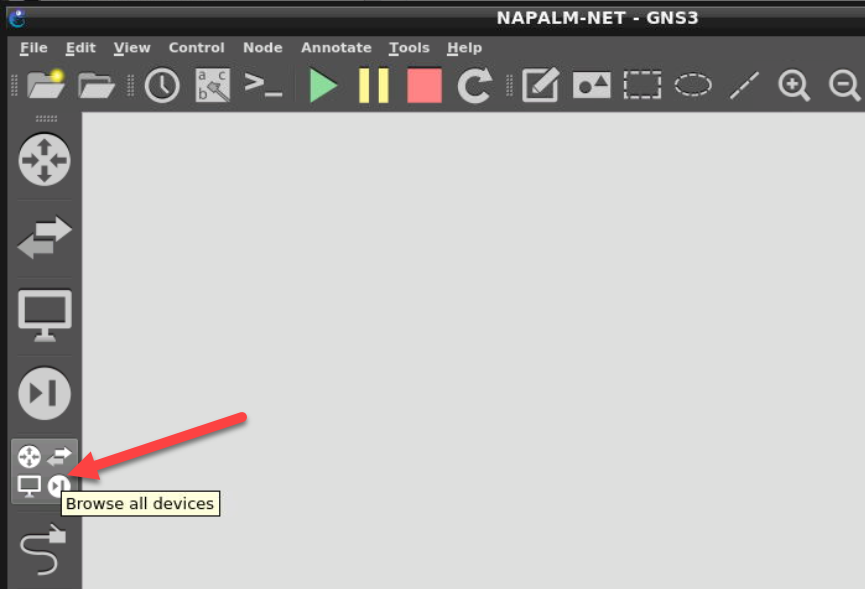
Click on the "Browse all Devices" icon (looks like 4 icons in one button).
-
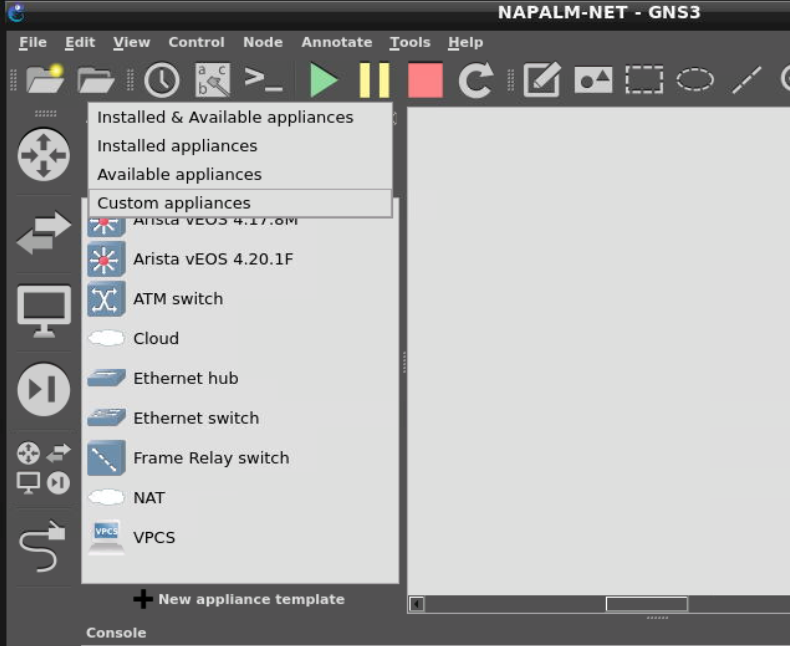
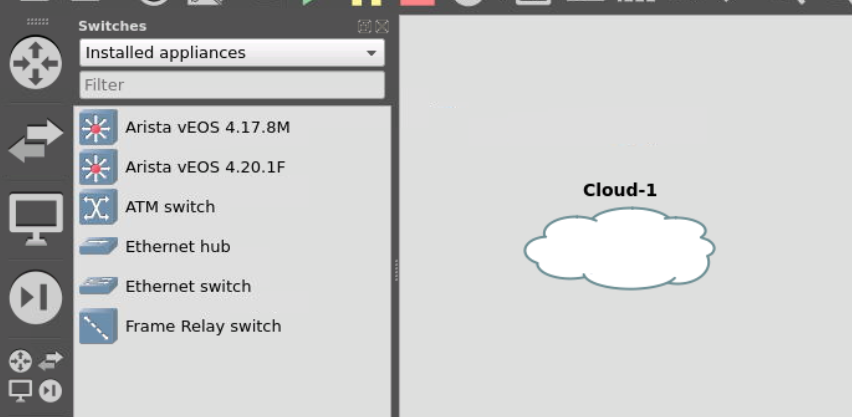
Click the sidebar icon that looks like two arrows (Browse Switches on hover).
-
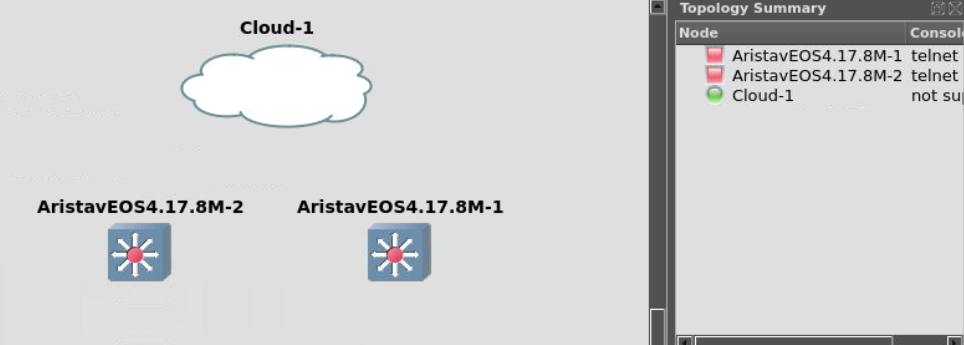
Click and drag the "AristavEOS4" into the center area. Do this twice.
-
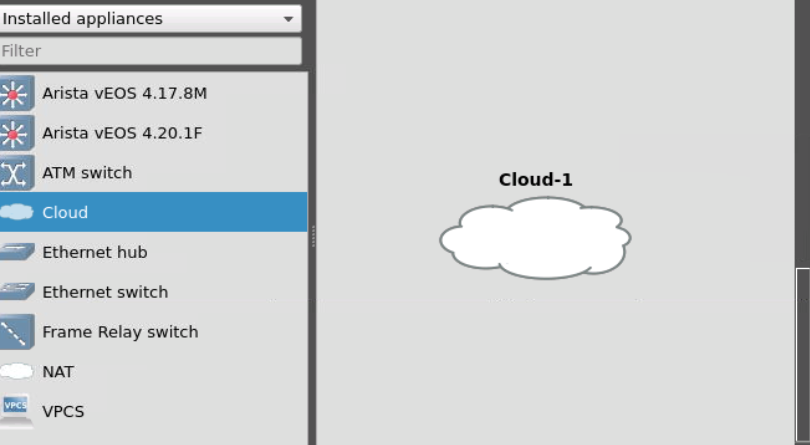
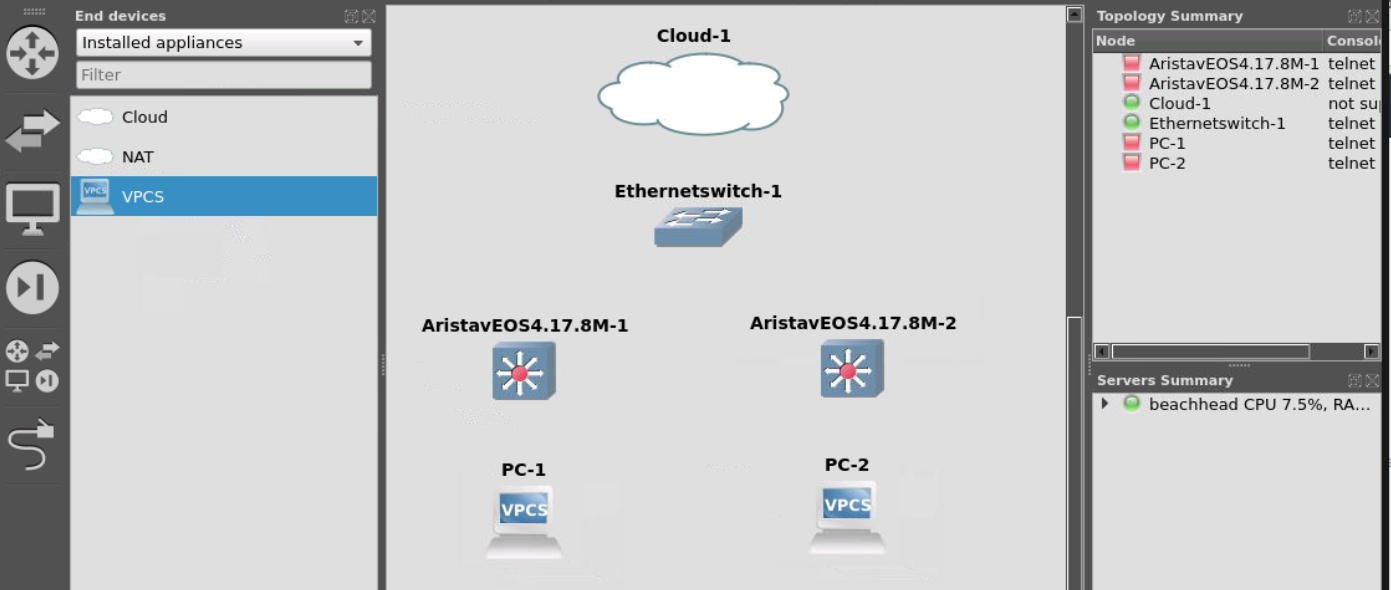
Click and drag the "Ethernet Switch" to the center area, and note the Topology Summary to the right. This becomes important to us shortly.
-
Click and drag the VPCS icon into the center area. Do this twice.
-
Click on the sidebar icon that looks like an ethernet cable.
-
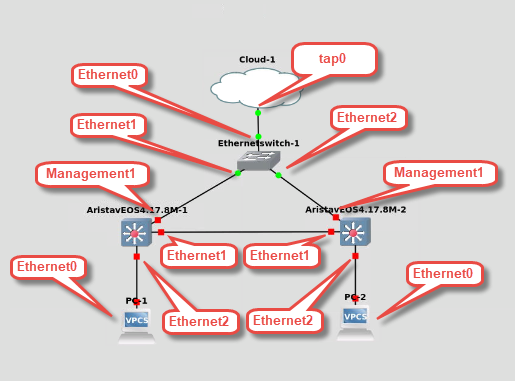
Left click your ethernet connection on the cloud, and select tap0, then connect it to ethernet0 within Ethernetswitch-1. Continue connecting devices until your topology looks like the one below:
-
Hold the
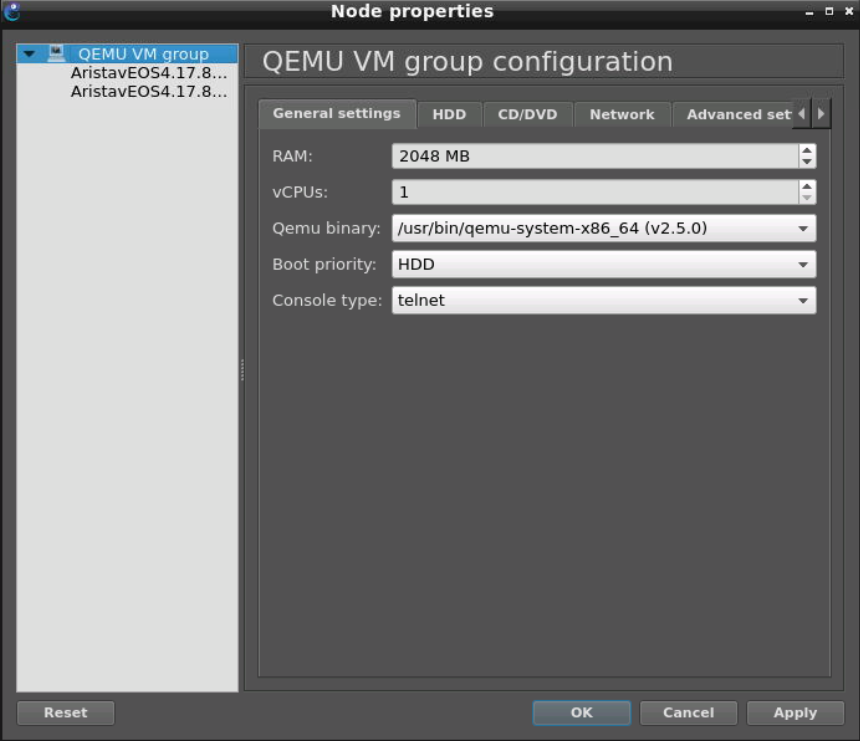
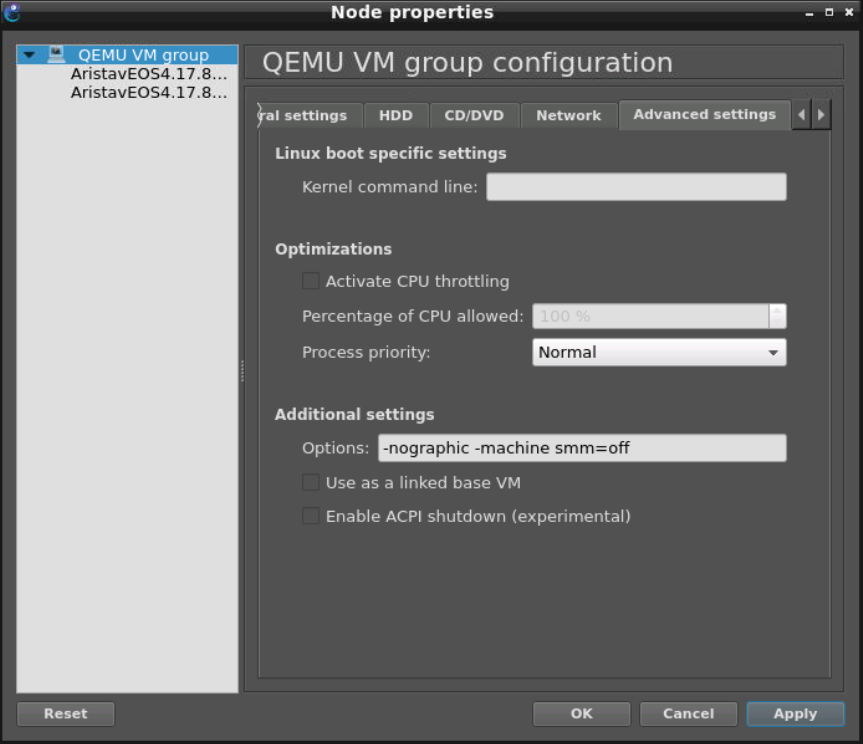
Ctrlkey and click on both vEOS switches. Now right-click on either on of the switches > Click Configure > Advanced Settings.
-
Edit the Additional Settings to be
-nographic -machine smm=off.
-
Click Apply > Click OK.
This fixes a known issue with the bootup of vEOS switches If you get an error like this right click on the switch and reboot it.
[ 197.324266] RIP [<ffffffff8105d6df>] finish_task_switch+0x86/0x2e5
[ 197.324266] Kernel version: 3.18.28.Ar-6765725.4 #1 SMP PREEMPT Wed Nov 15 09:47:13 PST 2017 -
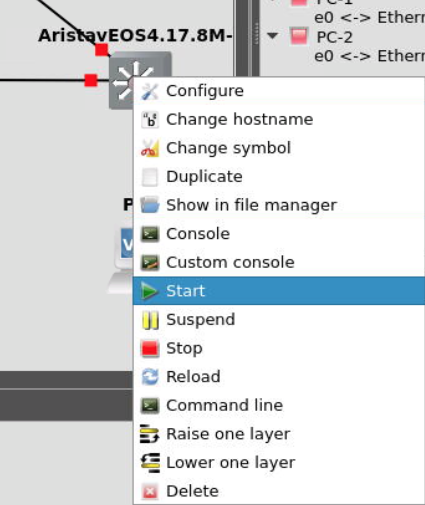
Boot time should be about 7 minutes. Take a break. When you come back, you'll have to two virtualized production switches up and running.
-
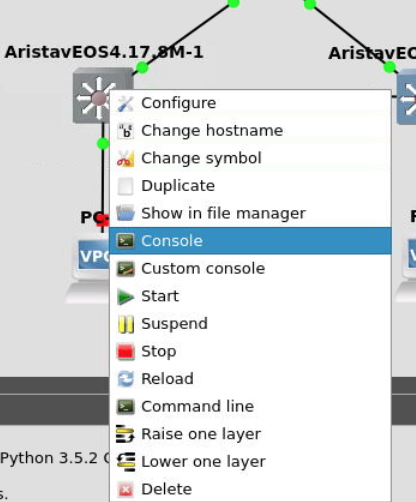
Login as admin on both, no password.
localhost login:admin
localhost> -
Congrats! You deployed a topology.
