Quick Start
This section describes the process of creating an application using CUBA CLI.
Make sure that the necessary software is already installed and set up on your computer, see Installation.
CUBA CLI is a tool for CUBA Platform projects scaffolding. CLI can work in two modes: shell mode and single command mode.
- Open a terminal and start CUBA CLI.
cuba-cli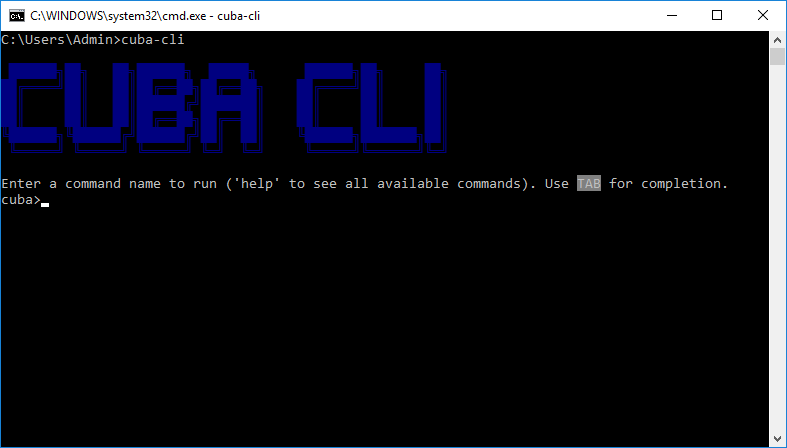
- Input command
create-app. You can use TAB auto-completion.
create-app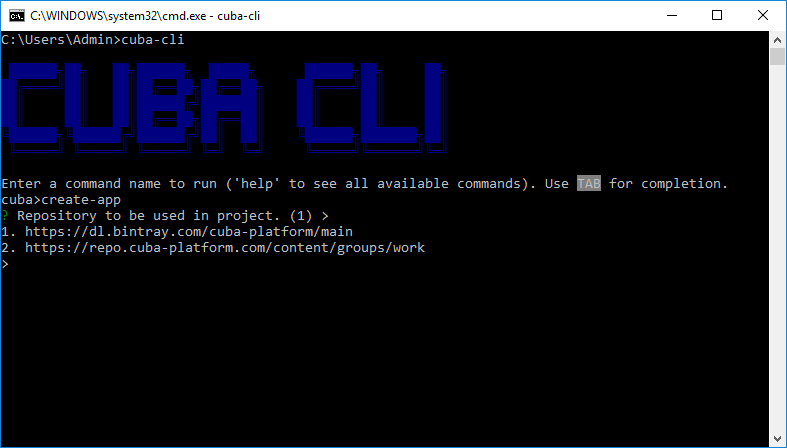
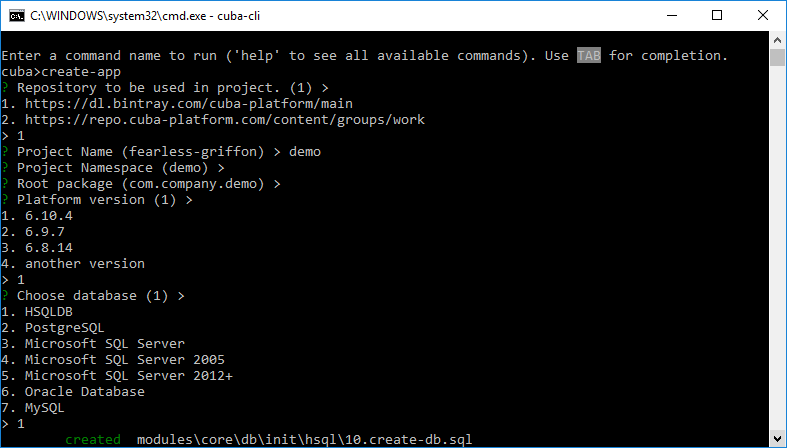
- CLI will ask you questions about the project. If a question implies default answer, you can press enter to accept it. You will be asked the following questions:
- Repository to be used in the project - binary artifacts repository URL. The artifacts that the project depends on are loaded from the repository when that project is built.
- Project name – the project name. For sample projects CLI generates random names that can be selected by default.
- Project namespace – the namespace which will be used as a prefix for entity names and database tables. The namespace can consist of Latin letters only and should be as short as possible.
- Root package – the root package of Java classes.
- Platform version – the platform version used in the project. The platform artifacts will be automatically downloaded from the repository on project build. Choose the latest.
-
Database – the SQL database to use. Choose
HSQLDB.
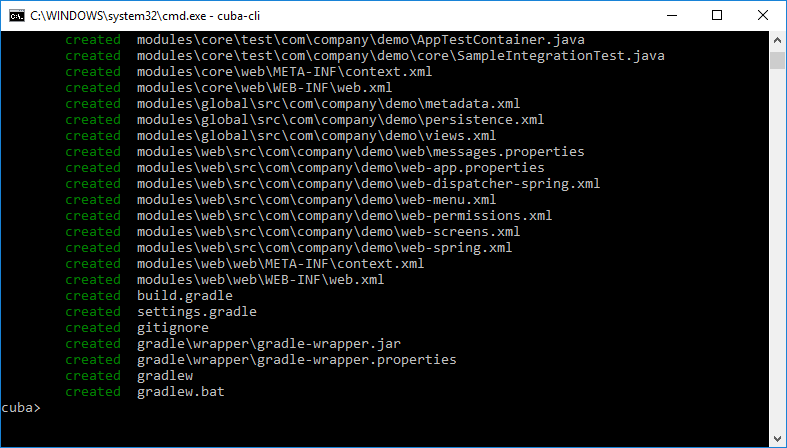
- The empty project will be created in a new folder in the current directory.
- Close CLI or open new terminal window and navigate to the project folder. Run
./gradlew assemble
./gradlew assemble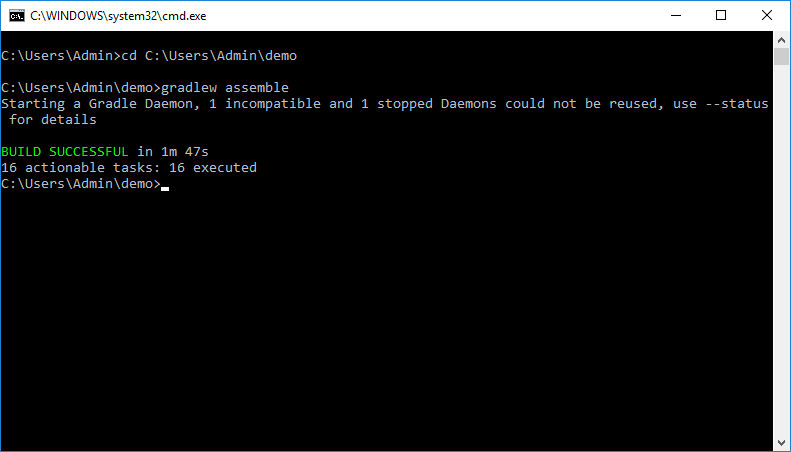
- Run
./gradlew startDbto start the local HyperSQL server.
./gradlew startDb- Run
./gradlew createDbto create a database.
./gradlew createDb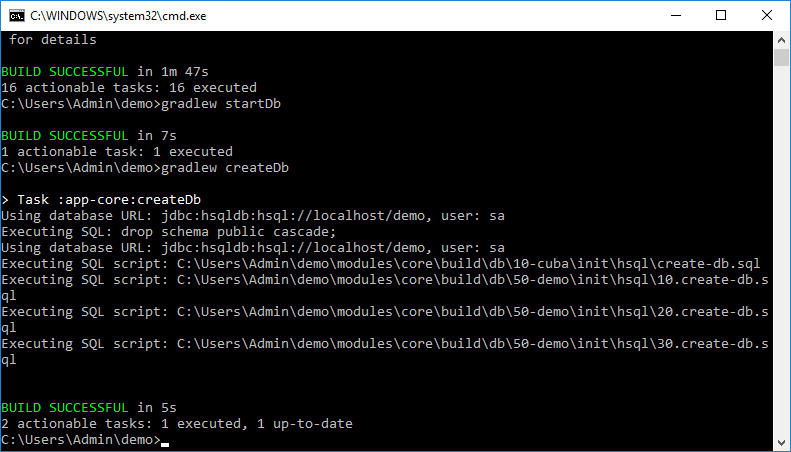
- Start the locat Tomcat server by running
./gradlew setupTomcat deploy start.
gradlew setupTomcat deploy start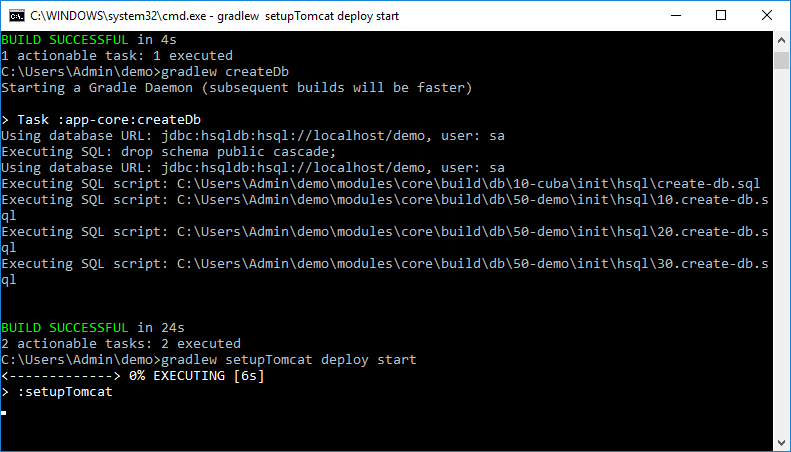
- In your browser go to http://localhost:8080/app
The username and password are admin / admin.
- Open IntelliJ IDEA
- File -> Open, navigate to project directory, choose
build.gradle, pressOK. - In Gradle settings choose
Use gradle 'wrapper' task configuration. - Press
OK.
- In the terminal navigate to project directory.
- Start CUBA CLI.
- Enter
create-entity. You will be asked the following questions:
-
Entity name – entity class name. Enter
Customer. - Package name – entity class package name. Accept default.
- Entity type – entity may be Persistent, Persistent embedded or Not Persistent. Choose Persistent to make the entity able to be saved in the database.
create-entity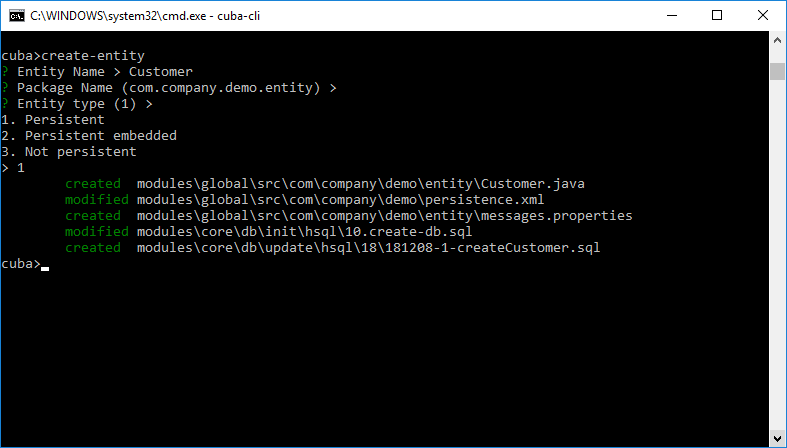
- Let's add some fields. Open the created class in your IDE. Add the following field and methods:
@Column(name = "NAME")
protected String name;

public void setName(String name) {
    this.name = name;
}

public String getName() {
    return name;
}- Now let's add the new column to the SQL create and update scripts.
Open the generated
{yymmdd}-createCustomer.sqlupdate script in themodules/core/db/update/hsql/{yy}/folder and add theNAMEcolumn to it:
-- begin SALES_CUSTOMER
create table DEMO_CUSTOMER (
    ID varchar(36) not null,
    CREATE_TS timestamp,
    CREATED_BY varchar(50),
    VERSION integer,
    UPDATE_TS timestamp,
    UPDATED_BY varchar(50),
    DELETE_TS timestamp,
    DELETED_BY varchar(50),
    --  add your columns here
    NAME varchar(255),
    --
    primary key (ID)
)^
-- end SALES_CUSTOMER
Add the new column to the generated 10.created-db.sql create script, too.
See the CUBA Platform documentation to learn more about create and update scripts.
- Run
./gradlew updateDbto create the table for theCustomerentity.
gradlew updateDb- In the terminal navigate to project directory.
- Start CUBA CLI.
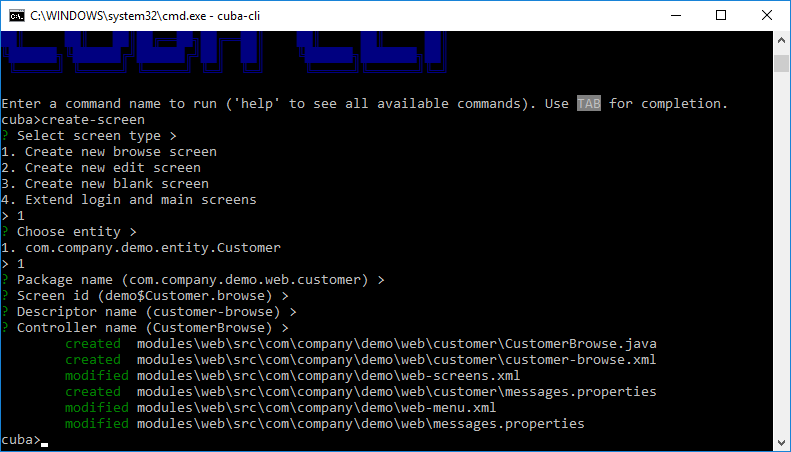
- Enter
create-screen - Select Create new browse screen to create the Browse screen. You will be asked the following questions:
-
Choose entity – select
Customer. - Package name – the screens package name. Accept default.
- Screen id - the identifier of the screen in web-screens.xml file. Accept default.
- Descriptor name - the name of the XML-descriptor file. Accept default.
- Controller name - the name of the screen controller file. Accept default.
- Enter
create-screenagain, select Create new edit screen and repeat the steps above to create the Edit screen for theCustomerentity.
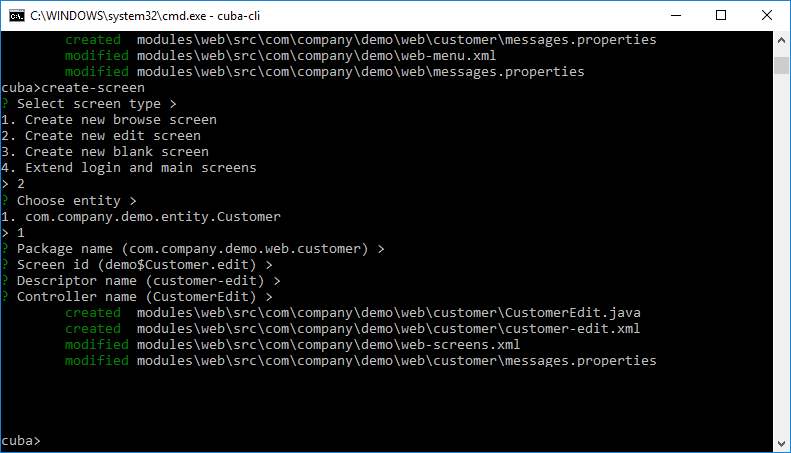
The created standard screens have been created in the web module package.