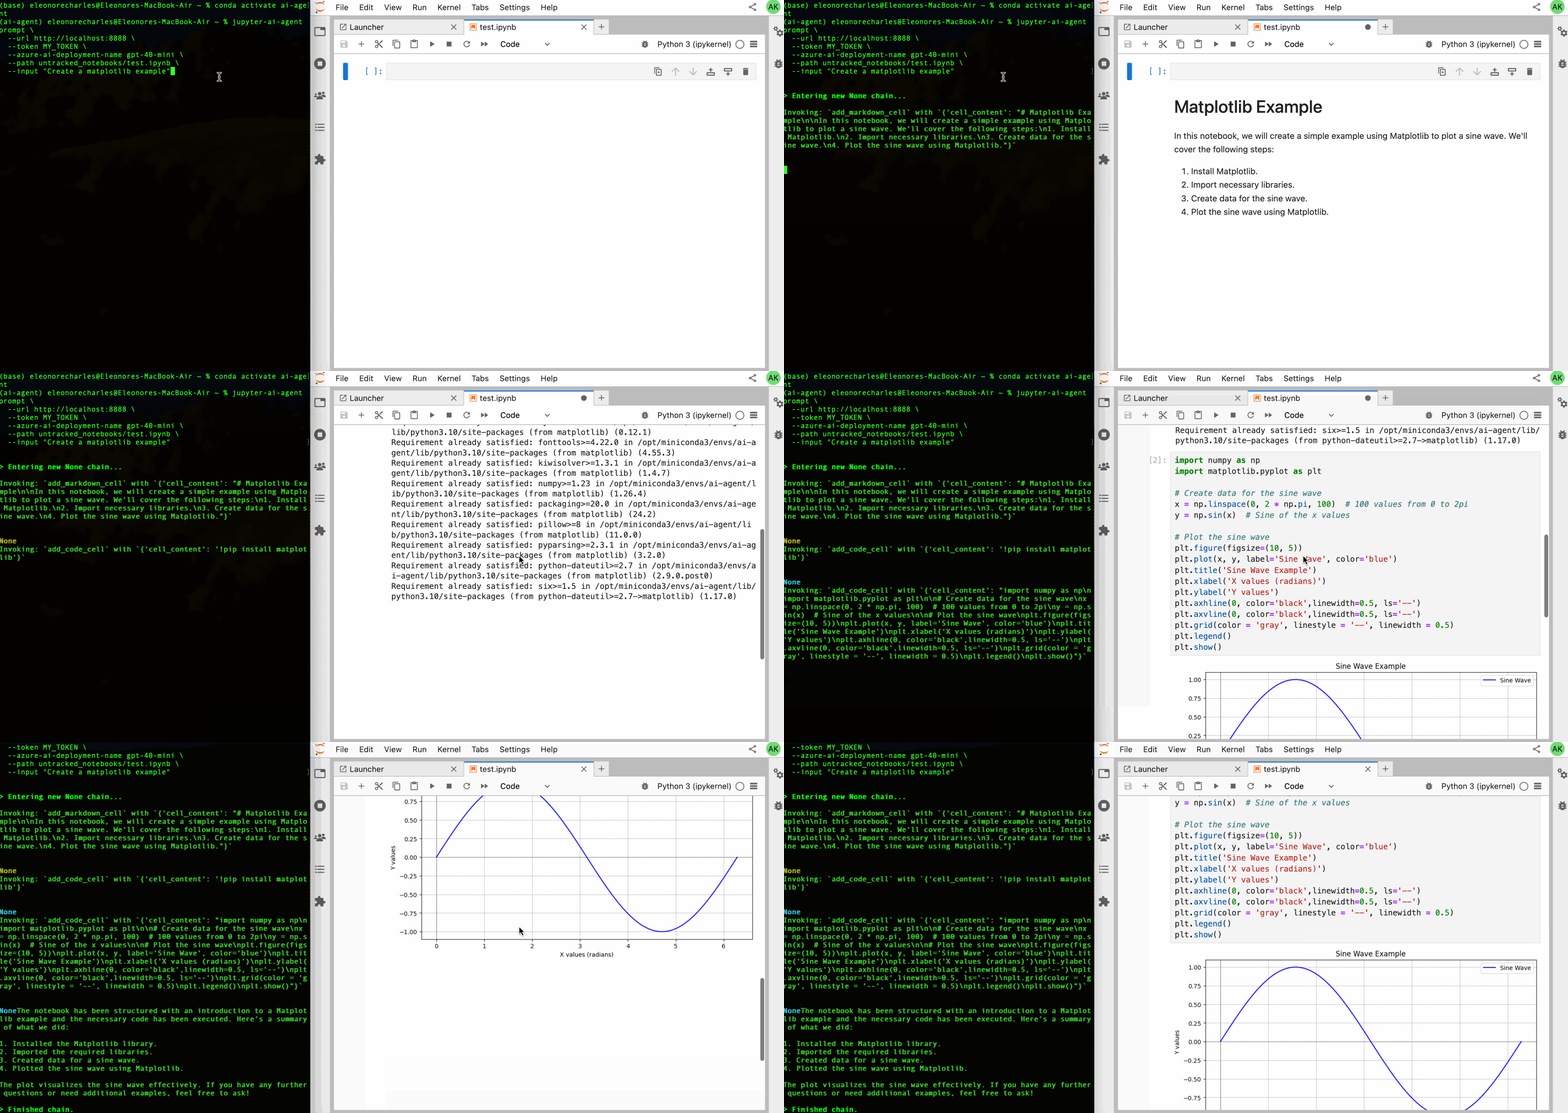
Use Jupyter AI Agent, an AI Agent equipped with tools like 'execute', 'insert_cell', and more, to transform your Jupyter Notebooks into an intelligent, interactive workspace!
Jupyter AI Agent <-----------> JupyterLab
    |
    |   (RTC Real Time Collaboration)
    |
JNC + JKC

- JNC https://github.com/datalayer/jupyter-nbmodel-client
- JKC https://github.com/datalayer/jupyter-kernel-client
Jupyter AI Agent empowers AI models to interact with and modify Jupyter Notebooks. The agent is equipped with tools such as adding code cells, inserting markdown cells, executing code, enabling it to modify the notebook comprehensively based on user instructions or by reacting to notebook and kernel events.
This agent is innovative as it is designed to operate on the entire notebook, not just at the cell level, enabling more comprehensive and seamless modifications.
This powerful functionality is made possible through jupyter-nbmodel-client and jupyter-kernel-client, enabling interaction with Jupyter Notebooks and Kernels.
LangChain Agent Framework is used to manage the interactions between the AI model and the tools.
Warning
jupyter-nbmodel-client and jupyter-kernel-client are experimental and under active development. Unexpected behavior such as "Panic Exception" may occur, due to potential issue generated by 3rd party projects.
This library is documented on https://jupyter-ai-agent.datalayer.tech.
We put here a quick example for a Out-Kernel Stateless Agent helping your JupyterLab session.
To install Jupyter AI Agent, run the following command.
pip install jupyter_ai_agentOr clone this repository and install it from source.
git clone https://github.com/datalayer/jupyter-ai-agent
cd jupyter-ai-agent
pip install -e .
The Jupyter AI Agent can directly interact with JupyterLab and the modifications made by the Jupyter AI Agent can be seen in real-time thanks to Jupyter Real Time Collaboration. Make sure you have JupyterLab installed with the Collaboration extension.
pip install jupyterlab jupyter-collaboration ipykernelStart JupyterLab, setting a port and a token to be reused by the agent, and create a notebook test.ipynb.
jupyter lab --port 8888 --IdentityProvider.token MY_TOKENRead the Azure Documentation to get the needed credentials and make sure you define them in the following .env file.
cat << EOF >>.env
OPENAI_API_VERSION="..."
AZURE_OPENAI_ENDPOINT="..."
AZURE_OPENAI_API_KEY="..."
EOF
To use the Jupyter AI Agent, an easy way is to launch a CLI (update the Azure deployment based on your setup).
# Prompt agent example.
jupyter-ai-agent prompt \
  --url http://localhost:8888 \
  --token MY_TOKEN \
  --azure-ai-deployment-name gpt-40-mini \
  --path test.ipynb \
  --input "Create a matplotlib example"
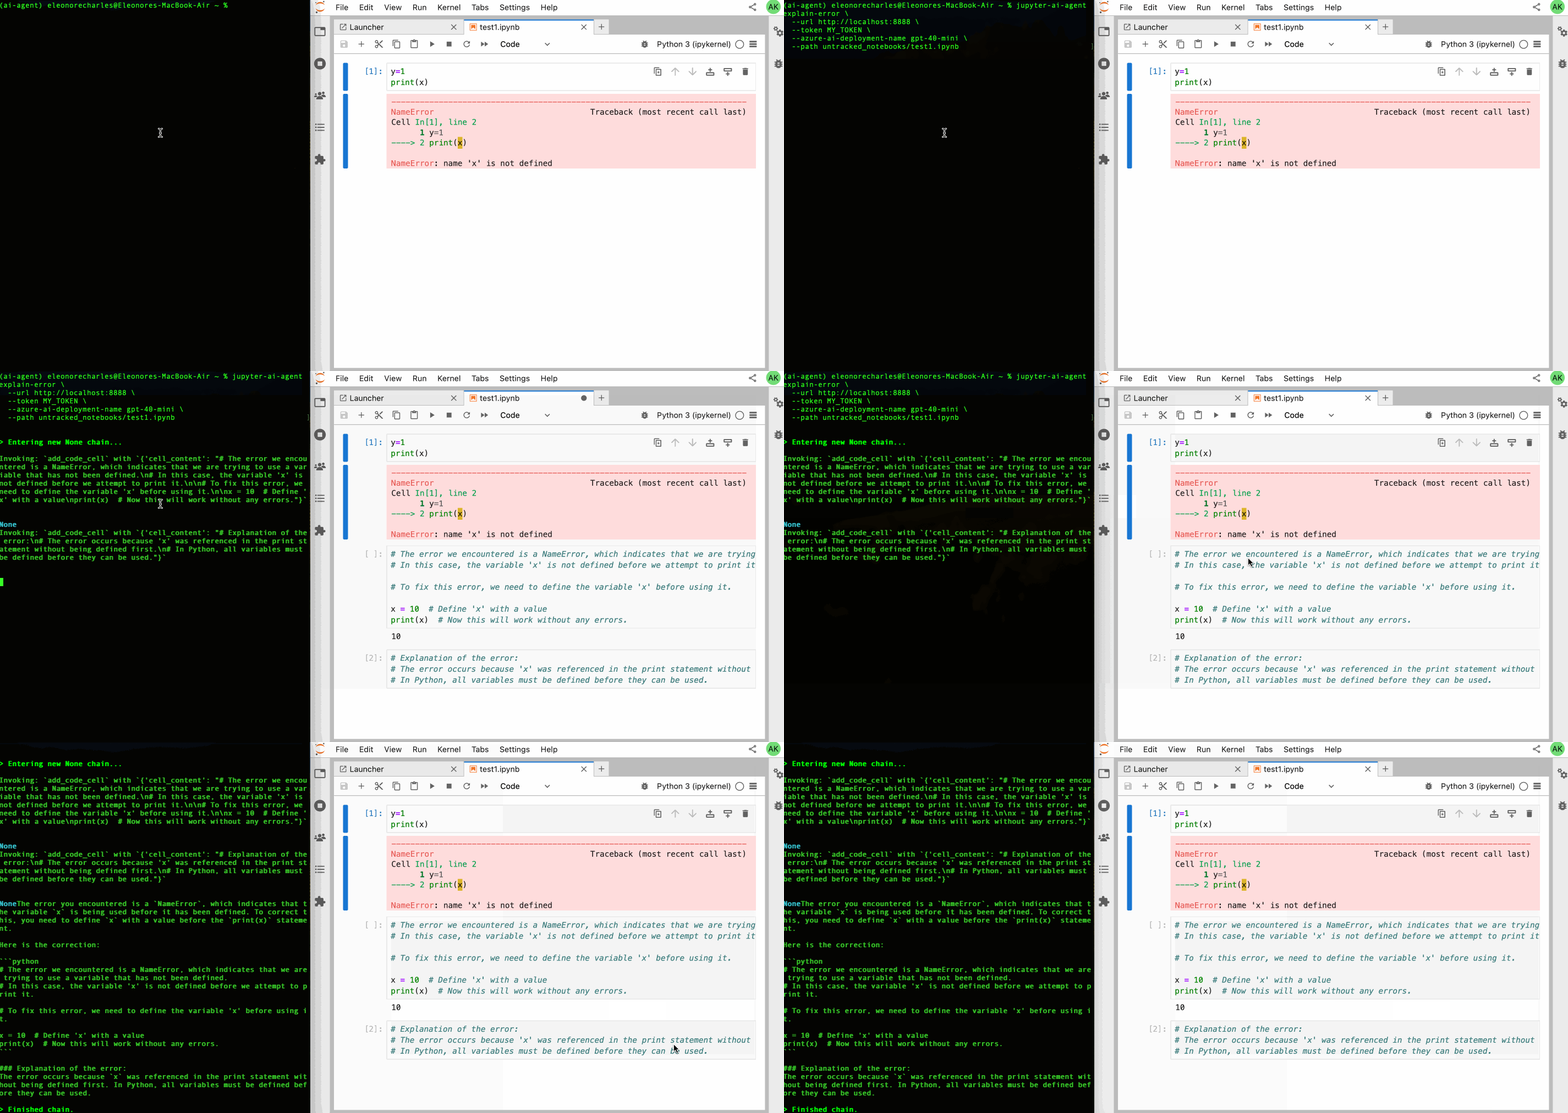
# Explain Error agent example.
jupyter-ai-agent explain-error \
--url http://localhost:8888 \
--token MY_TOKEN \
--azure-ai-deployment-name gpt-40-mini \
--path test.ipynbTo uninstall the agent, execute.
pip uninstall jupyter_ai_agent# Clone the repo to your local environment
# Change directory to the jupyter_ai_agent directory
# Install package in development mode - will automatically enable
# The server extension.
pip install -e ".[test,lint,typing]"Install dependencies:
pip install -e ".[test]"To run the python tests, use:
pytestpip uninstall jupyter_ai_agentSee RELEASE


