This repository stores the Cup-Pong firmware. The firmware is written for the ATTiny85 microcontroller. It is written using the ATTinyCore Arduino core (see https://github.com/SpenceKonde/ATTinyCore).
The following configuration settings are used:
- Clock: 8 MHz (Internal)
- B.O.D Disabled
- Timer 1 Clock: CPU
- LTO: Enabled
- millis/micros: Enabled
Before loading the firmware for the first time on a new microcontroller, the fuses must be set using the "Set Fuses" command in PlatformIO.
Fuse settings (see http://eleccelerator.com/fusecalc/fusecalc.php?chip=attiny85&LOW=D2&HIGH=DF&EXTENDED=FF&LOCKBIT=FF):
lfuse: 0xD2
    [ ] Clock output on PORTB4; [CKOUT=0]
    [ ] Divide clock by 8 internally; [CKDIV8=0]

hfuse: 0xDF
    [ ] Debug Wire enable; [DWEN=0] *
    [ ] Preserve EEPROM memory through the Chip Erase cycle; [EESAVE=0]
    [ ] Reset Disabled (Enable PB5 as i/o pin); [RSTDISBL=0] *
    [*] Serial program downloading (SPI) enabled; [SPIEN=1] *
    [ ] Watch-dog Timer always on; [WDTON=0]

efuse = 0xFF
    [ ] Self Programming enable; [SELFPRGEN=0]

lock_bits = 0xFF
    [ ] Mode 1: No memory lock features enabled
To compile and run using platformio:
pio run -e attiny85
- Programmer Type: usbasp
When programming with AVR dude, use the following configuration:
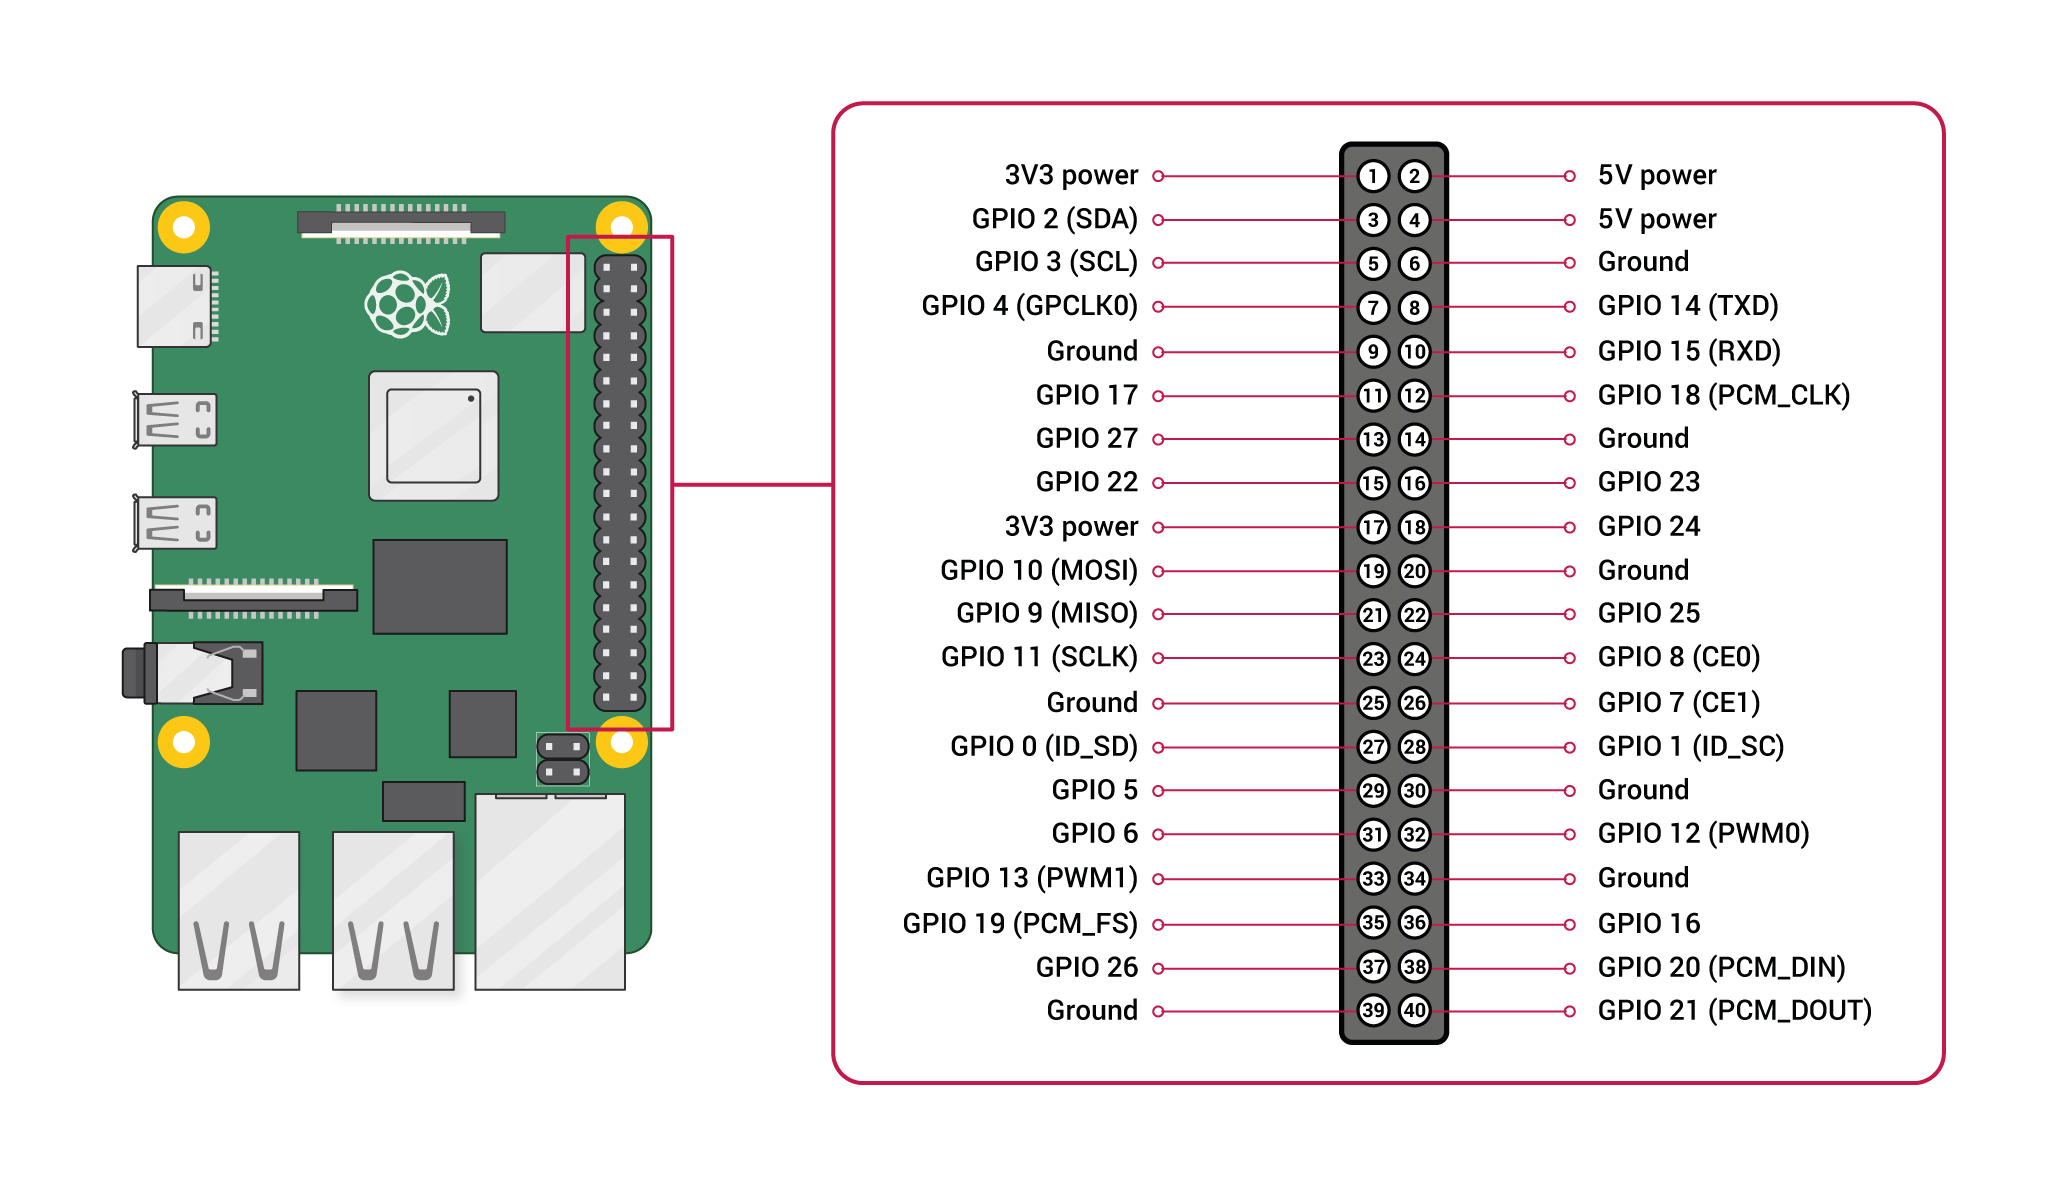
# Linux GPIO configuration for avrdude.
# Change the lines below to the GPIO pins connected to the AVR.
programmer
id    = "pi_1";
desc  = "Use the Linux sysfs interface to bitbang GPIO lines";
type  = "linuxgpio";
reset = 17;
sck   = 3;
mosi  = 2;
miso  = 4;
;
This configuration allows uploading firmwate using a Raspberry Pi without disconnecting I2C lines.
To make sure everything is plugged in and configured correctly:
sudo avrdude -p t85 -C ~/avrdude_gpio.conf -c pi_1 -v

