
Designed for simplicity, customization, and developer productivity.


Important
✨ Visit the Official Documentation for detailed guides and tutorials.
README-AI is a developer tool that automatically generates README markdown files using a robust repository processing engine and advanced language models. Simply provide a URL or path to your codebase, and a well-structured and detailed README will be generated.
Why README-AI?
This tool is designed to streamline the documentation process for developers, saving time and effort while ensuring high-quality README files. Key benefits include:
- AI-Powered: Leverage language models for intelligent content generation.
- Consistency: Ensure clean, standardized documentation across projects.
- Customization: Tailor the output to fit your project's requirements.
- Language Agnostic: Works with most programming languages/frameworks.
- Save Time: Generate comprehensive READMEs in less than a minute.
Running from the command line:
readmeai-cli-demo.mov
Running directly in your browser:
readmeai-streamlit-demo.mov
- 🚀 Automated Documentation: Generate comprehensive README files automatically from your codebase.
- 🎨 Customizable Output: Tailor the styling, formatting, badges, header designs, and more preferences.
- 🌐 Language Agnostic: Compatible with a wide range of programming languages and project types.
- 🤖 Multi-LLM Support: Current support for
OpenAI,Ollama,Anthropic,Google Gemini. - 📑 Offline Mode: Create boilerplate README files offline, without any external API calls.
- 📝 Best Practices: Ensures clean, professional documentation, adhering to markdown best practices.
Let's take a look at some possible customizations created by readme-ai:

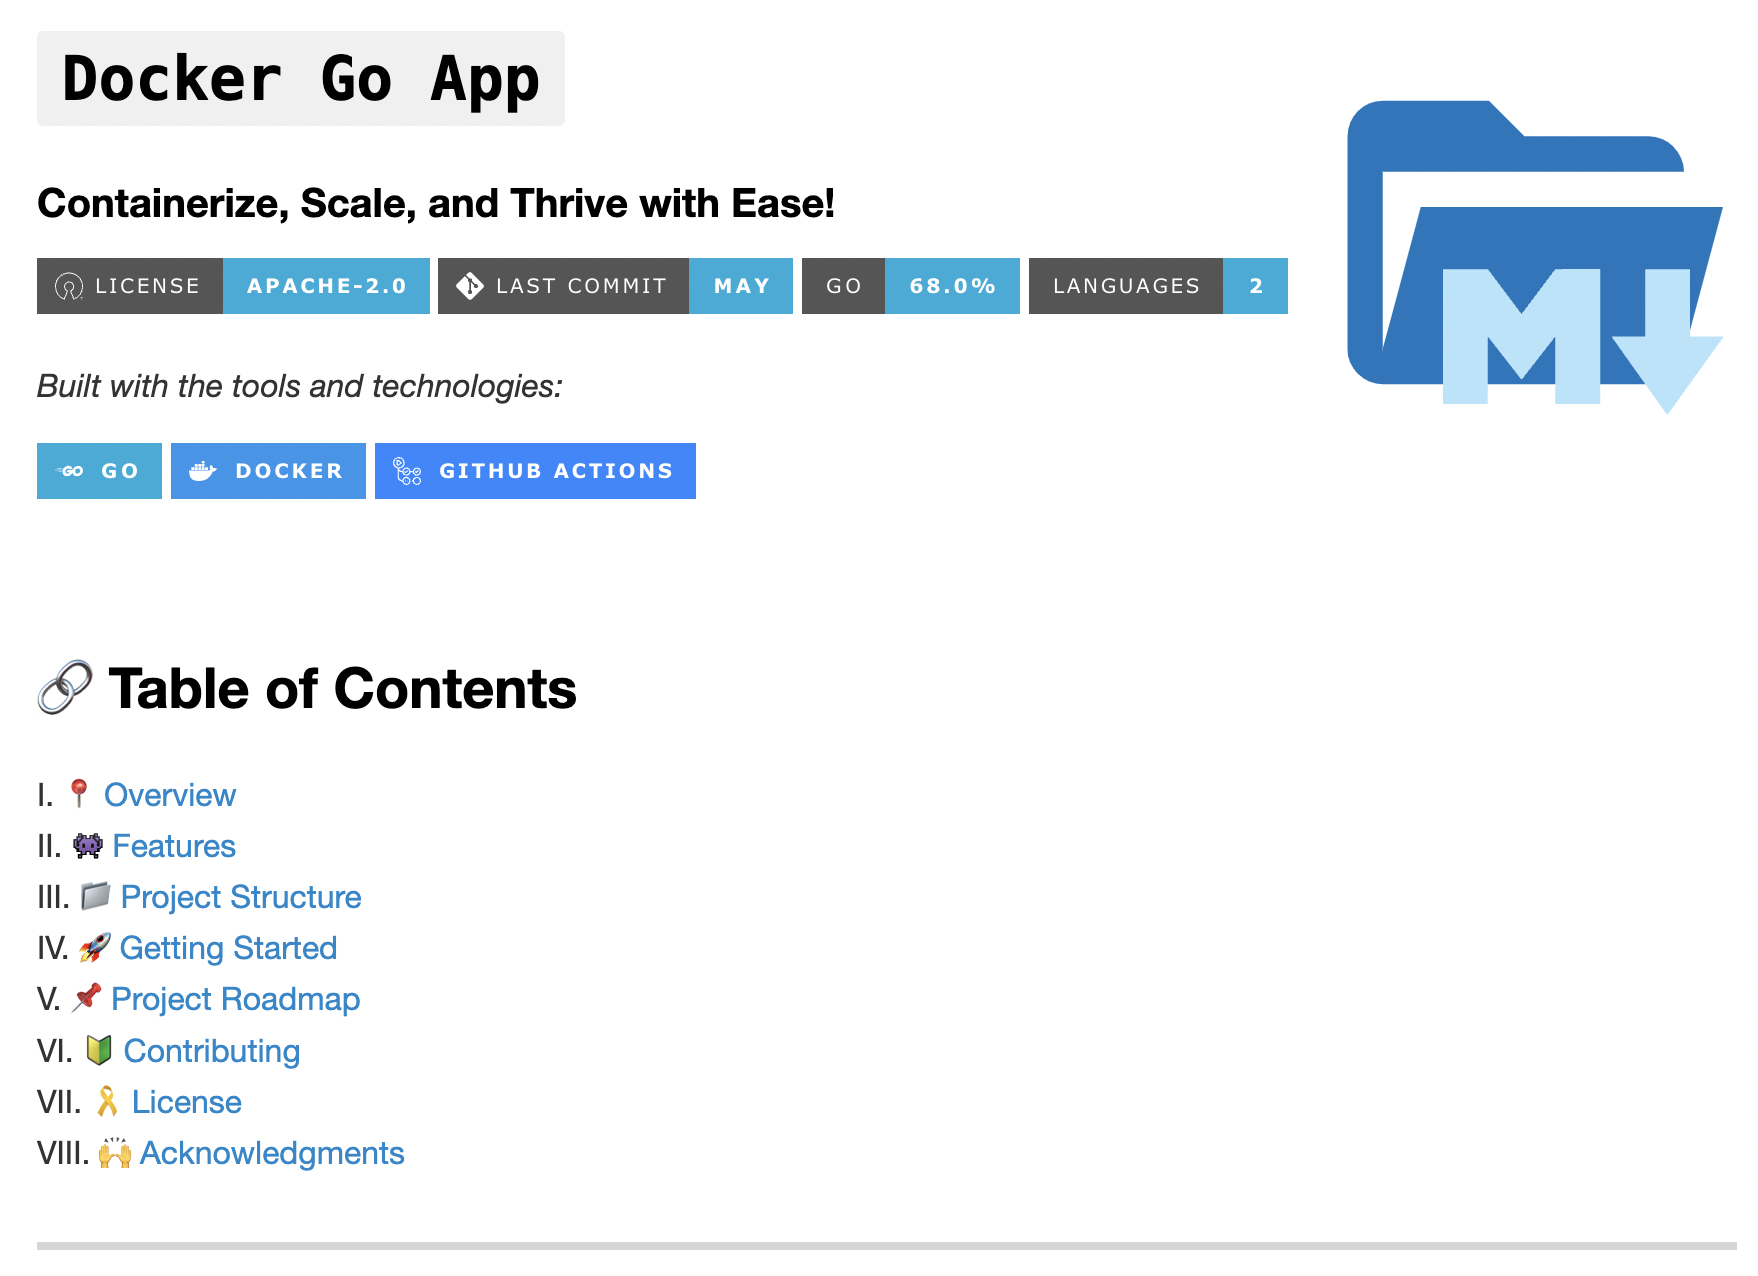
--image custom --badge-color FF4B4B --badge-style flat-square --header-style classic
|
|
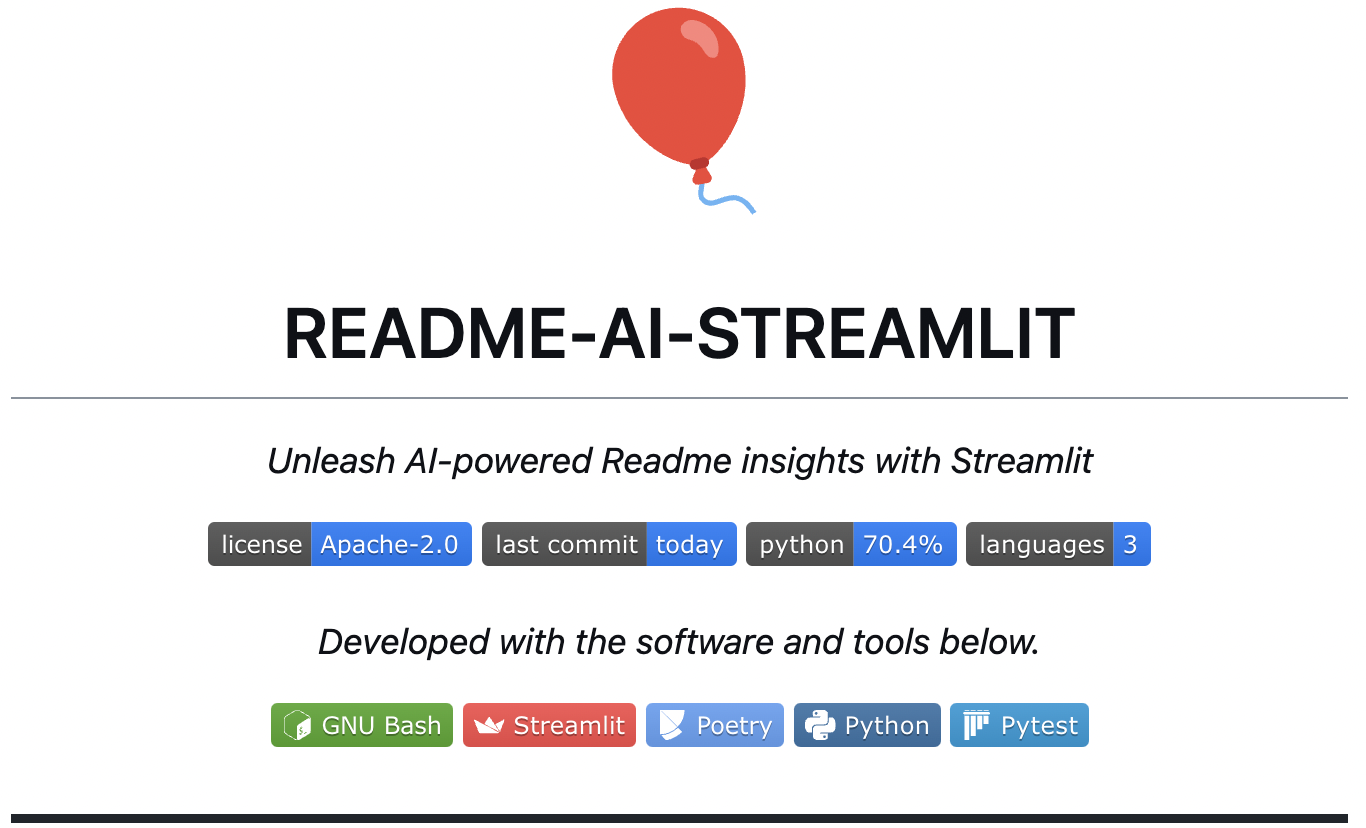
--badge-color 00ADD8 --badge-style for-the-badge --header-style modern --toc-style roman
|
|

--header-style ascii
|
|

--badge-style for-the-badge --header-style svg
|
|

--align left --badge-style flat-square --image cloud
|

--align left --badge-style flat --image gradient
|
--badge-style flat --image custom
|
--badge-style skills-light --image grey
|

--badge-style flat-square
|

--badge-style flat --image black
|

--image cloud --header-style compact --toc-style fold
|
|

-i custom -bc BA0098 -bs flat-square -hs modern -ts fold
|
|
Important
See the Official Documentation for more information on customization options and best practices.
Next, let's explore the key sections of a typical README generated by readme-ai.
📍 Overview
|
Overview ◎ High-level introduction of the project, focused on the value proposition and use-cases, rather than technical aspects. |

|
✨ Features
| Features Table ◎ Generated markdown table that highlights the key technical features and components of the codebase. This table is generated using a structured prompt template. |

|
📃 Codebase Documentation
| Directory Tree ◎ The project's directory structure is generated using pure Python and embedded in the README. See readmeai.generators.tree. for more details. |

|
|
File Summaries ◎ Summarizes key modules of the project, which are also used as context for downstream prompts. |

|
🚀 Quickstart Instructions
| Getting Started Guides ◎ Prerequisites and system requirements are extracted from the codebase during preprocessing. The parsers handles the majority of this logic currently. |

|
| Installation Guide ◎ |

|
🔰 Contributing Guidelines
| Contributing Guide ◎ Dropdown section that outlines general process for contributing to your project. ◎ Provides links to your contributing guidelines, issues page, and more resources. ◎ Graph of contributors is also included. |

|
| Additional Sections ◎ |
 |
- Python:
3.9+ - Package Manager/Container:
pip,pipx,uv, ordocker.
The following git hosting services are supported for source code retrieval, along with your local file system:
To enable the full functionality of readmeai, an account and API key are required for one of the following providers:
- OpenAI: Recommended for general use. Requires an OpenAI account and API key.
- Ollama: Free and open-source. No API key required.
- Anthropic: Requires an Anthropic account and API key.
- Google Gemini: Requires a Google Cloud account and API key.
- Offline Mode: Generates a README without making API calls.
For more information on setting up an API key, refer to the provider's documentation.
Choose your preferred installation method:

❯ pip install readmeai
❯ pipx install readmeaiTip
Using pipx allows you to install and run Python command-line applications in isolated environments, which helps prevent dependency conflicts with other Python projects.

Pull the latest Docker image from the Docker Hub repository.
❯ docker pull zeroxeli/readme-ai:latest
Click to expand instructions
-
Clone the repository:
❯ git clone https://github.com/eli64s/readme-ai
-
Navigate to the
readme-aidirectory:❯ cd readme-ai -
Install dependencies:
❯ pip install -r setup/requirements.txt
Alternatively, the project can be setup using the bash script below:

-
Run the setup script:
❯ bash setup/setup.sh
Or, use poetry to build the project:

-
Install dependencies using Poetry:
❯ poetry install
Important
To use the Anthropic and Google Gemini clients, additional dependencies are required. See the following installation commands:
- Anthropic:
❯ pip install "readmeai[anthropic]" - Google Gemini:
❯ pip install "readmeai[google-generativeai]"
1. Set Up Environment Variables
With OpenAI:
❯ export OPENAI_API_KEY=<your_api_key>

# Or for Windows users:

❯ set OPENAI_API_KEY=<your_api_key>
Additional Providers (Ollama, Anthropic, Google Gemini)
Ollama
Refer to the Ollama documentation for more information on setting up the Ollama API. Here is a basic example:
-
Pull your model of choice from the Ollama repository:
❯ ollama pull mistral:latest
-
Start the Ollama server and set the
OLLAMA_HOSTenvironment variable:❯ export OLLAMA_HOST=127.0.0.1 && ollama serve
Anthropic
-
Export your Anthropic API key:
❯ export ANTHROPIC_API_KEY=<your_api_key>
Google Gemini
-
Export your Google Gemini API key:
❯ export GOOGLE_API_KEY=<your_api_key
2. Generate a README
Run the following command, replacing the repository URL with your own:
❯ readmeai --repository https://github.com/eli64s/readme-ai --api openaiImportant
By default, the gpt-3.5-turbo model is used. Higher costs may be incurred when more advanced models.
Run with Ollama and set llama3 as the model:
❯ readmeai --api ollama --model llama3 --repository https://github.com/eli64s/readme-aiRun with Anthropic:
❯ readmeai --api anthropic -m claude-3-5-sonnet-20240620 -r https://github.com/eli64s/readme-aiRun with Google Gemini:
❯ readmeai --api gemini -m gemini-1.5-flash -r https://github.com/eli64s/readme-aiUse a local directory path:
readmeai --repository /path/to/your/projectAdd more customization options:
❯ readmeai --repository https://github.com/eli64s/readme-ai \
           --output readmeai.md \
           --api openai \
           --model gpt-4 \
           --badge-color A931EC \
           --badge-style flat-square \
           --header-style compact \
           --toc-style fold \
           --temperature 0.9 \
           --tree-depth 2
           --image LLM \
--emojisRun the Docker container with the OpenAI client:
❯ docker run -it --rm \
    -e OPENAI_API_KEY=$OPENAI_API_KEY \
    -v "$(pwd)":/app zeroxeli/readme-ai:latest \
    --repository https://github.com/eli64s/readme-ai \
--api openaiClick to expand instructions
If you installed the project from source with the bash script, run the following command:
-
Activate the virtual environment:
❯ conda activate readmeai
-
Run the CLI:
❯ python3 -m readmeai.cli.main -r https://github.com/eli64s/readme-ai
-
Activate the virtual environment:
❯ poetry shell
-
Run the CLI:
❯ poetry run python3 -m readmeai.cli.main -r https://github.com/eli64s/readme-ai

Try readme-ai directly in your browser, no installation required. See the readme-ai-streamlit repository for more details.
The pytest and nox frameworks are used for development and testing.
Install the dependencies using Poetry:
❯ poetry install --with dev,testRun the unit test suite using Pytest:
❯ make testRun the test suite against Python 3.9, 3.10, 3.11, and 3.12 using Nox:
❯ make test-noxTip
Nox is an automation tool that automates testing in multiple Python environments. It is used to ensure compatibility across different Python versions.
Customize your README generation using these CLI options:
| Option | Description | Default |
|---|---|---|
--align |
Text alignment in header | center |
--api |
LLM API service provider | offline |
--badge-color |
Badge color name or hex code | 0080ff |
--badge-style |
Badge icon style type | flat |
--header-style |
Header template style | classic |
--toc-style |
Table of contents style | bullet |
--emojis |
Adds emojis to the README header sections | False |
--image |
Project logo image | blue |
--model |
Specific LLM model to use | gpt-3.5-turbo |
--output |
Output filename | readme-ai.md |
--repository |
Repository URL or local directory path | None |
--temperature |
Creativity level for content generation | 0.1 |
--tree-depth |
Maximum depth of the directory tree structure | 2 |
Run the following command to view all available options:
❯ readmeai --helpVisit the Official Documentation for more detailed information on configuration options, examples, and best practices.
View example README files generated by readme-ai across various tech stacks:
| Technology | Example Output | Repository | Description |
|---|---|---|---|
| Readme-ai | readme-ai.md | readme-ai | Readme-ai project |
| Apache Flink | readme-pyflink.md | pyflink-poc | Pyflink project |
| Streamlit | readme-streamlit.md | readme-ai-streamlit | Streamlit web app |
| Vercel & NPM | readme-vercel.md | github-readme-quotes | Vercel deployment |
| Go & Docker | readme-docker-go.md | docker-gs-ping | Dockerized Go app |
| FastAPI & Redis | readme-fastapi-redis.md | async-ml-inference | Async ML inference service |
| Java | readme-java.md | Minimal-Todo | Minimalist todo Java app |
| PostgreSQL & DuckDB | readme-postgres.md | Buenavista | Postgres proxy server |
| Kotlin | readme-kotlin.md | android-client | Android client app |
| Offline Mode | offline-mode.md | litellm | LLM API service |
Find additional README examples in the examples directory.
- Release
readmeai 1.0.0with enhanced documentation management features. - Develop
Vscode Extensionto generate README files directly in the editor. - Develop
GitHub Actionsto automate documentation updates. - Add
badge packsto provide additional badge styles and options.- Code coverage, CI/CD status, project version, and more.
Contributions are welcome! Please read the Contributing Guide to get started.
- 💡 Contributing Guide: Learn about our contribution process and coding standards.
- 🐛 Report an Issue: Found a bug? Let us know!
- 💬 Start a Discussion: Have ideas or suggestions? We'd love to hear from you.
README-AI is released under the terms of the MIT License.
- Shields.io
- Simple Icons
- Aveek-Saha/GitHub-Profile-Badges
- Ileriayo/Markdown-Badges
- tandpfun/skill-icons