-
-
Notifications
You must be signed in to change notification settings - Fork 2
Overview of the CodeEditor
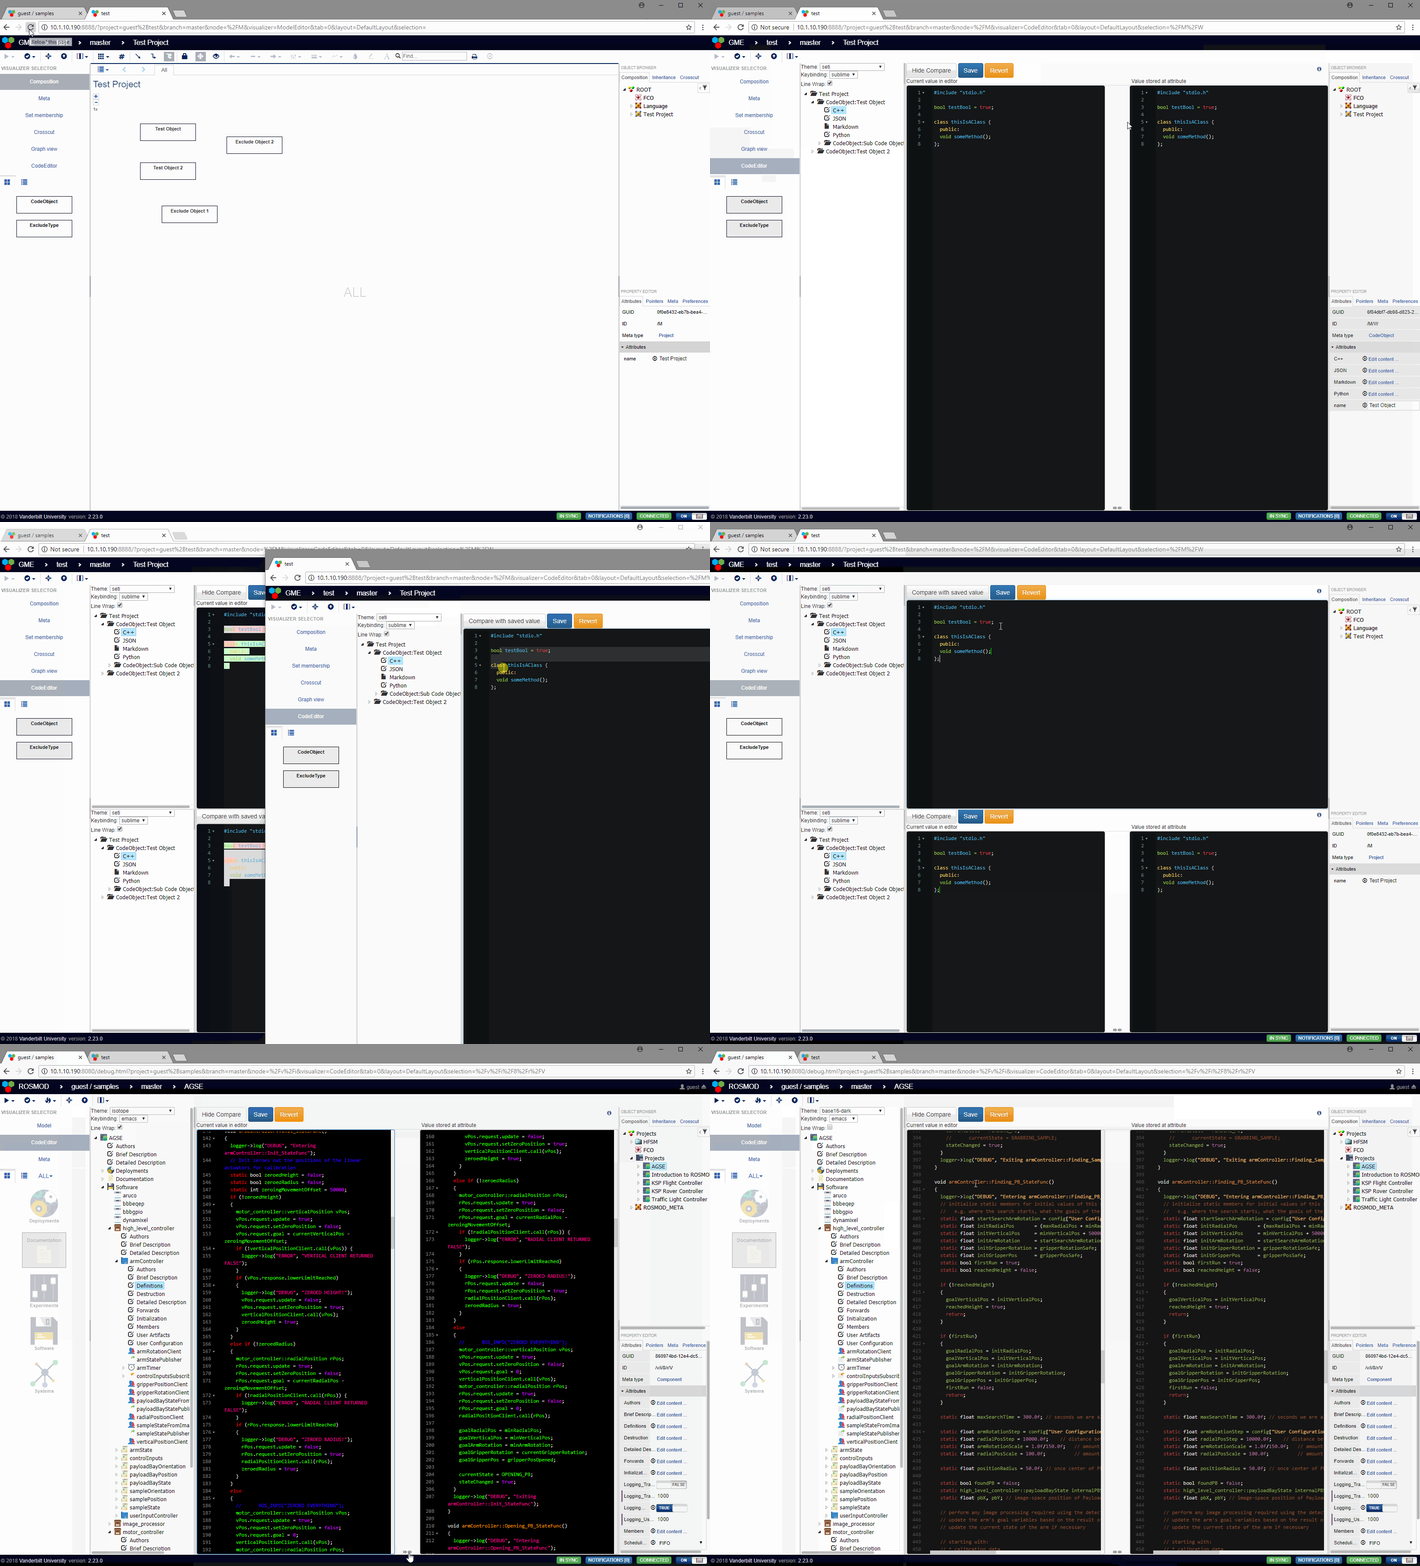
The WebGME CodeEditor is a multi-line text editor component for the WebGME collaborative web-based modeling environment WebGME, WebGME Github.
The CodeEditor is built upon CodeMirror and
FancyTree. and provides a
reusable way to define the different multi-line attributes for each of
the meta-types in your WebGME domain, as well as what syntax
highlighting and other properties those attributes should support,
e.g. c++ or javascript.
Features:
- Syntax highlighting for all languages (modes) supported by CodeMirror
- Some code completion options depending on language
-
Keybinding support for
vim,sublime text, andemacsstyle keybindings, saved per user + per project - Editor theme-ing, saved per user + per project
- Code Folding (depending on the text grouping in the mode
- A tree browser for easily navigating between different attributes across different nodes of your WebGME project.
- A diff view showing the changes you've made that are not committed.
- Collaborative simultaneous editing showing where each person is in the attribute, what they've highlighted, etc.
- Total revert capability or reverting of individual line changes
- User configuration of line-wrapping
- Full-screen distraction free editing mode (press
F11when the text editor has focus) - Full interoperability with WebGME's split-panel view.
Note: for mode documentation, see
CodeMirror Modes.
Install instructions are below, after which you simply have to enable
the CodeEditor Visualizer as a valid visualizer in the META of the nodes
you wish it to be active on.
To add the CodeEditor to your WebGME deployment, simply use the webgme-cli to install it:
webgme import viz CodeEditor webgme-codeeditorWhich will install the CodeEditor and then use bower to install the
CodeMirror and other dependencies.
You can also use npm to install it by running:
npm install --save webgme-codeeditorYou will need to inform webgme where to load the CodeEditor from, by editing
the config/config.webgme.js to have:
config.requirejsPaths = {
  "panels/CodeEditor": "./node_modules/webgme-codeeditor/src/visualizers/panels/CodeEditor",
  "widgets/CodeEditor": "./node_modules/webgme-codeeditor/src/visualizers/widgets/CodeEditor"
};
added to your config.requirejsPaths.
You will also need to tell WebGME that it is a visualizer, by adding it your 'src/visualizers/Visualizers.json`:
  {
    "id": "CodeEditor",
    "title": "CodeEditor",
    "panel": "panels/CodeEditor/CodeEditorPanel",
    "DEBUG_ONLY": false
  }
Finally you will need to add it to your webgme-setup.json:
  "dependencies": {
    "visualizers": {
      "CodeEditor": {
        "src": "panels/CodeEditor/CodeEditorPanel",
        "title": "CodeEditor",
        "panel": "src/visualizers/panels/CodeEditor",
        "secondary": false,
        "widget": "src/visualizers/widgets/CodeEditor",
        "project": "webgme-codeeditor"
      }
},After you've added the CodeEditor to your project, you can configure it just like any other WebGME component. Some example options are provided below.
When the CodeEditor is active on a WebGME node, it loads the node and
its children, up to a depth of config.loadDepth, while
simultaneously looking upwards for a root node of meta-type
config.RootType. Any nodes it loads whose type matches any of the
types in config.excludeTypes will be discarded, along with their
children.
This configuration can be found in components.json.
{
    "CodeEditor": {
	    "theme": "default",
	    "enableThemeSelection": true,
	    "keyBinding": "sublime",
	    "enableKeybindingSelection": true,
	    "lineWrapping": false,
	    "enableLineWrappingToggle": true,
        "autoSaveInterval": "2000",
	    "defaultSyntax": "gfm",
	    "rootTypes": ["Project"],
	    "excludeTypes": ["ExcludeType"],
	    "loadDepth": 5,
	    "syntaxToModeMap": {
	        "gfm": {"name":"gfm", "icon": "glyphicon glyphicon-file"},
	        "C++": {"name":"text/x-c++src", "useCPP": true},
	        "JSON": {"name":"application/json"},
	        "Python": {"name":"text/x-python"}
	    },
	    "attrToSyntaxMap": {
	        "CodeObject": {
		        "Markdown": "gfm",
  		        "C++": "C++",
		        "JSON": "JSON",
		        "Python": "Python"
            }
        },
	    "attrToInfoMap": {
	        "CodeObject": {
                "docstring": [
                    "## CodeObject Documentation",
                    "this is some documentation for the code object itself.",
                    "",
                    "it will be appended to the documentation for all of CodeObject's attributes."
                ],
                "attributes": {
		            "Markdown": [
                        "## Markdown Code Attribute",
                        "This code attribute should be formatted with [Markdown](https://en.wikipedia.org/wiki/Markdown)"
                    ],
                    "C++": "## C++ Code Attrubute\nThis is c++ code.\n NOTICE HOW YOU CAN USE EMBEDDED NEWLINES OR ARRAYS",
                    "JSON": "Simple doc string here.",
                    "Python": "Useless doc string."
                }
            }
	    },
        "nameTemplateMap": {
            "CodeObject": "CodeObject:{{{name}}}"
        }
    }
}
First, install the webgme-codeeditor following:
Second, start mongodb locally by running the mongod executable in
your mongodb installation (you may need to create a data directory
or set --dbpath).
Then, run npm start from the project root to start . Finally,
navigate to http://localhost:8888 to start using webgme-codeeditor!
The seed project test can be used as the base of a project to show how the CodeEditor works.


