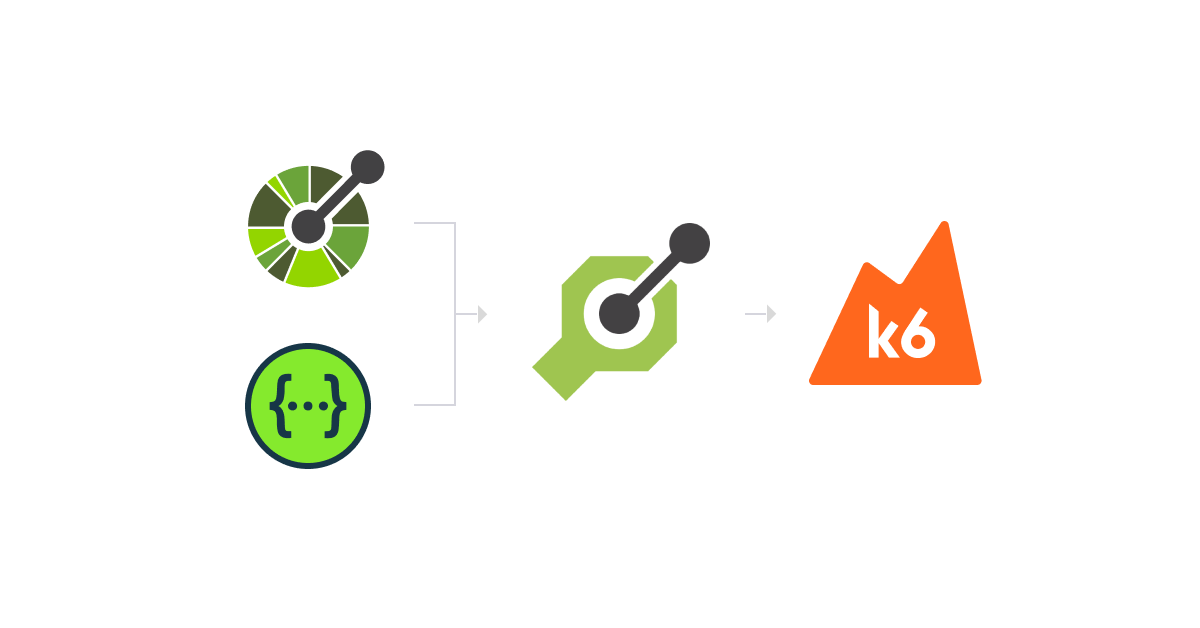
The openapi-to-k6 repository is a tool designed to ease the process of writing k6 scripts. It generates a TypeScript client from OpenAPI specification which can be imported in your k6 script to easily call your endpoints and have auto completion in your IDE.
This allows developers to easily create performance tests for their APIs based on their existing OpenAPI documentation.
Along with the client, it also generates a sample k6 script as an example of how to use the client.
The generated client exports a class with methods for each endpoint in the OpenAPI specification. You can create a instance of the class and use the methods to call the endpoints.
To take a look at a few examples of how the generated client looks and sample script looks, check out the examples directory.
-
Install the tool globally via
npm install -g @grafana/openapi-to-k6
-
To start using the tool either give path to your OpenAPI schema file or provide a URL to your Open API schema and the output path where you want to generate the client files.
openapi-to-k6 <path-to-openapi-schema | url-to-openapi-schema> <output path>
This will the generate a TypeScript client and a sample k6 script in the corresponding directory.
You can also supply the optional flag
--include-sample-scriptto also generate a sample k6 script along with the client.
💡 Note: The tool supports both JSON and YAML format for OpenAPI schema.
Following are some of the configuration options supported by the tool.
-
--modeor-m: Specify the mode to use for generating the client. Following are available options:single: This is the default mode used is nothing is specified. It generated the TypeScript client as a single file with all the types and implementation in a single file.split: This mode splits the types and implementation into separate files.tags: This modes splits your OpenAPI schema based on the tags and generates a separate client for each tag. If a route has no tag set, it will be available indefault.tsfile.
To check how the output looks for each mode, check out the examples directory.
-
--only-tags: Filter the generated client to only include routes with specific tags from your OpenAPI schema. Multiple tags can be specified to include routes matching any of those tags. Routes without tags will be excluded. This is useful for generating focused clients that only contain the endpoints you need. e.g.openapi-to-k6 <path-to-openapi-schema> <output path> --only-tags ItemsHeaderwill generate a client with only the routes that have theItemsHeadertag. Multiple tags can be specified by using multiple--only-tagsflags or by separating them with spaces. -
--disable-analytics: Disable anonymous usage analytics reporting which helping making the tool better. You can also set an environment variableDISABLE_ANALYTICS=trueto disable the analytics. -
--include-sample-script: Generate a sample k6 script. The generated sample script uses the examples defined in the OpenAPI schema requests to make the script usable out of the box. If the examples are not defined, it will use Faker to generate random data. -
--verboseor-v: Enable verbose logging to see more detailed logging output. -
--helpor-h: Show help message.
- Clone the repository
git clone https://github.com/grafana/openapi-to-k6- Install dependencies
npm install- Run the sdk generator from source
npm run dev <path-to-openapi-schema> <output path>This will generate the SDK files in the corresponding directory.
- Import them in you k6 script and run the script using the following command
k6 run --compatibility-mode=experimental_enhanced <path-to-k6-script>.tsNote: --compatibility-mode is needed to use a typescript file as K6 script. To know more about it, click here.
We have some end-to-end tests to ensure the generated SDK works as expected. To run these tests, you can use the following command:
- Navigate to the test directory
cd tests/e2e/- Use Mockoon CLI to start the mock server which will create a mock server for the endpoints defined in the OpenAPI specification. This will run the mock server in a docker container in background.
docker run -v ./schema.json:/tmp/schema.json -p 3000:3000 mockoon/cli:latest -d /tmp/schema.json- Assuming you have already followed previous steps and have the environment set up, you can generate the SDK by using
npm run dev -- ./schema.json ./sdk.ts- Run the K6 script
k6 run --compatibility-mode=experimental_enhanced ./K6Script.ts- Run the command
npm run buildto package the project together for distribution. - Install the compiled package locally by using
npm install .ornpm install -g .. - Use the CLI
k6-sdkgen <path-to-openapi-schema> <output path>
To release a new version of the tool, create a new release on GitHub with the new version number as tag (e.g. 0.1.0 ) and the release notes. After the release is created, the GitHub actions will automatically package the tool and publish it to npm.
Special mention for the the open-source library Orval which is used for the generation of the TypeScript client.
