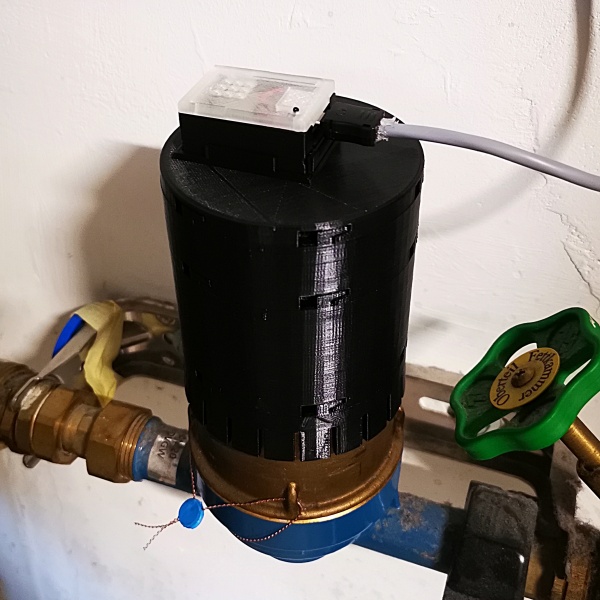
Artificial intelligence is everywhere, from speech to image recognition. While most AI systems rely on powerful processors or cloud computing, edge computing brings AI closer to the end user by utilizing the capabilities of modern processors.
This project demonstrates edge computing using the ESP32, a low-cost, AI-capable device, to digitize your analog meters—whether water, gas, or electricity. With affordable hardware and simple instructions, you can turn any standard meter into a smart device.
Let's explore how to make AI on the Edge a reality! 🌟
All you need is an ESP32 board with a supported camera and some practical skills. 🛠️
- 🔗 Tensorflow Lite (TFLite) integration – including an easy-to-use wrapper.
- 📸 Inline image processing (feature detection, alignment, ROI extraction).
- 💡 Small and affordable device (3 x 4.5 x 2 cm³, less than 10 EUR).
- 📷 Integrated camera and illumination.
- 🌐 Web interface for administration and control.
- 🔄 OTA interface for updating directly via the web interface.
- 🏠 Full integration with Home Assistant.
- 📊 Support for Influx DB 1 and 2.
- 📡 MQTT protocol support.
- 📥 REST API available for data access.
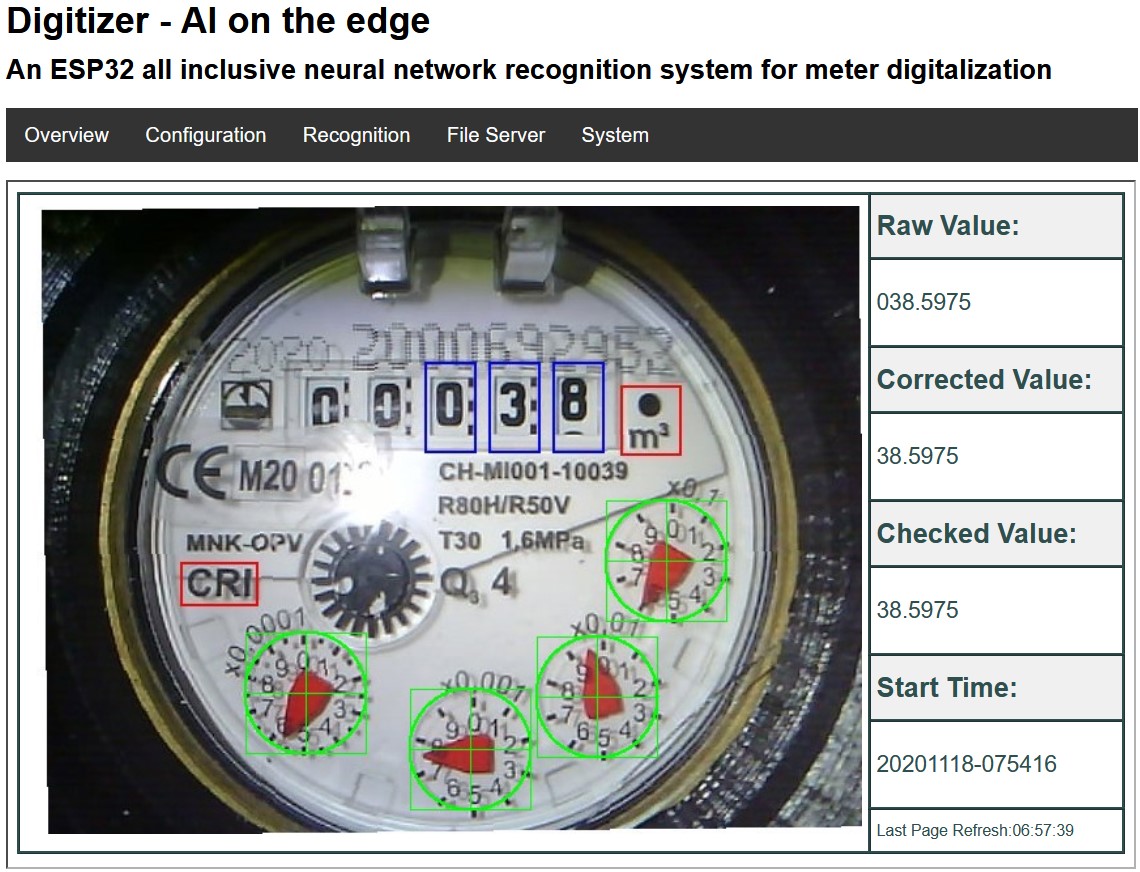
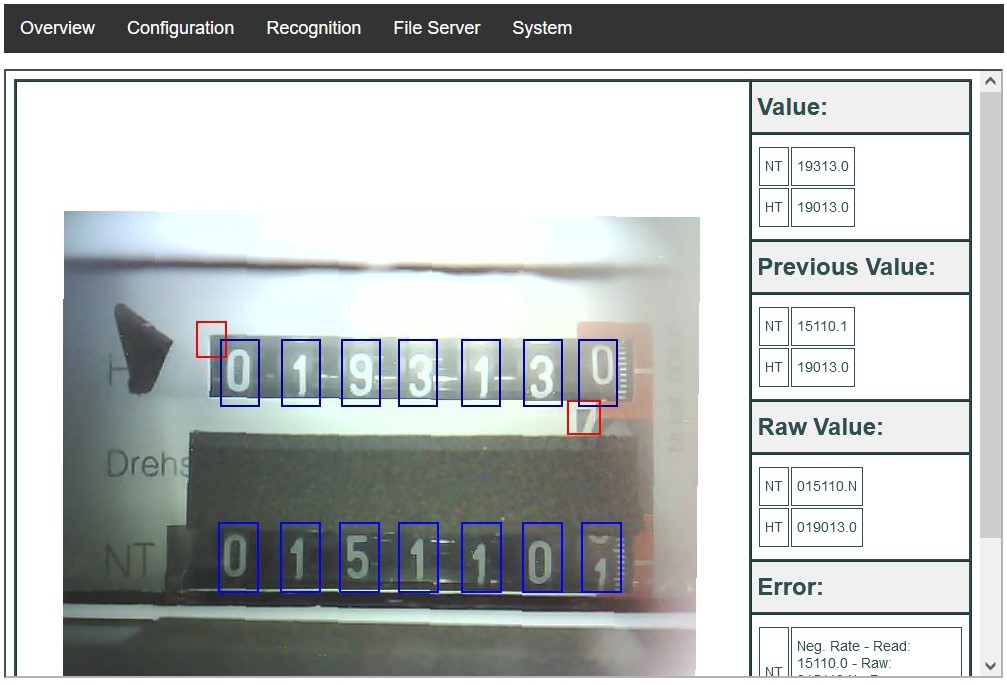
The device captures a photo of your meter at set intervals. It then extracts the Regions of Interest (ROIs) from the image and runs them through artificial intelligence. As a result, you get the digitized value of your meter.
There are several options for what to do with that value:
- 📤 Send it to a MQTT broker.
- 📝 Write it to an InfluxDb.
- 🔗 Provide access via a REST API.
There is growing documentation which provides you with a lot of information. Head there to get started, set it up, and configure it.
There are also articles in the German Heise magazine "make:" about the setup and technical background (behind a paywall): DIY - Setup 📰
A lot of people have created useful YouTube videos that might help you get started:
- 🎥 youtube.com/watch?v=HKBofb1cnNc
- 🎥 youtube.com/watch?v=yyf0ORNLCk4
- 🎥 youtube.com/watch?v=XxmTubGek6M
- 🎥 youtube.com/watch?v=mDIJEyElkAU
- 🎥 youtube.com/watch?v=SssiPkyKVVs
- 🎥 youtube.com/watch?v=MAHE_QyHZFQ
- 🎥 youtube.com/watch?v=Uap_6bwtILQ
For further background information, head to:
The latest available version can be found on the Releases page.
Initially, you will have to flash the ESP32 via a USB connection. Later updates are possible directly over the air (OTA using Wi-Fi).
There are different ways to flash your ESP32:
- The preferred way is the Web Installer and Console, a browser-based tool to flash the ESP32 and extract the log over USB:

- Flash Tool from Espressif
- ESPtool (command-line tool)
See the documentation for more information.
The SD card can be set up automatically after the firmware is installed. See the documentation for details. For this to work, the SD card must be FAT formatted (which is the default on a new SD card).
Alternatively, the SD card can still be set up manually. See the documentation for details.
Various 3D-printable housings can be found here:
If you'd like to support the developer with a cup of coffee, you can do so via PayPal.
If you have any technical problems, please search the discussions. In case you find a bug or have a feature request, please open an issue.
For any other issues, you can contact the developer via email:
See the Changelog for detailed information.
See the Build Instructions for step-by-step guidance.
- Logfile downloader and combiner (Thanks to reserve85)
- It can be found at '/tools/logfile-tool'.
There are some ideas and feature requests which are not currently being pursued—mainly due to capacity constraints on the part of the developers. These features are collected in the issues and in FeatureRequest.md.


