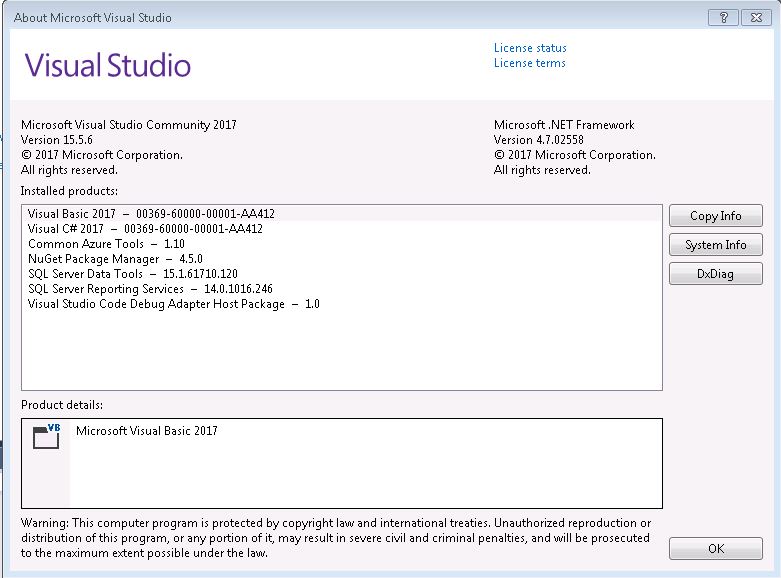
First note that I used Visual Studio 2017 with the SQL Server data tools included. See the about window below.
The steps are straightforward
- Create a new project
- Insert the source files
- Include the references
- Optional - Configure the post build event - only needed for Sql Server 2008 R2
- Build
Create a new data tools project (File -> New -> Project) and choose SQL Server Database Project. Note, if you plan to run this on a sql server 2008R2, then you’ll need to choose .net 3.0 (in the screen shot). On server 2016 it didn’t matter, that CLR could do .net 4.5 Make the title SQLCLR_getSPList if you want things to match and then click "Ok"

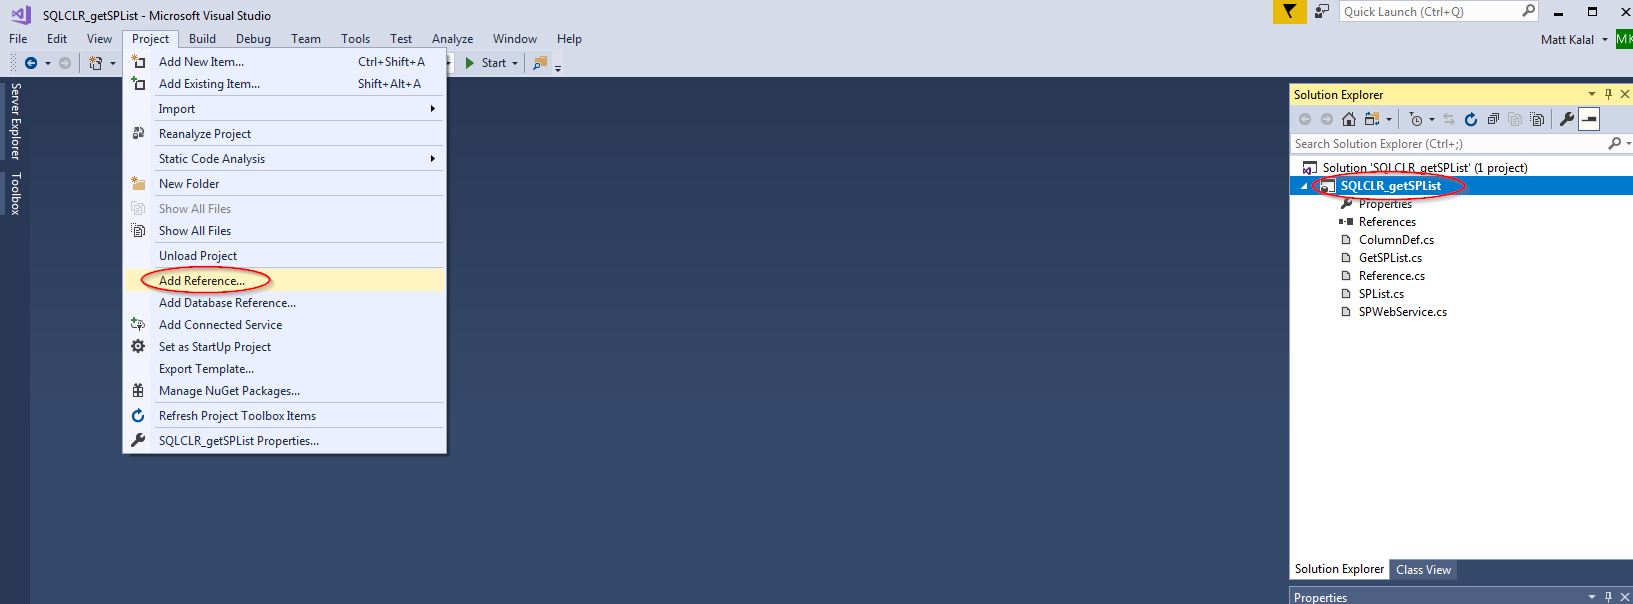
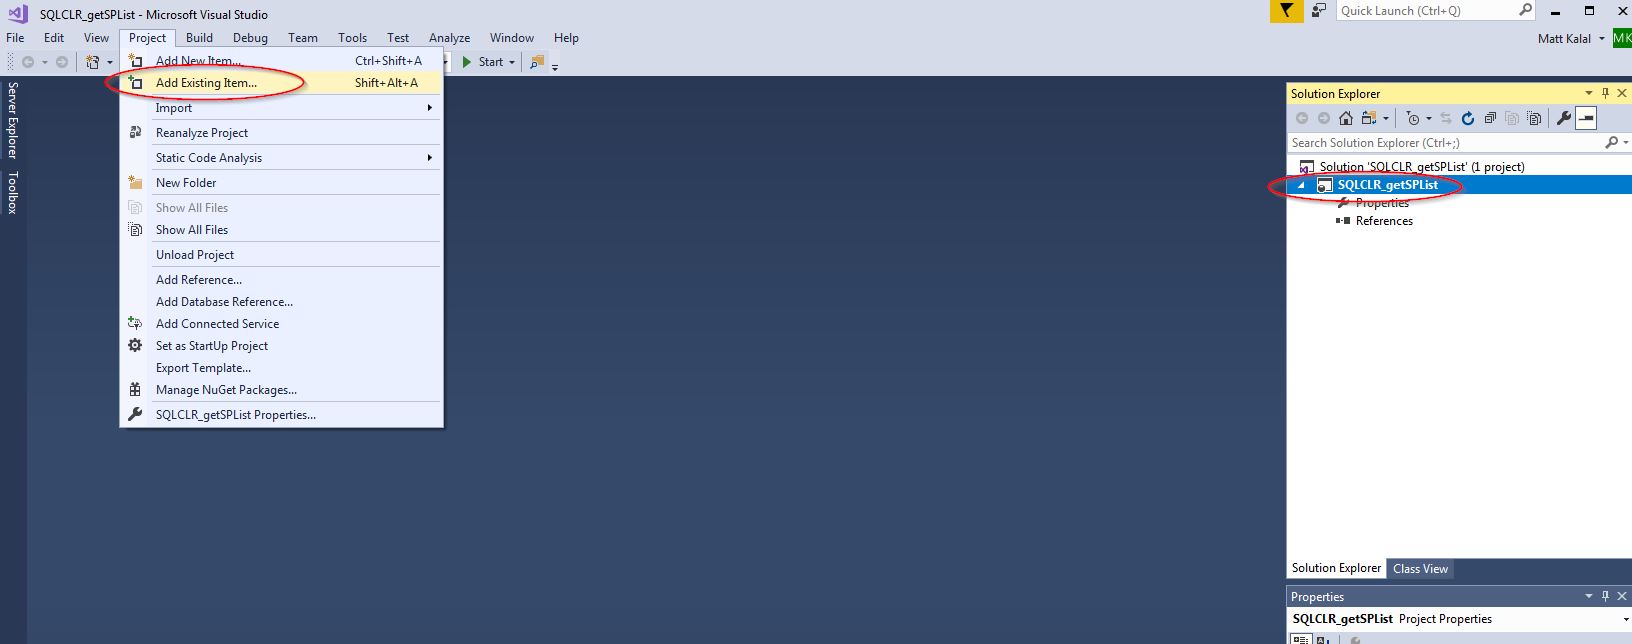
Add the five source files to the project by selecting the SQLCLR_getSPList project in the Solution Explorer, and then from the menu Project -> Add Existing Item. Add all 5 .cs files.
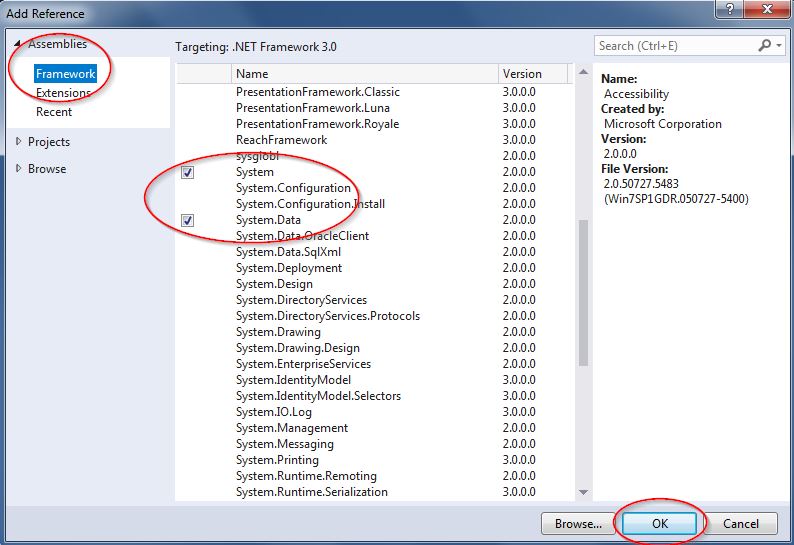
Again, making sure the project SQLCLR_getSPList is selected in the Solution Explorer, navigate from the menu Project -> Add Reference
From the Assemblies -> Framework section, select the four choices:
- System
- System.Data
- System.Web.Services
- System.Xml
And then click the “Ok” Button. In the screen shot below you can't see all the references as the list is too long, but still you should find all four and click the checkboxes.
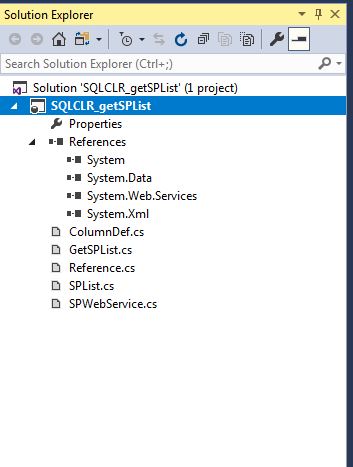
The Solution Explorer should now look like this:
You can now try a test compile from the menu Build -> Build Solution. It should work:
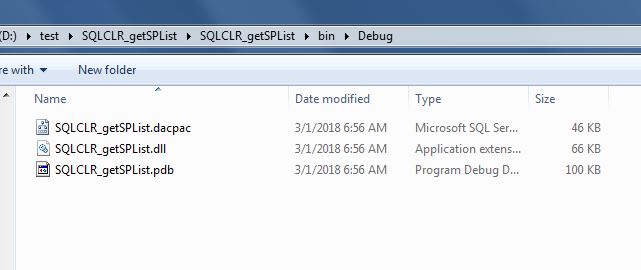
In the output directory you’ll see the generated files as well.
This step is only required if you are building the project for SQL 2008 R2 (or perhaps 2012, I didn't test it on 2012 so I can't tell). In my testing on SQL 2016, you did not need this step. This step has to do with the serialization / writing intermediate files to disk to handle the xml with the web service.
A small warning that there is a bit of build-deploy-test-repeat cycles here. You need the program “sgen.exe” and on my system there were a handful of copies for different .net versions, but I couldn't tell which is for which. The one I found to work with .net 3 was in the folder C:\Program Files (x86)\Microsoft SDKs\Windows\v7.0A\Bin\x64\sgen.exe but yours may be different. Adding this will create the file SP2010WS.XmlSerializers.dll.
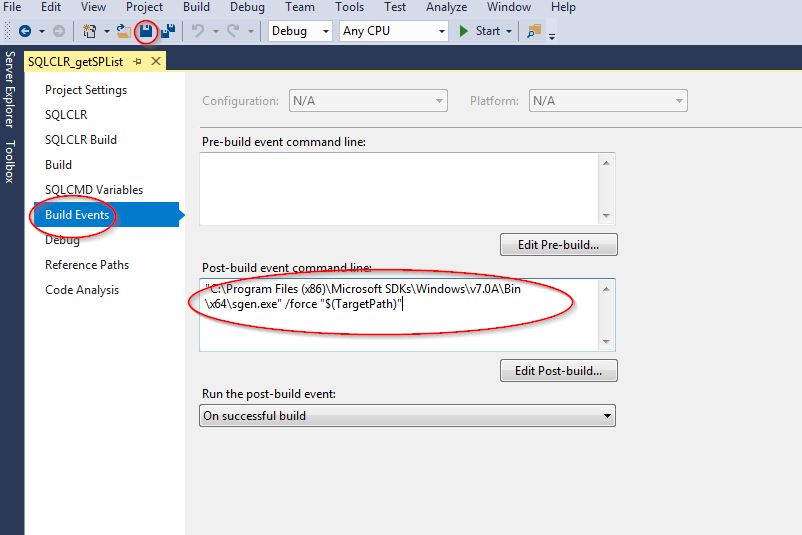
Make sure the SQLCLR_getSPList project is highlighted in the solution explorer, and from the menu navigate to Project -> SQLCLR_getSPList Properties. From the “Build Events” section, enter the location of your chosen sgen.exe, with the parameters /force “$(TargetPath)”. In my example I typed "C:\Program Files (x86)\Microsoft SDKs\Windows\v7.0A\Bin\x64\sgen.exe" /force "$(TargetPath)" and as I indicated, yours may need to be different.
Now you should be ready to compile the project. From the menu click Build -> Rebuild Solution:

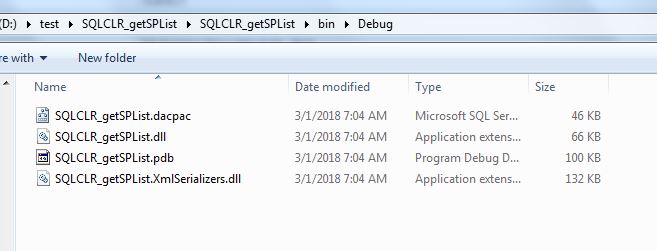
And these are the output files:
Regarding the files that get created by the build:
- These two files are used for a different model of deployment. I didn't use them
- SQLCLR_getSPList.dacpac
- SQLCLR_getSPList.pdb
- SQLCLR_getSPList.dll <-- You need this file for all deployments
- SQLCLR_getSPList.XmlSerializers.dll <-- this file only needed for SqlServer 2008 R2
To deploy, see the instructions in the README file.
2018, Matt Kalal
