or Everything You Always Wanted to Know About Hosting Minecraft Server (But Were Afraid to Ask).
So, you want to have your own, personal, Minecraft server. Server, where you can be the master of puppets. One that you can call "- My precious". I can help you with that. It's easy, once you know how.
.
|-- LICENSE.md                                           - License
|-- README.md                                            - This file
|-- img                                                  - Images used in readme
|   |-- minecraft.gif                                    - Cool image at the top of repo
|   `-- tree.png                                         - Our biggest creation so far
|                                                        - Here is the structure of filesystem
|                                                          you have to put on your server
|-- etc
|   `-- systemd
|       `-- system
|           `-- minecraft.service                        - systemctl based service
`-- var
    `-- minecraft                                        - your Minecraft server
        |-- backup
        |   |-- rsync-backup.sh
        |   `-- script.sh
        |
        `-- server
            |-- eula.txt
            |-- mcrcon                                   - console based Minecraft rcon client
            |                                              you can download it from this
            |                                              location
            |
            |                                              https://github.com/Tiiffi/mcrcon
            |
            |
            |-- server.jar                               - This file should be downloaded
            |                                              from official Minecraft pages.
            |                                              In this project this file contains
            |                                              location of the Minecraft server.
            |
            |-- server.properties
            `-- stop_server.sh                           - This file is used for stopping the
                                                           the server by the system service

                                                           Note! Remember to set rcon password
                                                           inside this script!
First of all, you need operating system on your target machine. You have plenty of choices, but here, I assume that you are going to use Debian 10. You can get it from: Debian. Once it is in place and you can start up your host machine, you have to do small preparations.
Make sure to add
deb http://deb.debian.org/debian buster main
deb-src http://deb.debian.org/debian buster main

deb http://deb.debian.org/debian-security/ buster/updates main
deb-src http://deb.debian.org/debian-security/ buster/updates main

deb http://deb.debian.org/debian buster-updates main
deb-src http://deb.debian.org/debian buster-updates main
to your apt repositories list: /etc/apt/sources.list. Once locations are in place, make sure to run
> sudo apt update
You need two things: OpenJDK and tools for compiling stuff using gcc.
> sudo apt-get install openjdk-11-jdk
> sudo apt-get install build-essential
> sudo apt-get install git
> sudo apt-get install rsync
> sudo groupadd -r minecraft
> sudo useradd -r -g minecraft -d "/var/minecraft" -s "/bin/bash" minecraft
At this stage, copy everything from var/minecraft into /var/minecraft/ on your server. Make sure to change the ownership of the directory.
> sudo chown -R minecraft.minecraft /var/minecraft
mcrcon allows you to send commands to your Minecraft server. It's a rcon client specially crafted for Minecraft. To get it running you have to download it, compile it and put it in proper place.
> mkdir -p /tmp
> cd /tmp
> git clone https://github.com/Tiiffi/mcrcon.git
> cd mcrcon
> make
> sudo mkdir -p /var/minecraft/server
> sudo cp mcrcon /var/minecraft/server
> sudo chown minecraft.minecraft /var/minecraft/server/mcrcon
In order to run your newly set up Minecraft server at boot time you have to create system service. You can do that by copying
etc/systemd/system/minecraft.service
into
/etc/systemd/system/minecraft.service
on your Minecraft server. Make sure to enable it:
> sudo systemctl enable minecraft
You can always start/stop Minecraft service by calling systemctl start minecraft and systemctl stop minecraft respectively.
There are two kinds of people in the world - those who do backups and those who will do.
So, you don't do backups, ha? You are oh so smart. But I want you to be safe with your newly setup server. The truth is, it's freaking easy to create scheduled backups. The easiest way to run daily backups is to use crontab. You can find lots of resources related to crontab on the web. I suggest following approach.
> sudo crontab -e
and then, put following line insde editor
0 1 * * * /var/minecraft/backup/script.sh

# You can set different time for syncing, but you can
# also combine everything inside script.sh
30 1 * * * /var/minecraft/backup/rsync-backup.sh
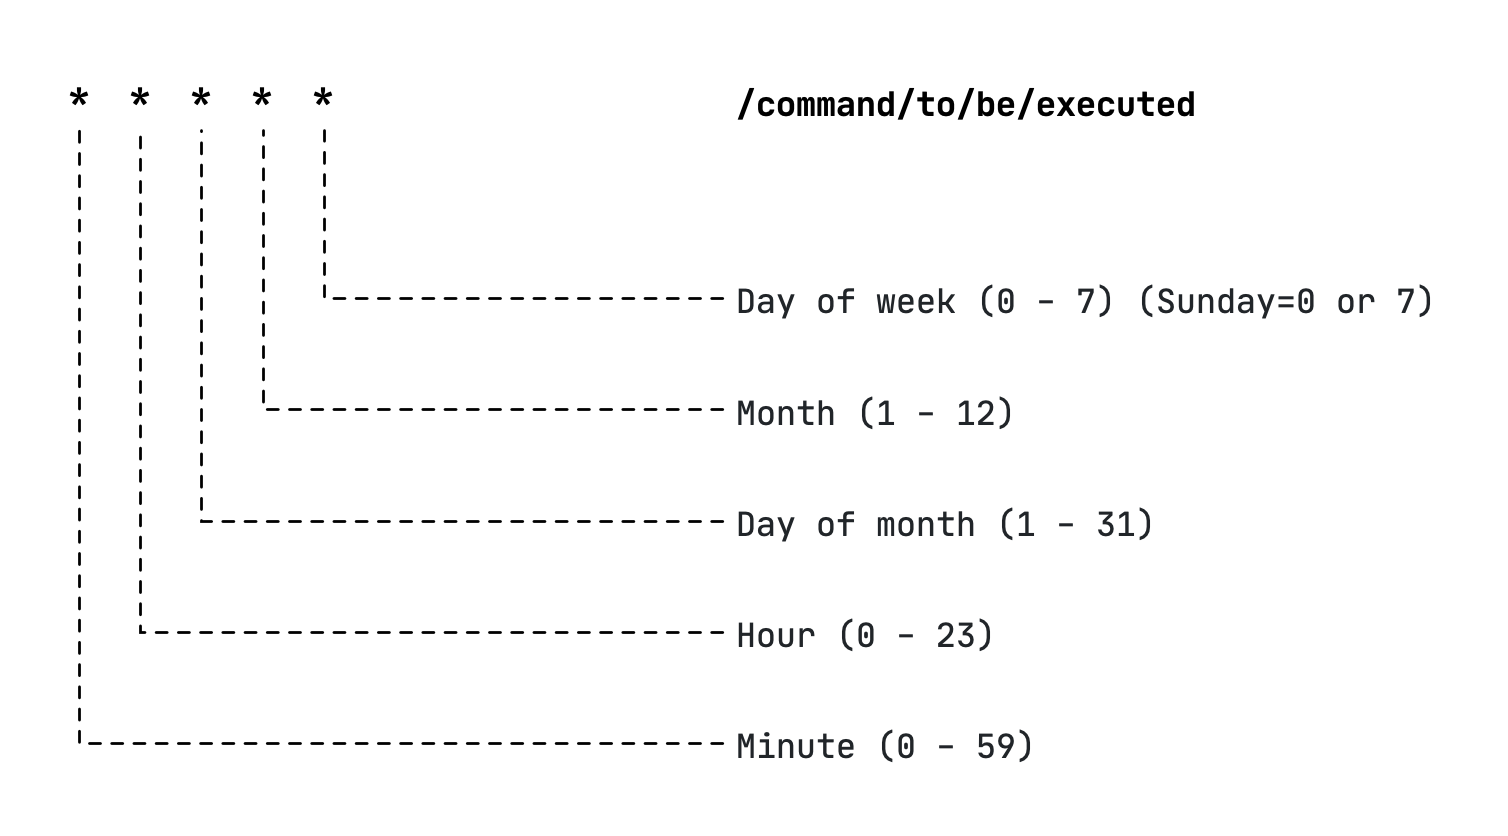
It will run the backup each day at 1am. The script will stop the server, perform the backup, and start the server after backup process is finished. Basically the rules to define what to run and at what time follows
If you want to fine tune your crontab settings, take a look here: crontab.guru
It's a good idea to have another copy of your server (preferably on external drives). I, personally, decided to use USB sticks for that purpose. If you decide to do the same, make sure to do following
First of all, create the space for your backup.
> sudo mkdir -p /media/minecraft-backup
Make sure to locate your USB drive.
> sudo fdisk -l
...
...
Disk /dev/sdb: 114.6 GiB, 123060879360 bytes, 240353280 sectors
Disk model:  SanDisk 3.2Gen1
...
...
Device     Boot Start       End   Sectors   Size Id Type
/dev/sdb1          32 240353279 240353248 114.6G  c W95 FAT32 (LBA)
Add the drive to /etc/fstab
/dev/sdb1 /media/minecraft-backup vfat dmask=000,fmask=111 0 0
Once you have everything in place, create simple script that will run the backup of your files (you can find this script in the repository as well).
#!/bin/bash

rsync --ignore-existing -rt /var/minecraft/backup/* /media/minecraft-backup
and add it to your crontab (see above how to do this). Once everything is in place, you are safe with your backups.
After following this tutorial you should have:
- new host with
Debian 10, Minecraftserver,- system service that brings your server up each time you system is restarted,
crontabbased backup of your world.
Once you have your server up and running you can use mcrcon to add/remove users from whitelist. It's super easy
/var/minecraft/server/mcrcon -H localhost \
                             -P 8080 -p YOUR_RCON_PASSWORD \
                             "whitelist on"

/var/minecraft/server/mcrcon -H localhost \
                             -P 8080 -p YOUR_RCON_PASSWORD \
                             "whitelist add user_name"

/var/minecraft/server/mcrcon -H localhost \
                             -P 8080 -p YOUR_RCON_PASSWORD \
                             "whitelist reload"
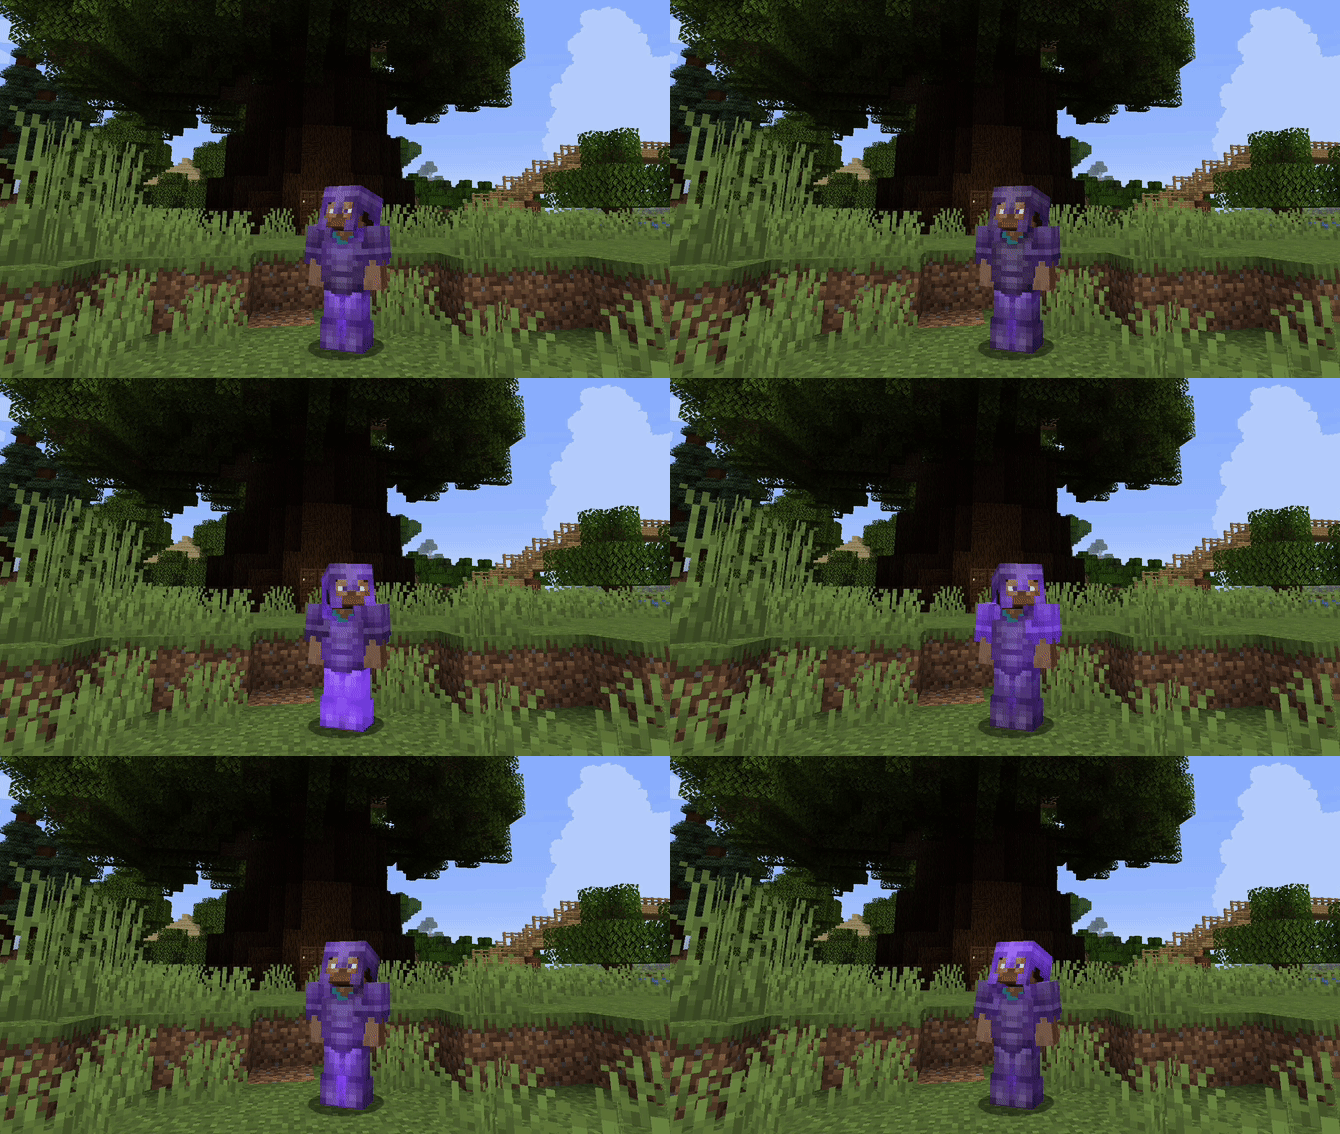
It's time for some advertisement ;) Once you set up your own server, you can easily build things like this one :) Our first, biggest tree ever. The Mother of all Trees.


