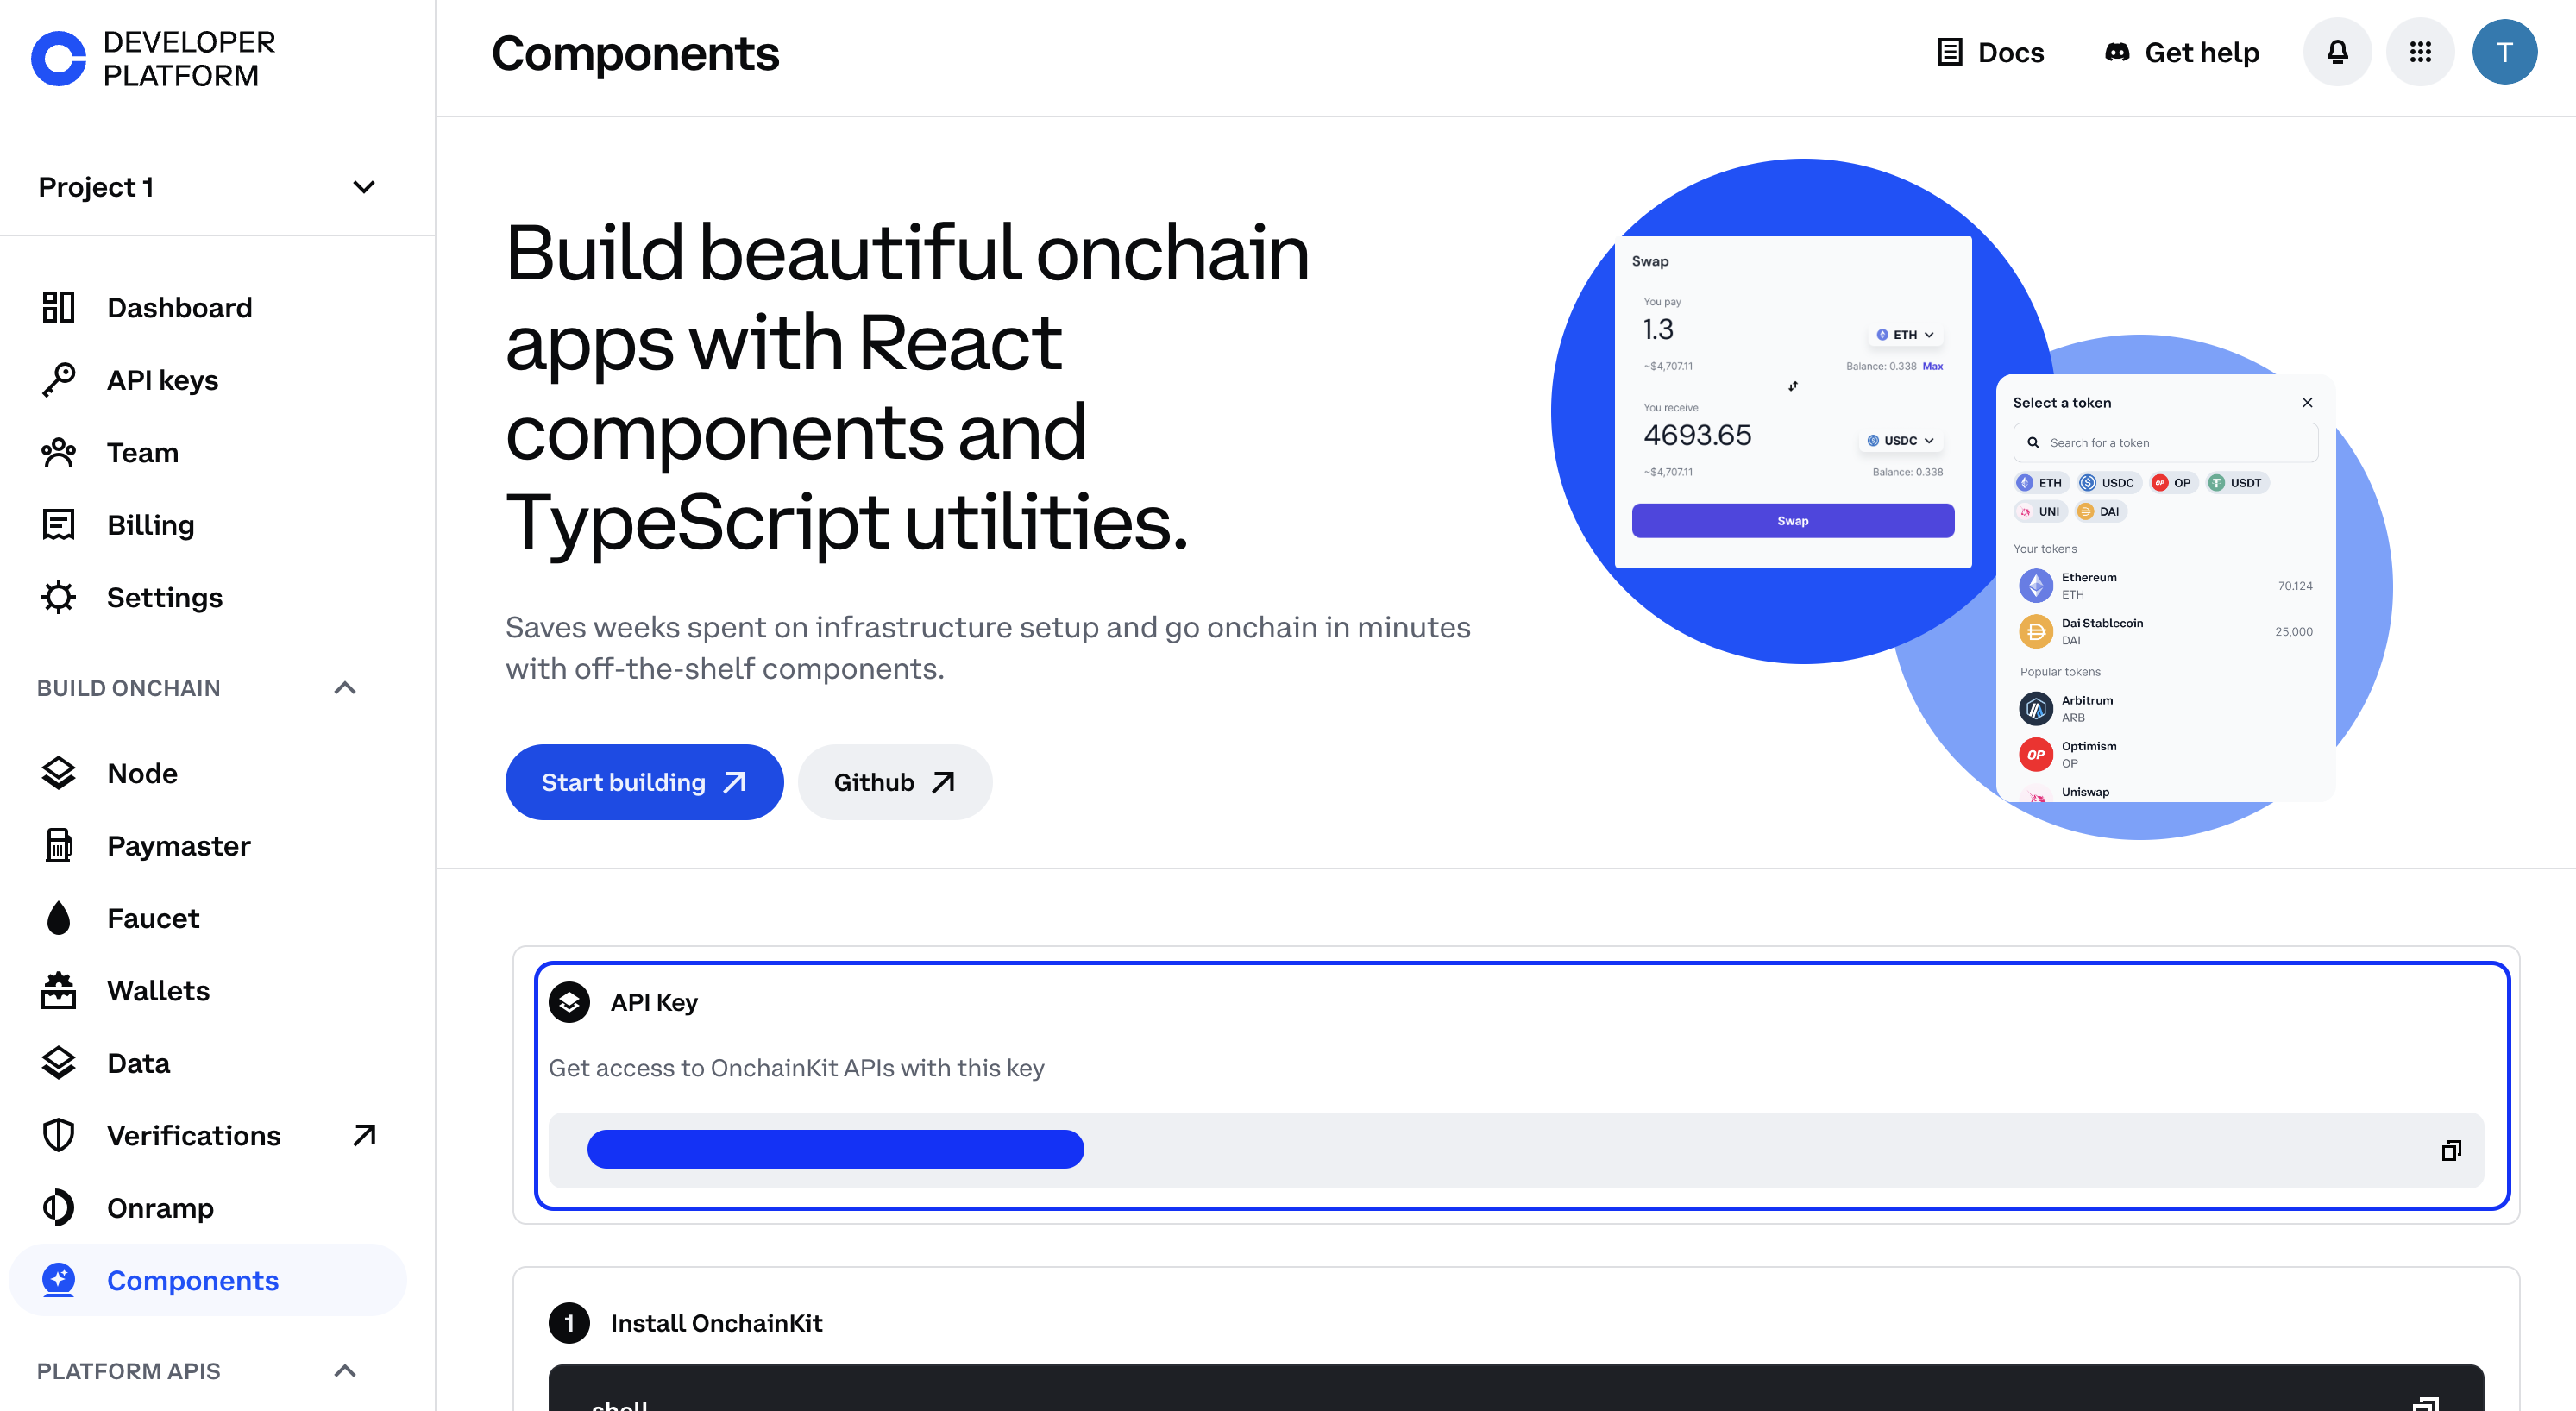
React components and TypeScript utilities to help you build top-tier onchain apps.
For documentation and guides, visit onchainkit.xyz.
You can use OnchainKit in an existing project, by installing OnchainKit as a dependency.
Let's install OnchainKit as a dependency along with its dependencies.
# Yarn: Add library
yarn add @coinbase/onchainkit

# or

# Use NPM
npm install @coinbase/onchainkit

# Use PNPM
pnpm add @coinbase/onchainkit

# Use BUN
bun add @coinbase/onchainkitThe <OnchainKitProvider /> component equips your app with the essential context to interact with OnchainKit components and utilities.
Set the chain prop to your target chain and provide the API KEY to access the embedded APIs.
'use client';
import { ReactNode } from 'react';
import { base } from 'viem/chains';
import { OnchainKitProvider } from '@coinbase/onchainkit';

type Props = { children: ReactNode };

function OnchainProviders({ children }: Props) {
  return (
    <OnchainKitProvider apiKey="YOUR_PUBLIC_API_KEY" chain={base}>
      <YourKit />
    </OnchainKitProvider>
  );
};

export default OnchainProviders;
Obtain an API key from the Coinbase Developer Platform APIs.
Many of OnchainKit's components require a WagmiProvider to access Wagmi utilities.
If your application already includes these settings, you can skip this step.
OnchainProviders.tsx
'use client';
import { ReactNode } from 'react';
import { OnchainKitProvider } from '@coinbase/onchainkit';
import { QueryClient, QueryClientProvider } from '@tanstack/react-query'; // [!code focus]
import { base } from 'viem/chains';
import { WagmiProvider } from 'wagmi'; // [!code focus]
import { wagmiConfig } from './wagmi'; // [!code focus]

type Props = { children: ReactNode };

const queryClient = new QueryClient(); // [!code focus]

function OnchainProviders({ children }: Props) {
  return (
    <WagmiProvider config={wagmiConfig}> // [!code focus]
      <QueryClientProvider client={queryClient}> // [!code focus]
        <OnchainKitProvider
          apiKey={YOUR_PUBLIC_API_KEY}
          chain={base}
        >
          {children} // [!code focus]
        </OnchainKitProvider>
      </QueryClientProvider> // [!code focus]
    </WagmiProvider> // [!code focus]
  );
}

export default OnchainProviders;
wagmi.ts
import { http, createConfig } from 'wagmi';
import { base } from 'wagmi/chains';
import { coinbaseWallet } from 'wagmi/connectors';

export const wagmiConfig = createConfig({
  chains: [base],
  multiInjectedProviderDiscovery: false,
  connectors: [
    coinbaseWallet({
      appName: 'yourAppName',
      preference: 'all',
      version: '4',
    }),
  ],
  ssr: true,
  transports: {
    [base.id]: http(),
  },
});All OnchainKit components come pre-configured with a style.
Simply place this at the top of your application's entry point to have the components working out of the box.
import '@coinbase/onchainkit/styles.css';For tailwindcss users, follow the Tailwindcss Integration Guide.
<Identity
  address="0x838aD0EAE54F99F1926dA7C3b6bFbF617389B4D9"
  schemaId="0xf8b05c79f090979bf4a80270aba232dff11a10d9ca55c4f88de95317970f0de9"
>
  <Avatar>
    <Badge />
  </Avatar>
  <Name />
  <Address />
</Identity>
Convert your web page into a Frame
import { FrameMetadata } from '@coinbase/onchainkit/frame';

export default function HomePage() {
  return (
    ...
    <FrameMetadata
      buttons={[
        {
          label: 'Tell me the story',
        },
        {
          action: 'link',
          label: 'Link to Google',
          target: 'https://www.google.com'
        },
        {
          action: 'post_redirect',
          label: 'Redirect to cute pictures',
        },
      ]}
      image={{
       src: 'https://zizzamia.xyz/park-3.png',
       aspectRatio: '1:1'
      }}
      input={{
        text: 'Tell me a boat story',
      }}
      postUrl="https://zizzamia.xyz/api/frame"
    />
    ...
  );
}
Create or connect your wallet with Connect Wallet, powered by Smart Wallet.
<Wallet>
  <ConnectWallet>
    <Avatar className="h-6 w-6" />
    <Name />
  </ConnectWallet>
  <WalletDropdown>
    <Identity className="px-4 pt-3 pb-2" hasCopyAddressOnClick>
      <Avatar />
      <Name>
        <Badge />
      </Name>
      <Address />
      <EthBalance />
    </Identity>
    <WalletDropdownLink icon="wallet" href="https://wallet.coinbase.com">
      Go to Wallet Dashboard
    </WalletDropdownLink>
    <WalletDropdownDisconnect />
  </WalletDropdown>
</Wallet> 

Search Tokens using getTokens and display them with TokenSearch, TokenChip, TokenImage and TokenRow
const [filteredTokens, setFilteredTokens] = useState<Token[]>([]);

const handleChange = useCallback((value) => {
async function getData(value) {
const tokens: Token[] = await getTokens({ search: value }); // [!code focus]
setFilteredTokens(filteredTokens);
}
getData(value);
}, []);
...

<div className="flex flex-col gap-4 rounded-3xl bg-white p-4">
  <TokenSearch onChange={handleChange} delayMs={200} /> // [!code focus]
  {filteredTokens.length > 0 && (
    <div className="flex gap-2">
      {filteredTokens.map((token) => (
        <TokenChip key={token.name} token={token} onClick={handleSelect} /> // [!code focus]
      ))}
    </div>
  )}
  {filteredTokens.length > 0 ? (
    <div>
      <div className="text-body text-black">Tokens</div>
      <div>
        {filteredTokens.map((token) => (
          <TokenRow key={token.name} token={token} onClick={handleSelect} /> // [!code focus]
        ))}
      </div>
    </div>
  ) : (
    <div className="text-body text-black">No tokens found</div>
  )}
</div>
If you're seeking basic TypeScript utilities, we have plenty of ready-to-use options available.
All our component designs are open-sourced. You can access the Figma file to use them for your onchain project.
Figma - How to use

Figma - Components

Check out the following places for more OnchainKit-related content:
- Follow @onchainkit or @zizzamia (X, Warpcast) for project updates
- Join the discussions on our OnchainKit warpcast channel
- @zizzamia (X, Warpcast)
- @0xchiaroscuro (X, Warpcast)
- Ky Lee
- Tina He (X)
- Mind Apivessa (X)
- Alec Chen (X)
- Alissa Crane (X)
- Paul Cramer (X)
This project is licensed under the MIT License - see the LICENSE.md file for details


