-
Notifications
You must be signed in to change notification settings - Fork 5
Shield soldering tutorial
To build the shield, all you need is a soldering iron, although a multimeter is useful too.
If you're new to soldering, I highly recommend this tutorial, it's really not that hard, and this shield is a very easy project.
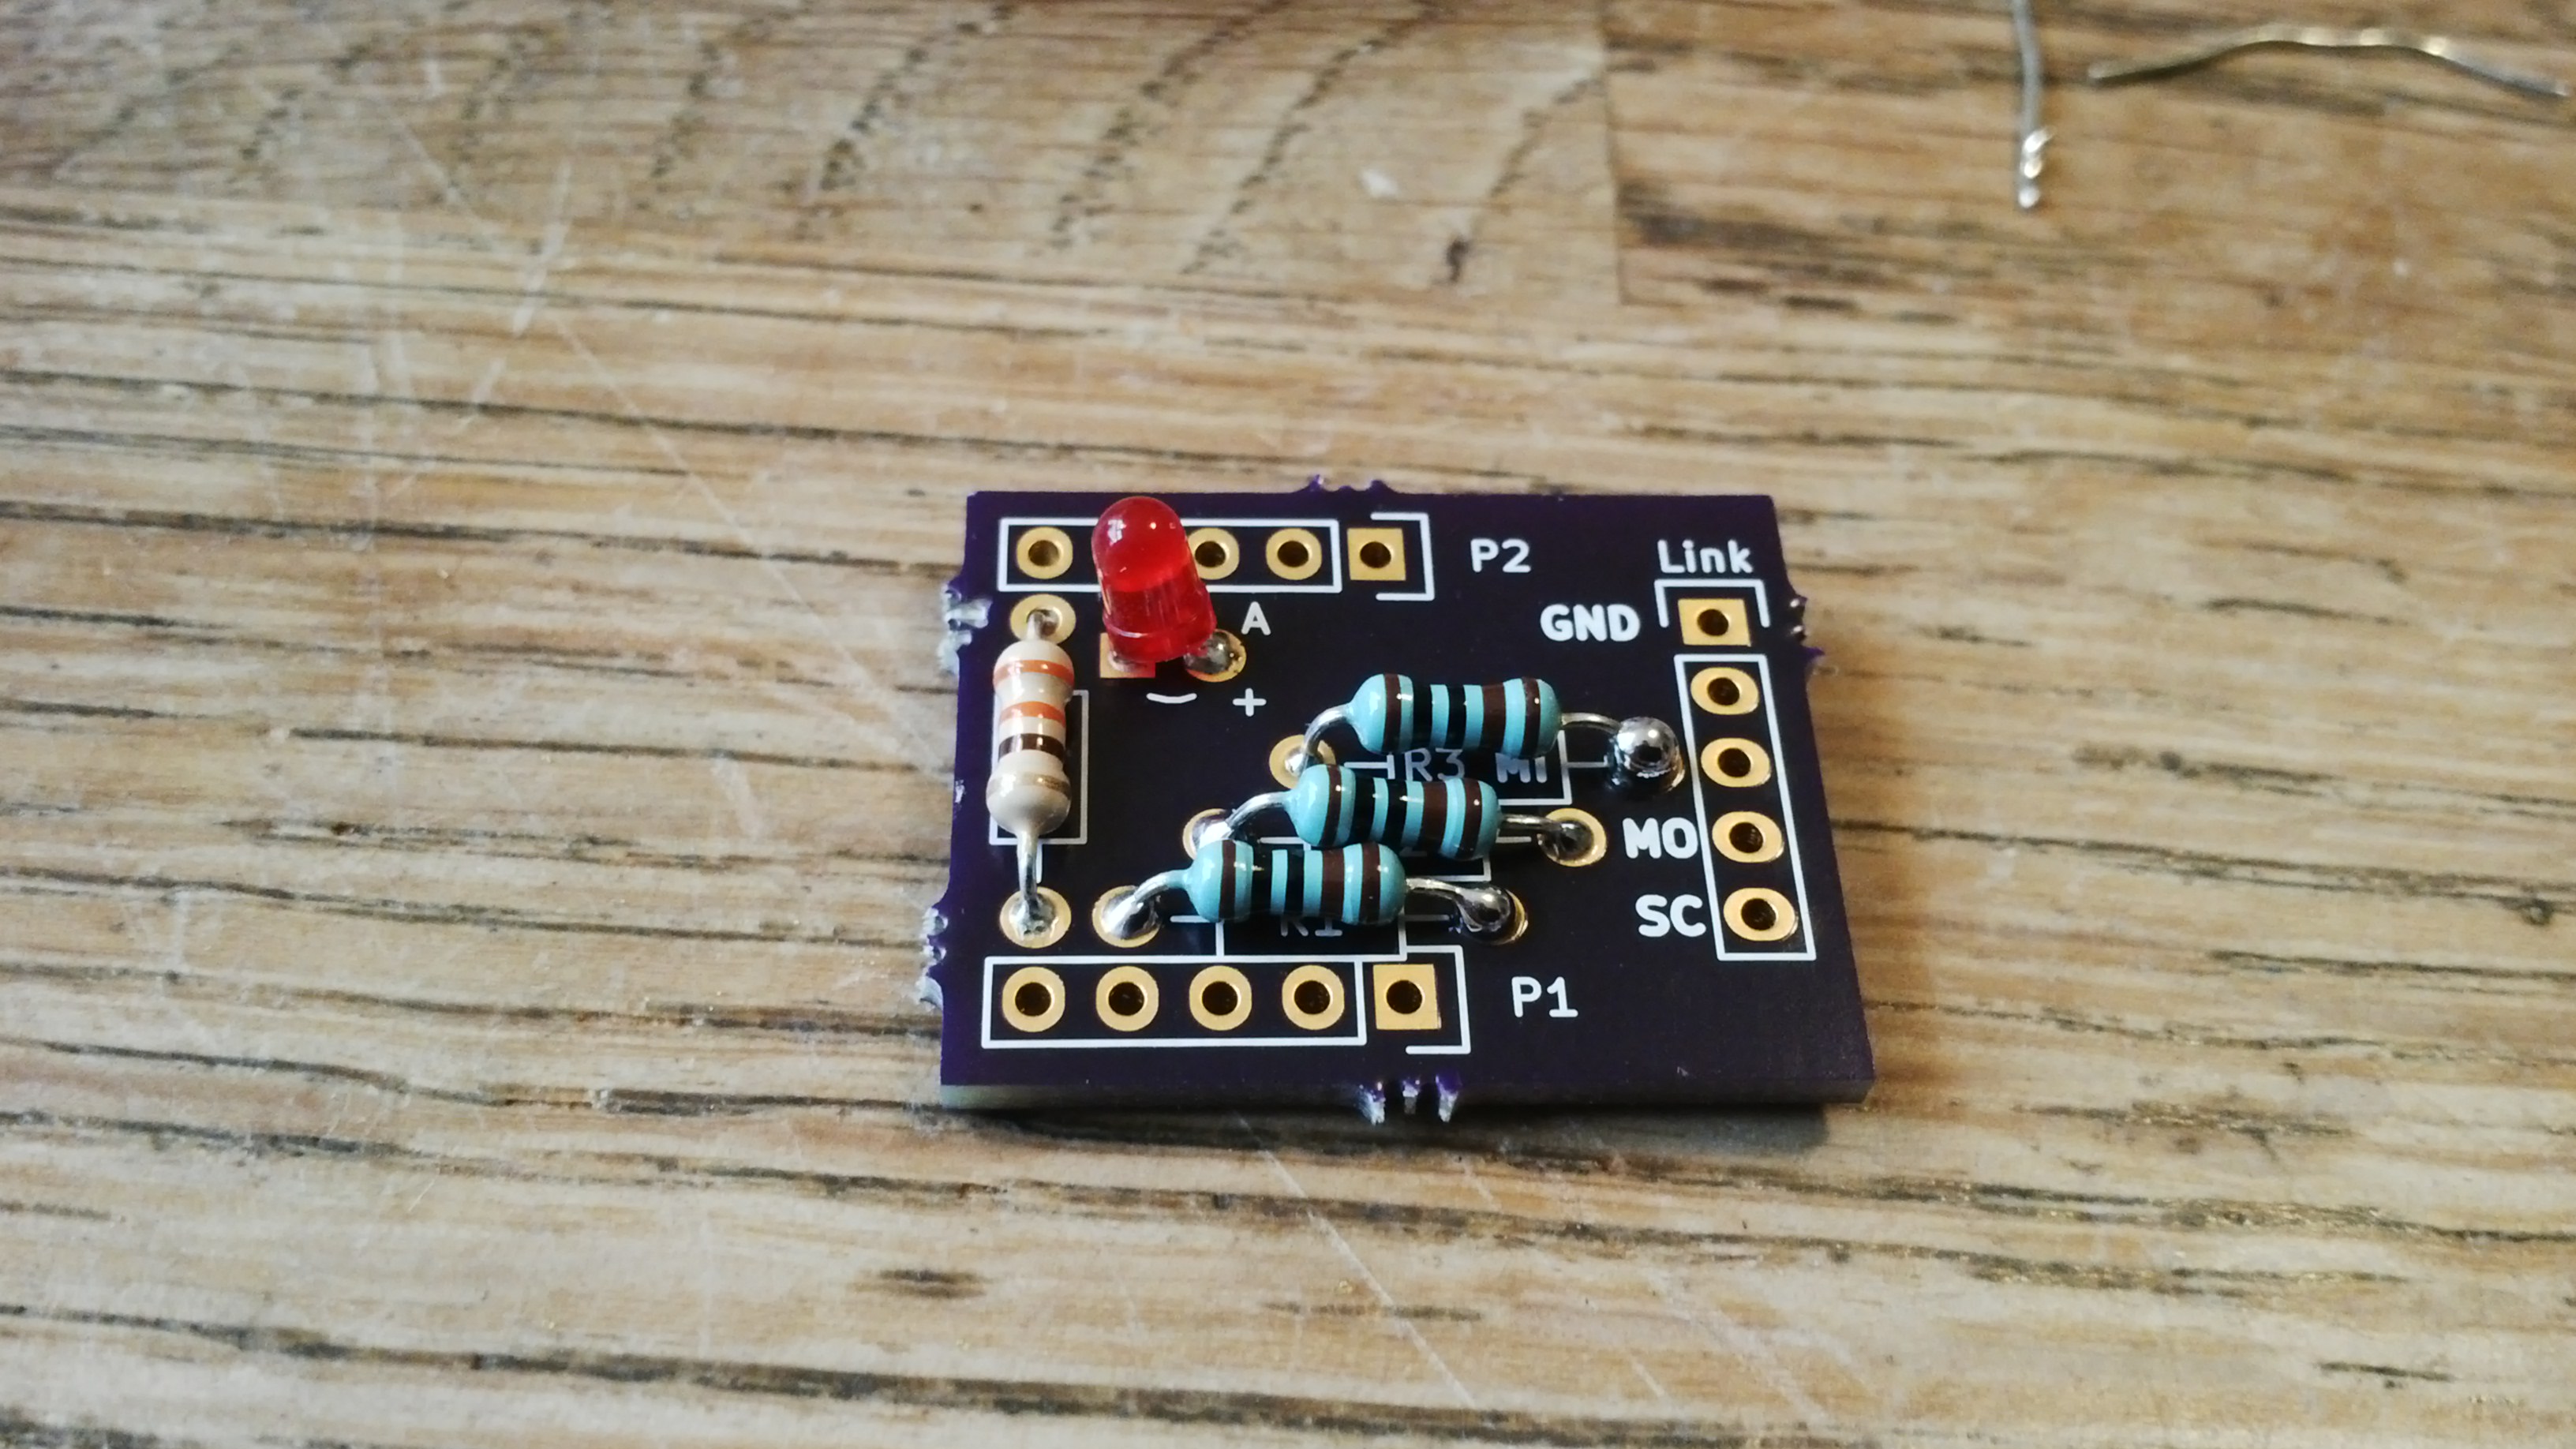
Start by soldering the resistors and the LED. You can find the resistor values by using this tool but a simpler way is to remember that there are three 1kOhm and only one 330Ohm resistor.
The three 1kOhm resistors go side by side, leading to the holes labeled "link". The 330Ohm resistor goes between P1 and P2, and the LED goed in the spot next to it.
The header pins go in P1 and P2, facing down. It's best to plug them in the female headers on the Teensy while soldering, so they stay straight.
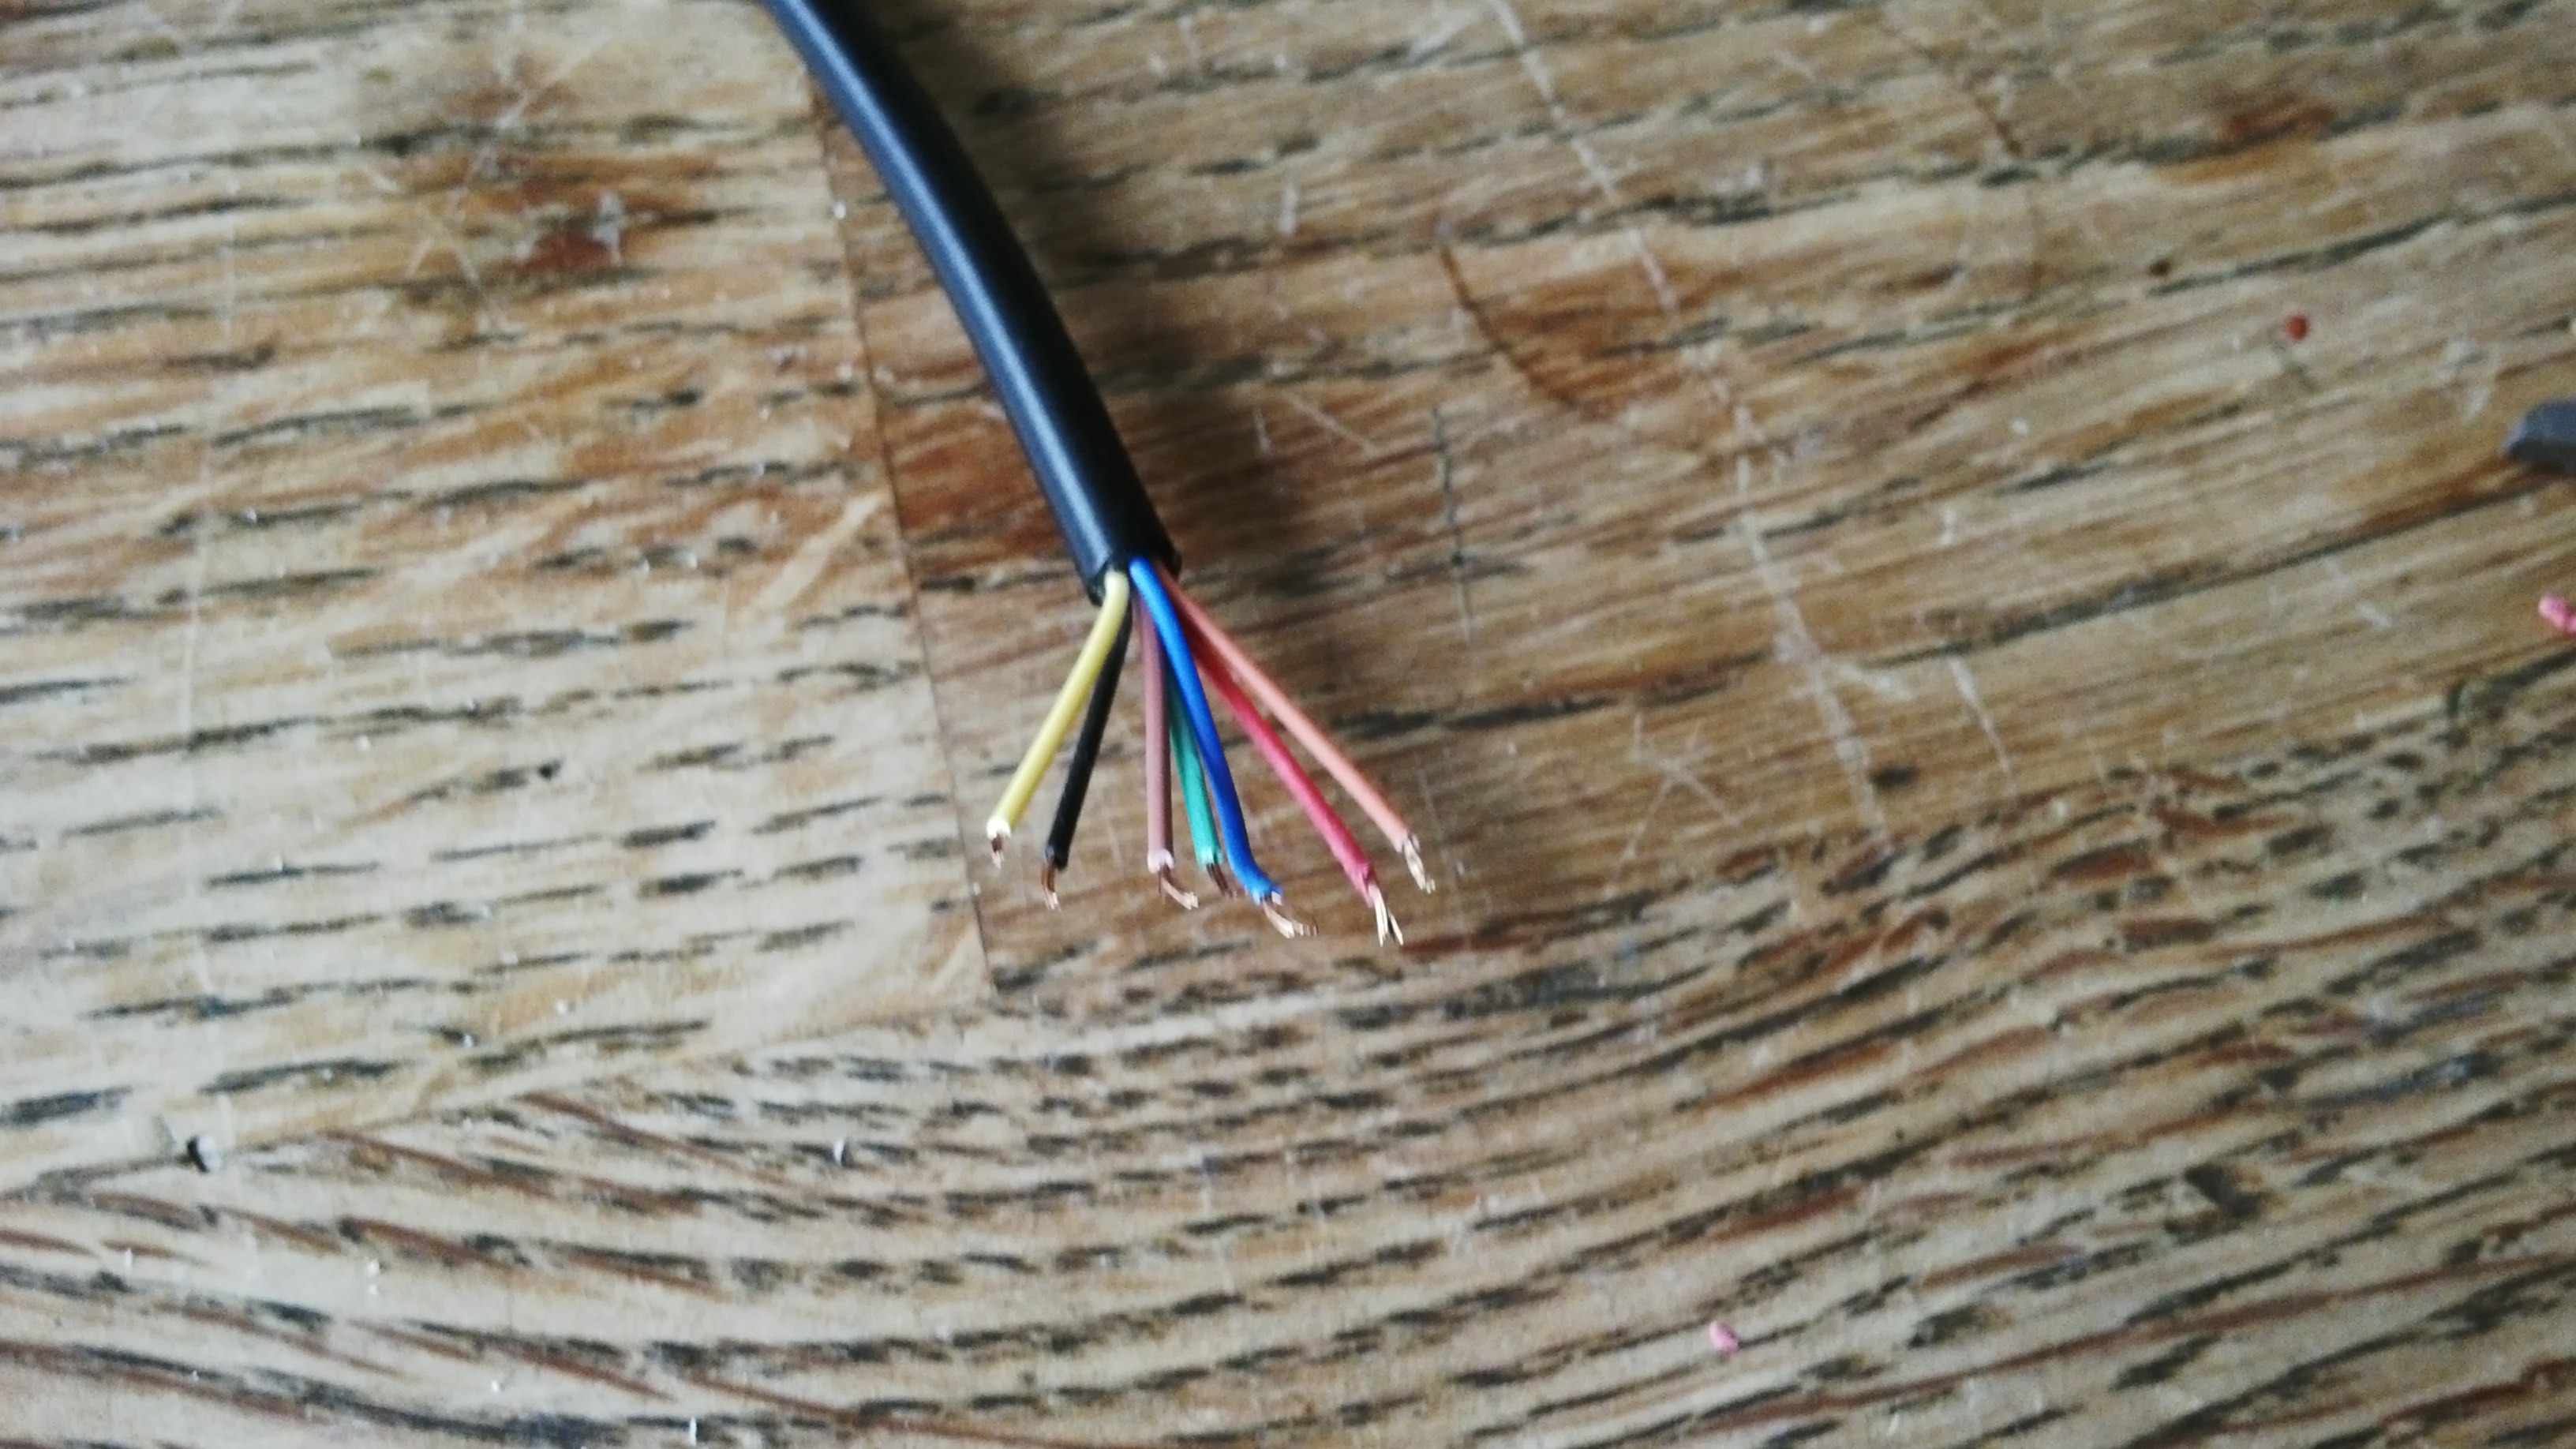
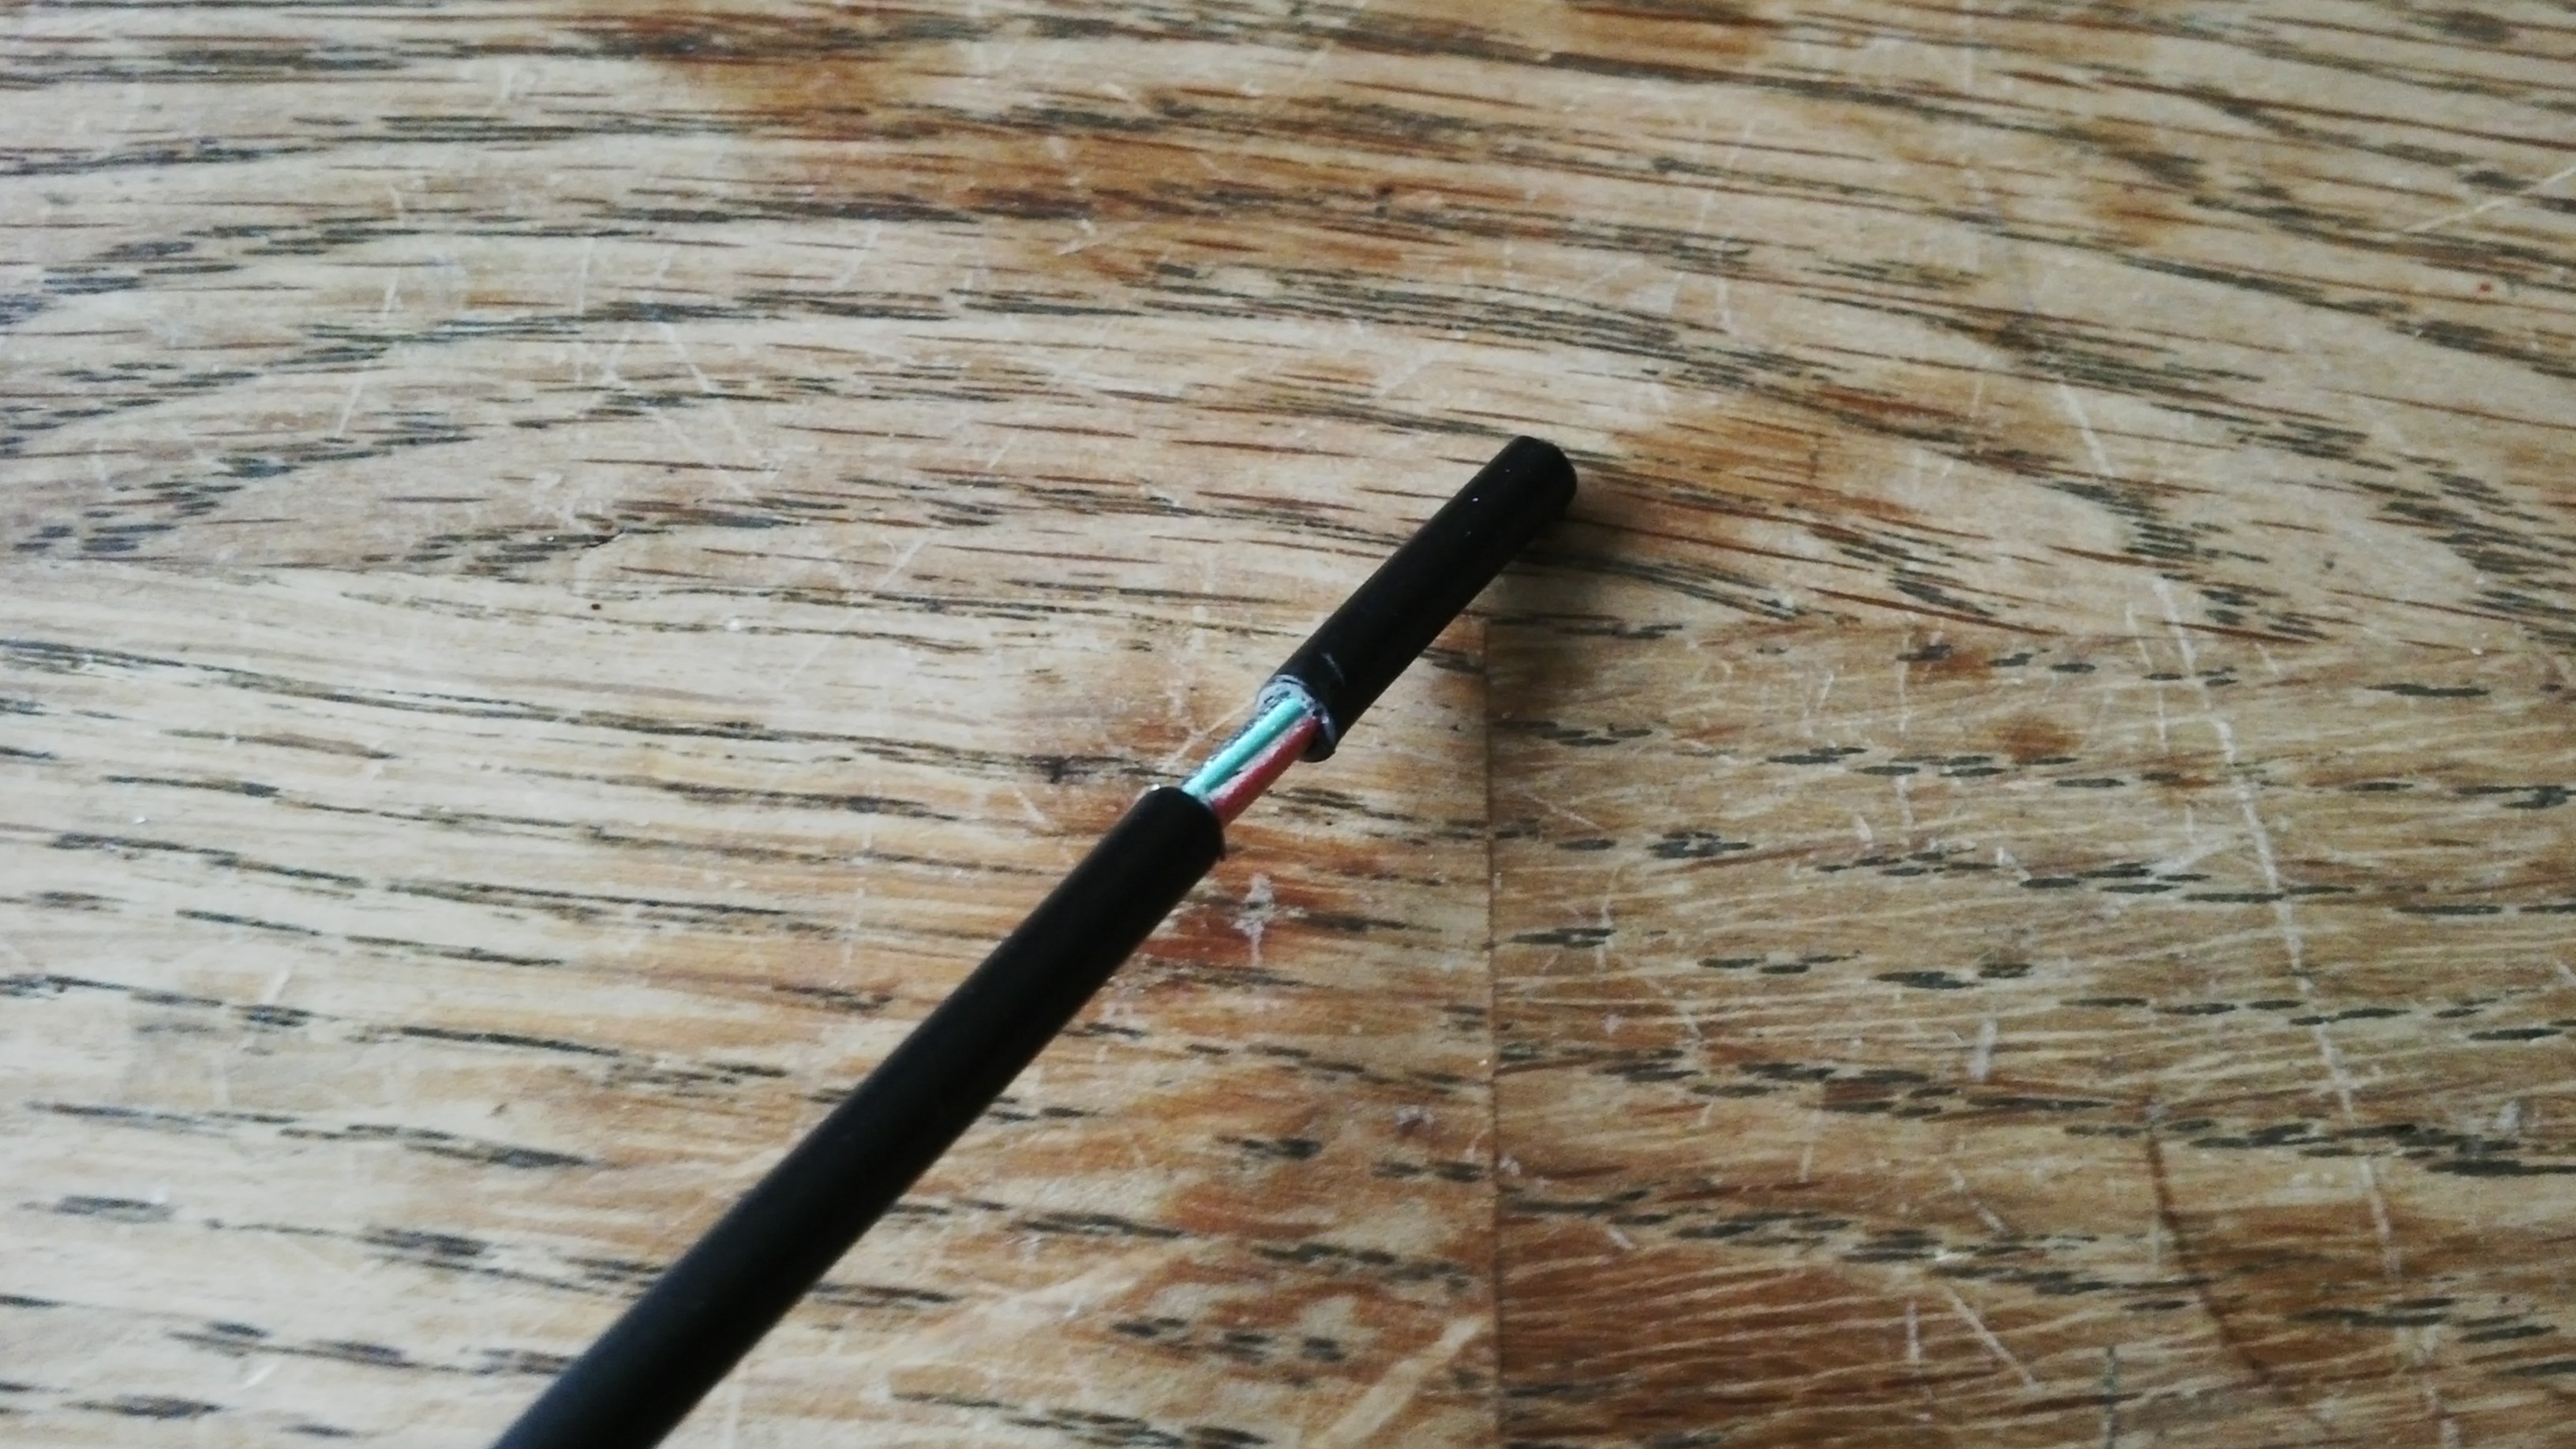
The Link cable requires a little more work. You need to expose the coper wires using scissors. First remove 2cm of the outer shield, and then remove 2mm of each individual wire's coating.
Don't worry if you cut off a wire entirely. You have half a meter to practice on. Squeeze the scissors very lightly, rotate the wire a bit and repeat. Now pull the scissors sideways without squeezing, or use your nails if you have them.
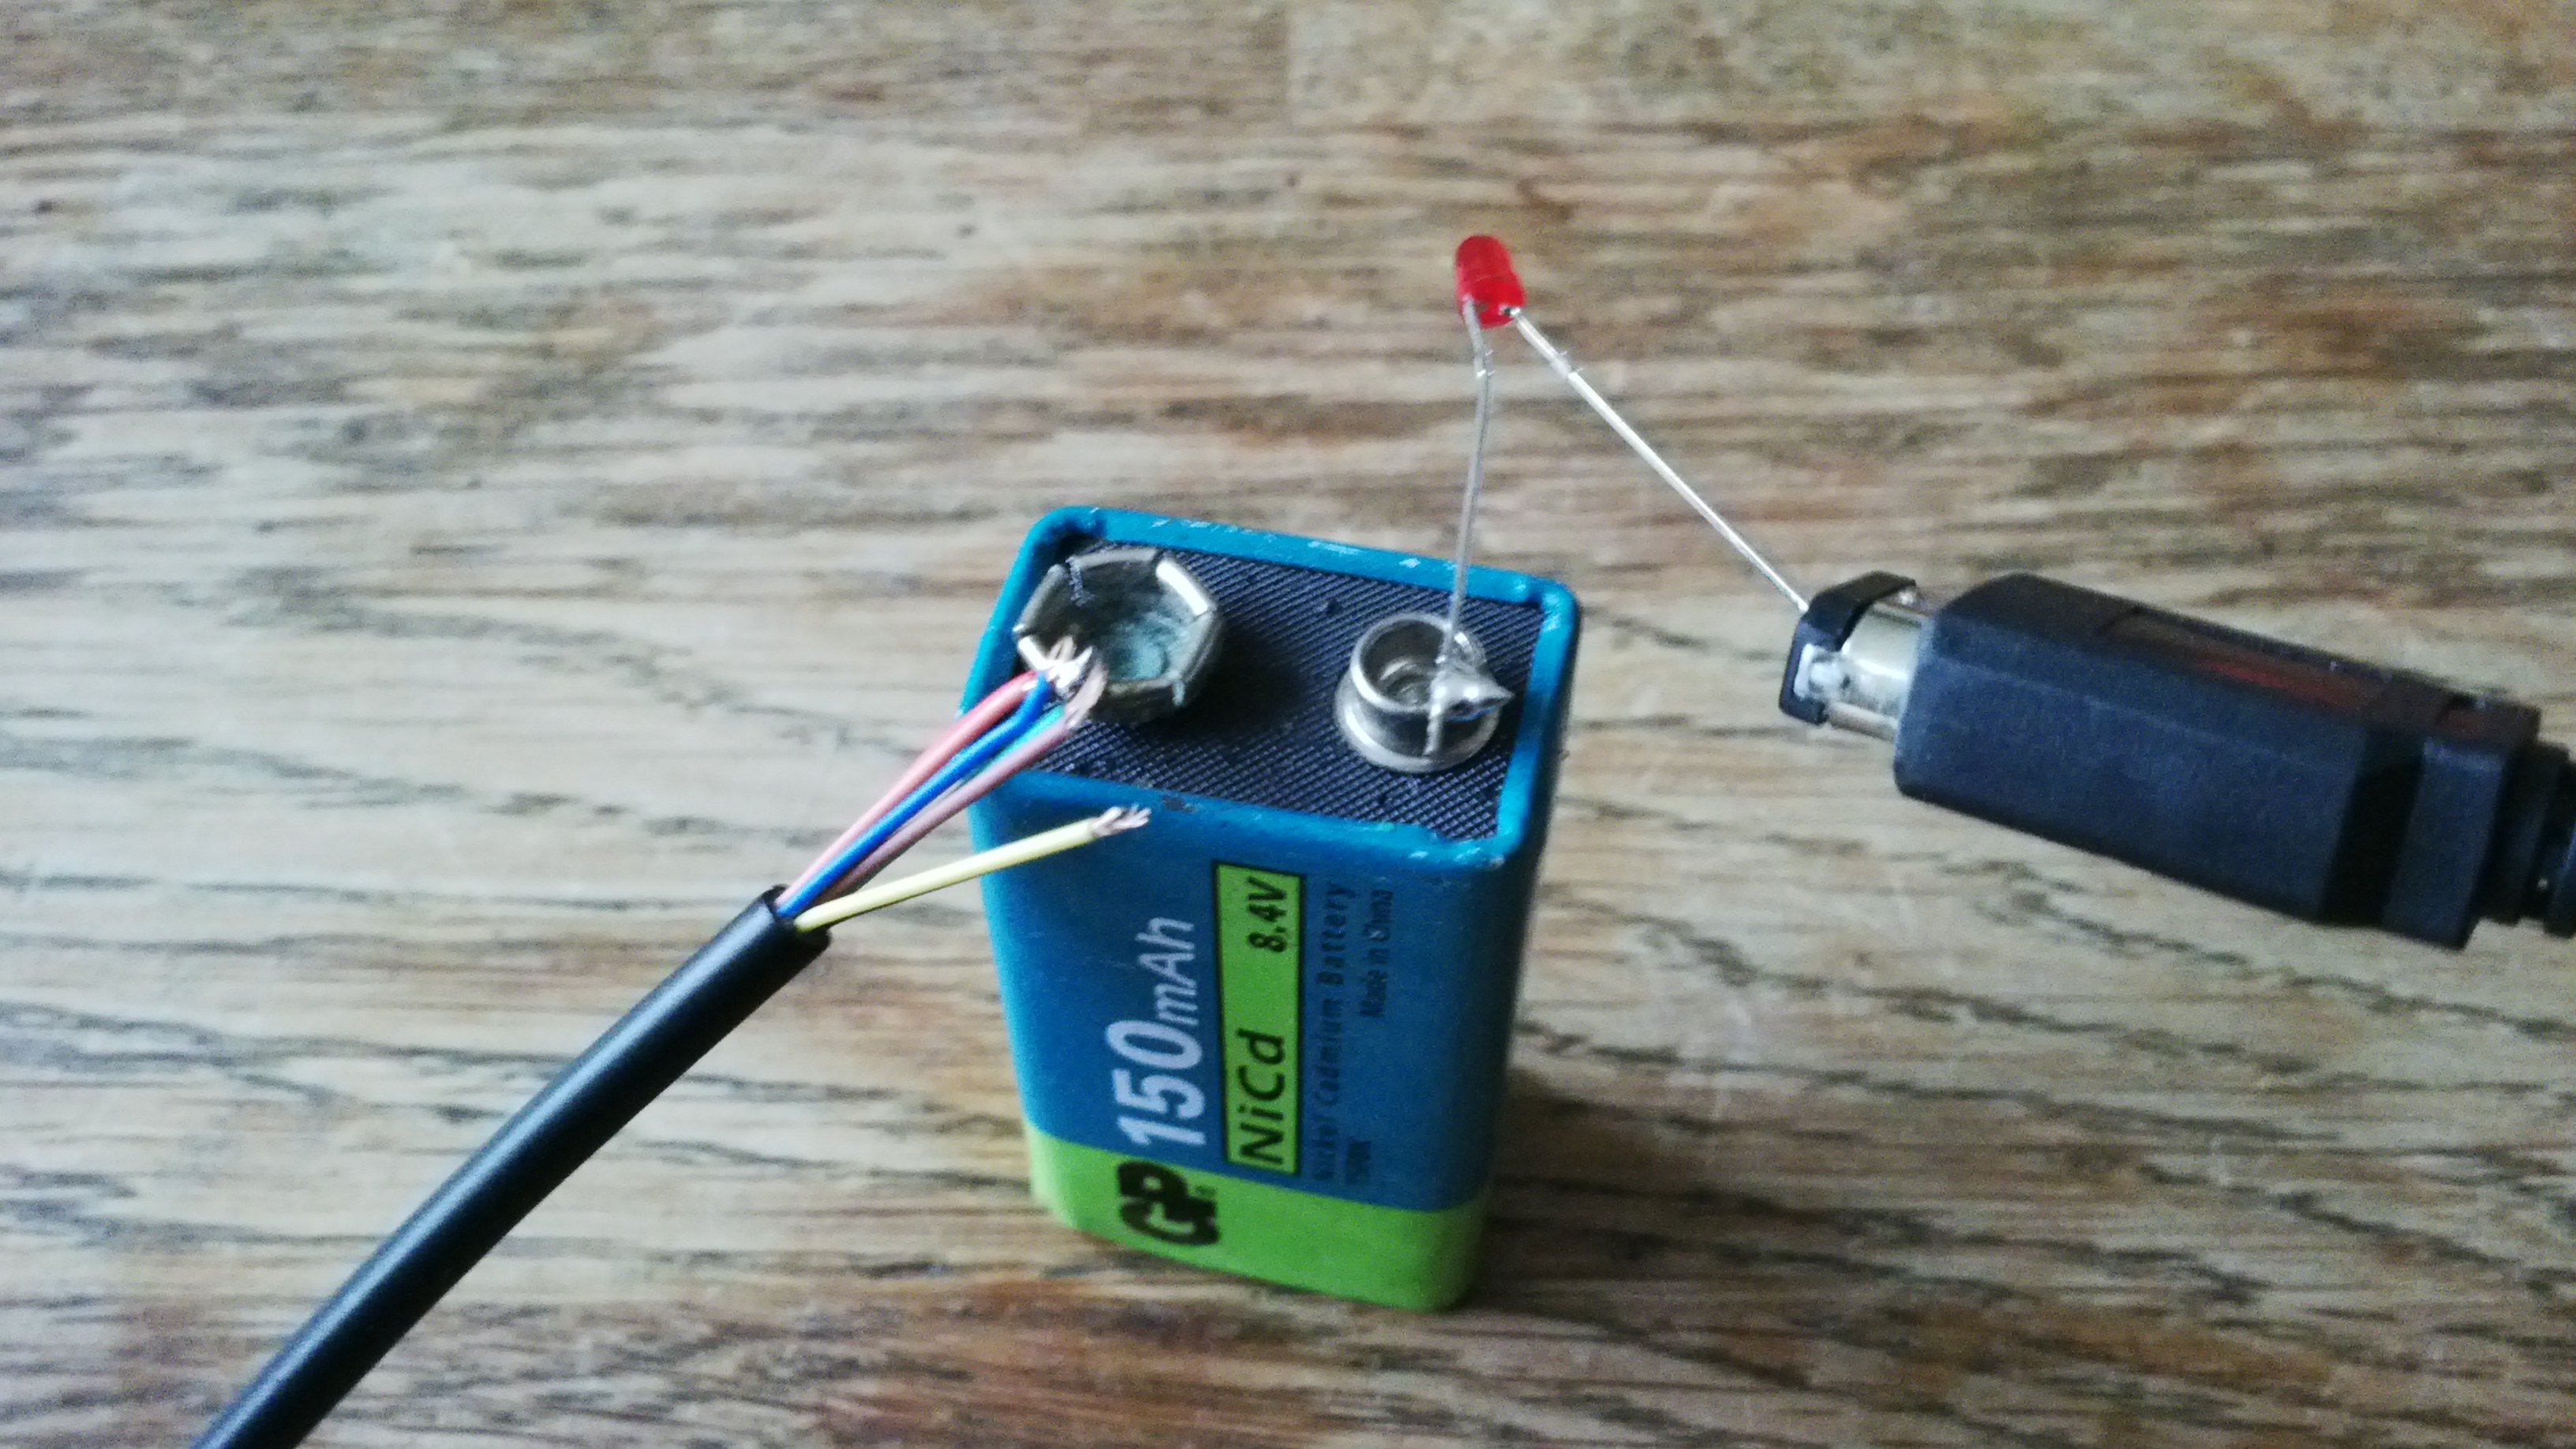
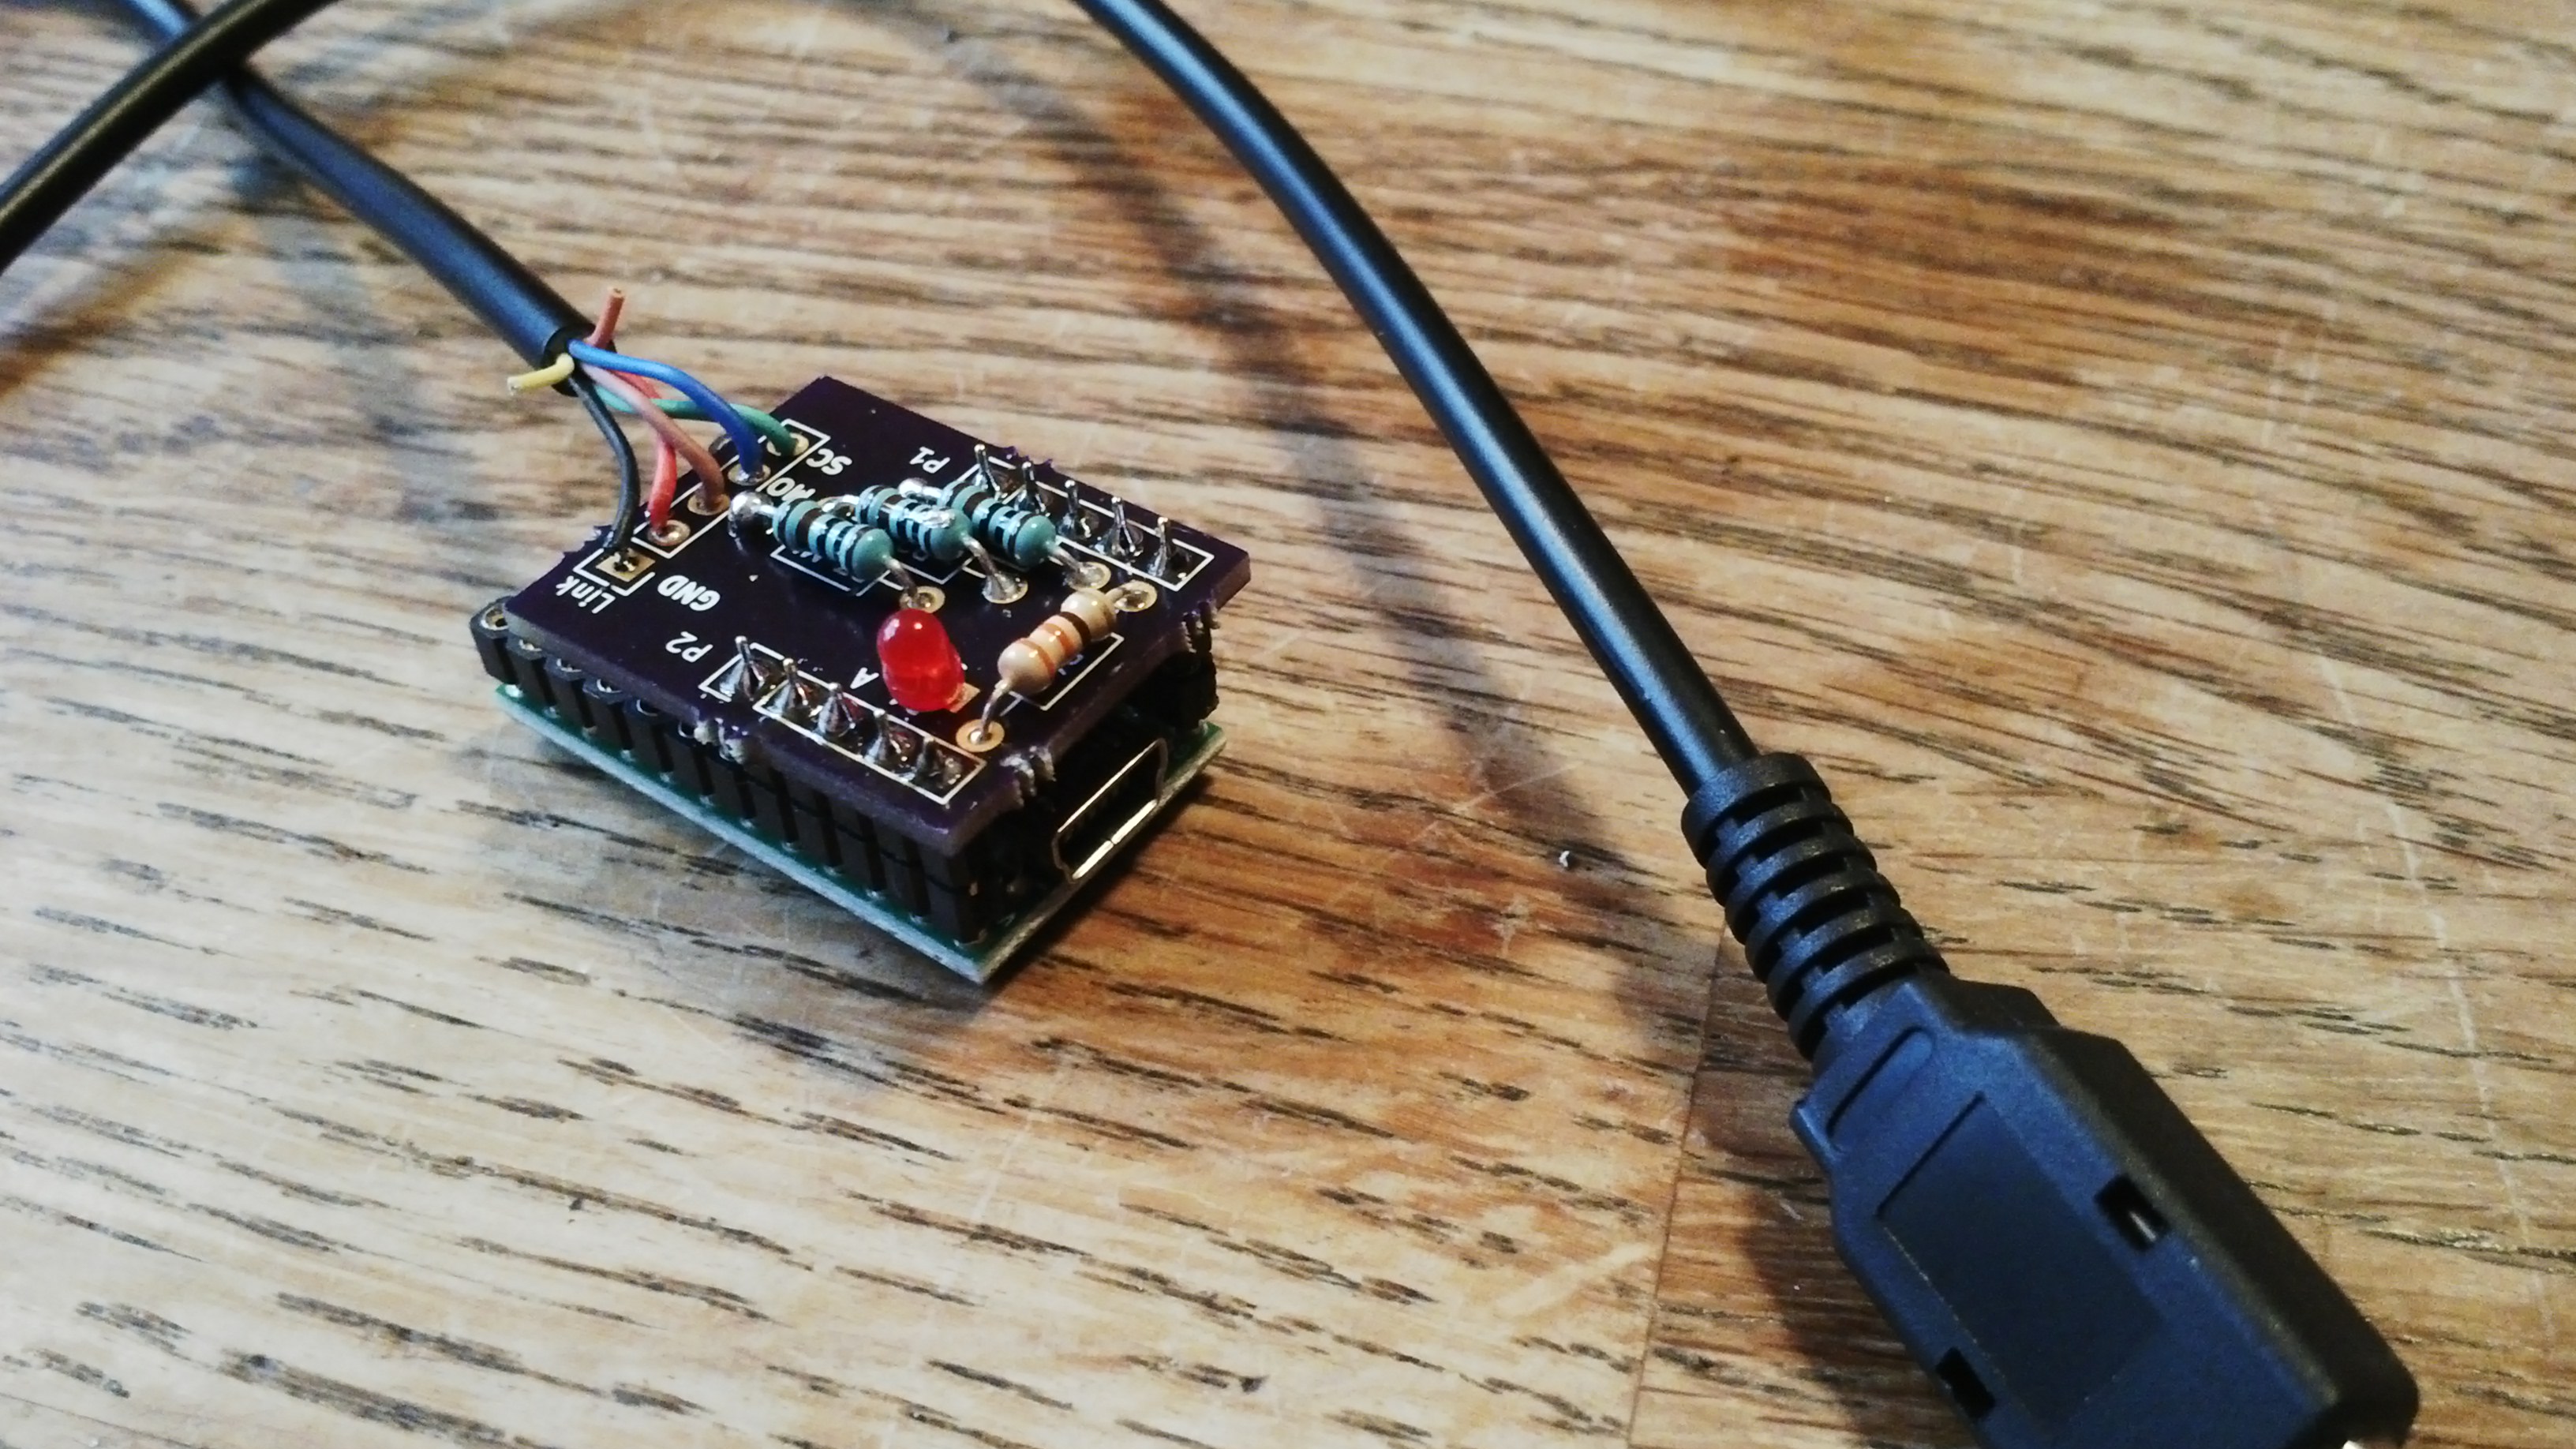
The pinout of the cable might not be exactly equal to the one pictured. This would be a good point to use your multimeter if you have one. If you don't, use the LED and a battery. This is in fact the only practical purpose of the LED.
You should not solder things to a battery, but hey, I only have so many hands to hold everything together and take a picture.
To find out which wire goes where, use this handy reference.
 ___________
|  6  4  2  | 7
 \_5__3__1_/   (at cable)
- DNC (Do Not Connect)
- MI (Master in)
- MO (Master out)
- DNC
- SC (Serial Clock)
- GND (Ground)
- GND or DNC
Done!
