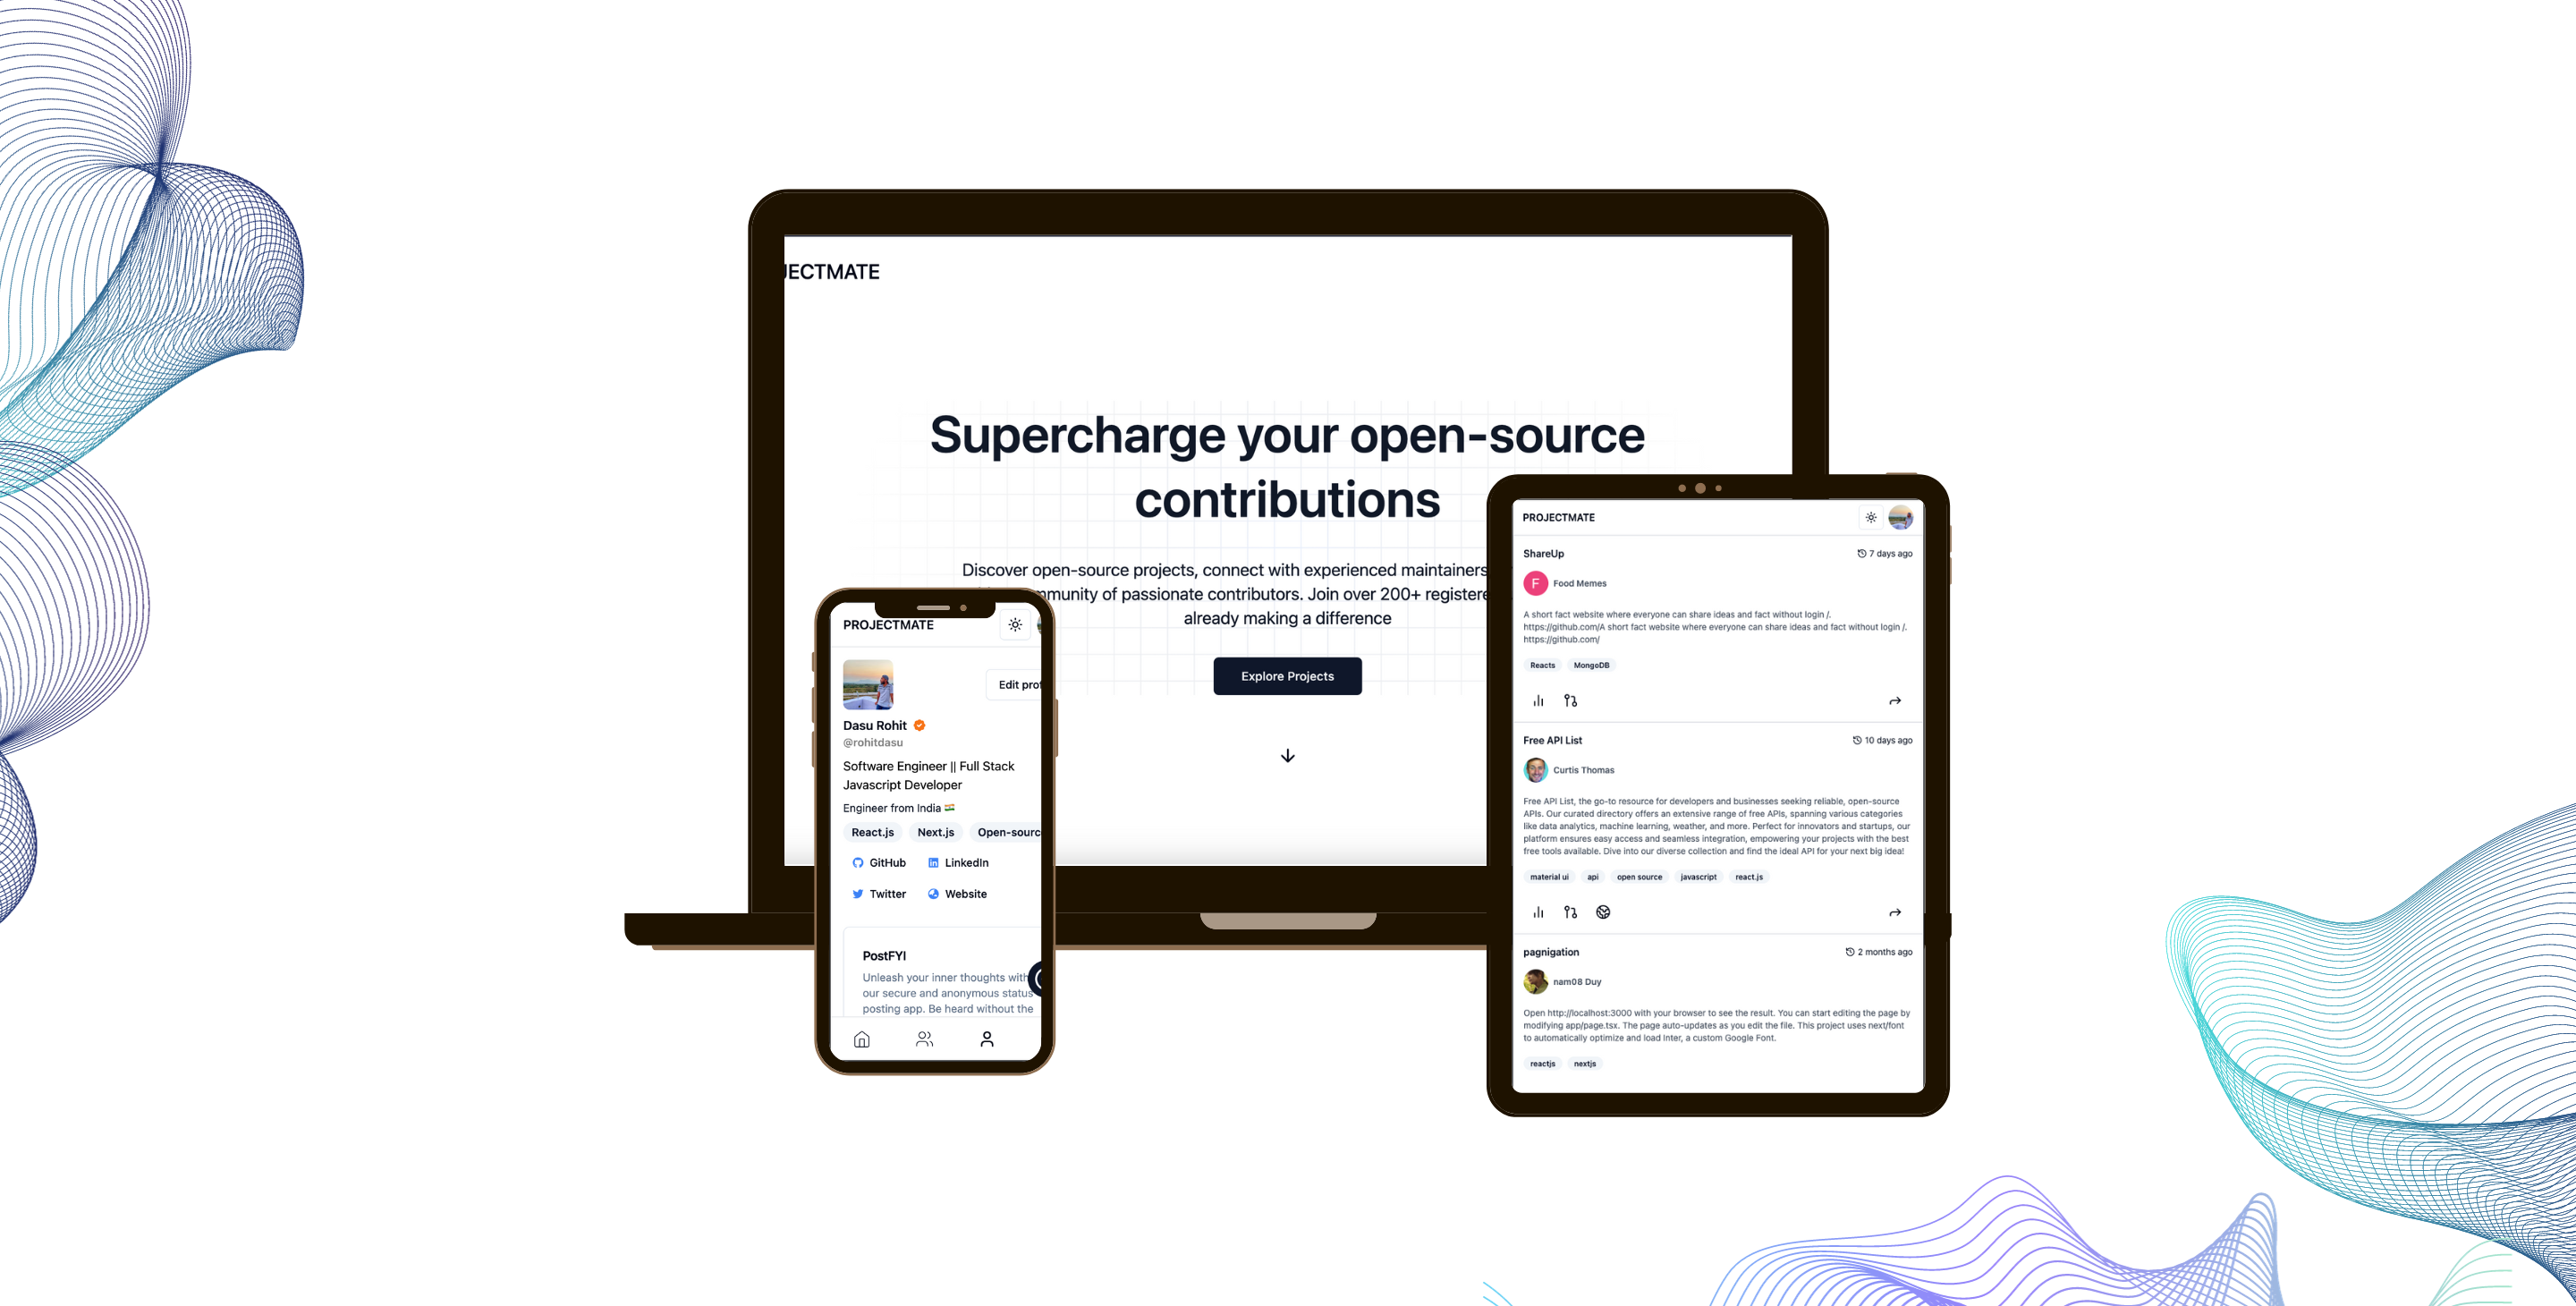
Discover open-source projects, connect with experienced maintainers, and collaborate with a community of passionate contributors. Join over 200+ registered users who are already making a difference
Check out the web app 🌏 : https://projectmate.net/

As a community, we always encourage people to share their thoughts and ideas. Do you want to talk to us? Join and Follow our Discord server and Twitter page ⬇️
Figma design:
- Frontend - Next.js Client
- CSS Framework - Tailwind CSS
- Backend - NextJS APIs + Next Auth + MongoDB + Prisma ORM
- Design & Prototype - Figma
Prerequisites
Before getting into it, make sure you have yarn and prisma installed.
-
Fork the project 🔧
-
Clone the project by running the following command on the terminal 🔽
git clone https://github.com/<your-github-username>/projectmate.git
-
Go into the project directory 🔽
cd projectmate -
Create an
.envfile from the.env.templatefile (copy everything in the.env.templatefile and put it in the.envfile with appropriate values) 📄MONGODB_URIis theconnection stringwhich you'll get from mongodb for reference.NEXTAUTH_SECRETJust pass anyrandom stringor you can quickly create a good value on the command line via thisopenssl command.
openssl rand -base64 32
-
Install all the dependencies ✅
yarn
-
Synchronize your Prisma schema with your database schema 🗃
yarn prisma db push
-
Insert required data to your database ✅
yarn prisma db seed
-
Start the application development server 🚀
yarn run dev
NOTE: Docker set up is highly recommended mainly on linux systems due to possible performance issues on other platforms.
-
Fork the project 🔧
-
Clone the project by running the following command on the terminal 🔽
git clone https://github.com/<your-github-username>/projectmate.git
-
Go into the project directory 🔽
cd projectmate -
Create an
.envfile from the.env.templatefile (copy everything in the.env.templatefile and put it in the.envfile with appropriate values) 📄MONGODB_URIis theconnection string, in this case your connection string should look exactly like thismongodb://root:root@mongo:27017/projectmate?authSource=adminNEXTAUTH_SECRETJust pass anyrandom stringor you can quickly create a good value on the command line via thisopenssl command.
openssl rand -base64 32
-
Build docker containers 🔽
docker compose build
-
Start containers in a background 🔽
docker compose up -d
-
Synchronize your Prisma schema with your database schema 🗃
docker compose exec web yarn prisma db push -
Insert required data to your database ✅
docker compose exec web yarn prisma db seedYou can access logs from web or mongo container by docker compose logs e.g:
docker compose logs web -f
If you want to stop containers just run:
docker compose stop
Or if you want to stop and remove containers, networks:
docker compose down
NOTE: If you want to add new package, you must use
docker compose exec web yarn add [package]Then (also if you pulled branch with changes to package.json) rebuild containers:
docker compose up --build -dYou cannot perform
yarn buildfrom your local machine - you need to use:docker compose exec web yarn build
Any contributions you make are truly appreciated, go to our CONTRIBUTING.md file for more information on how to contribute.
View CODE_OF_CONDUCT.md
Don't forget to support us by leaving a star ⭐
projectmate is licensed under the MIT License - see the LICENSE file for the details.


