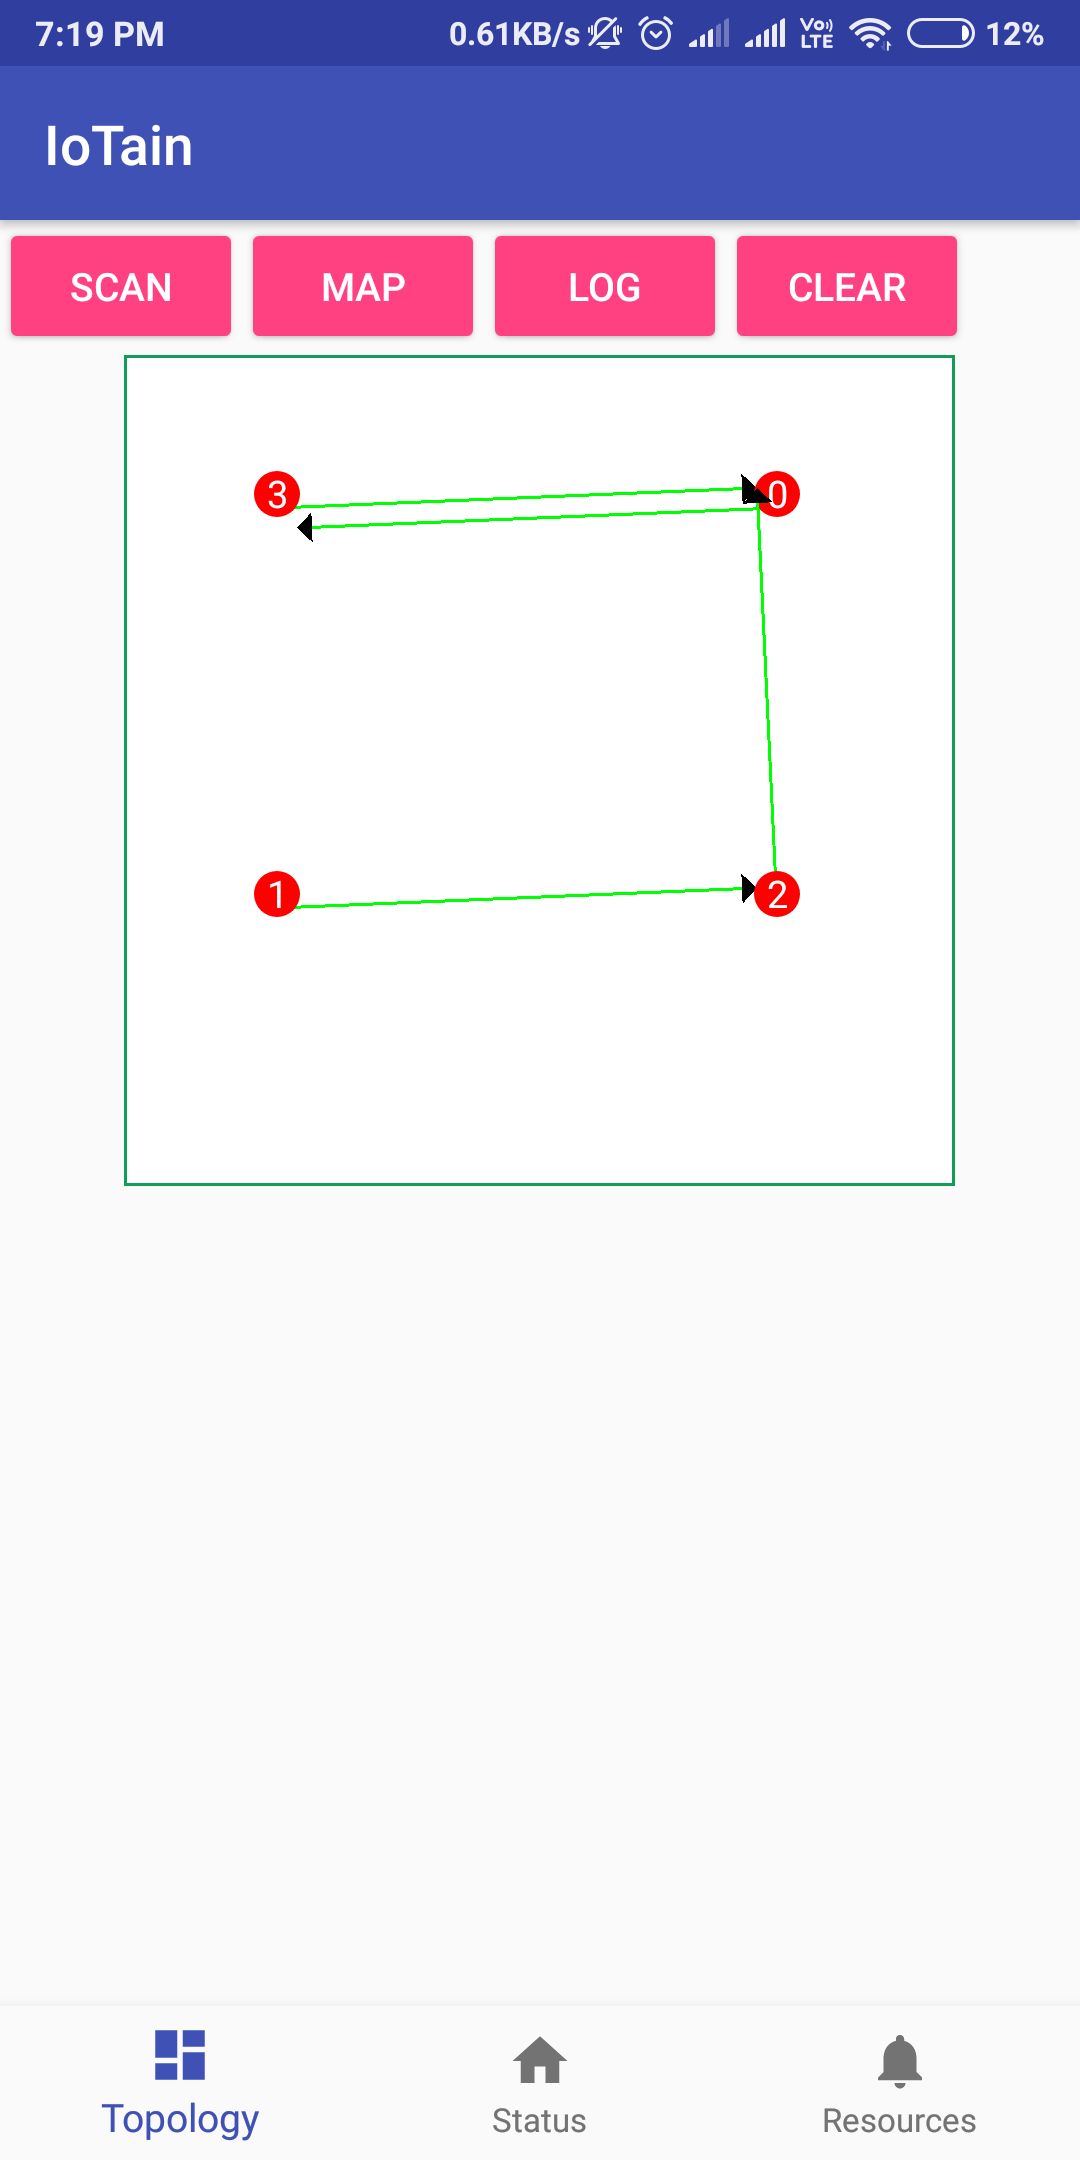
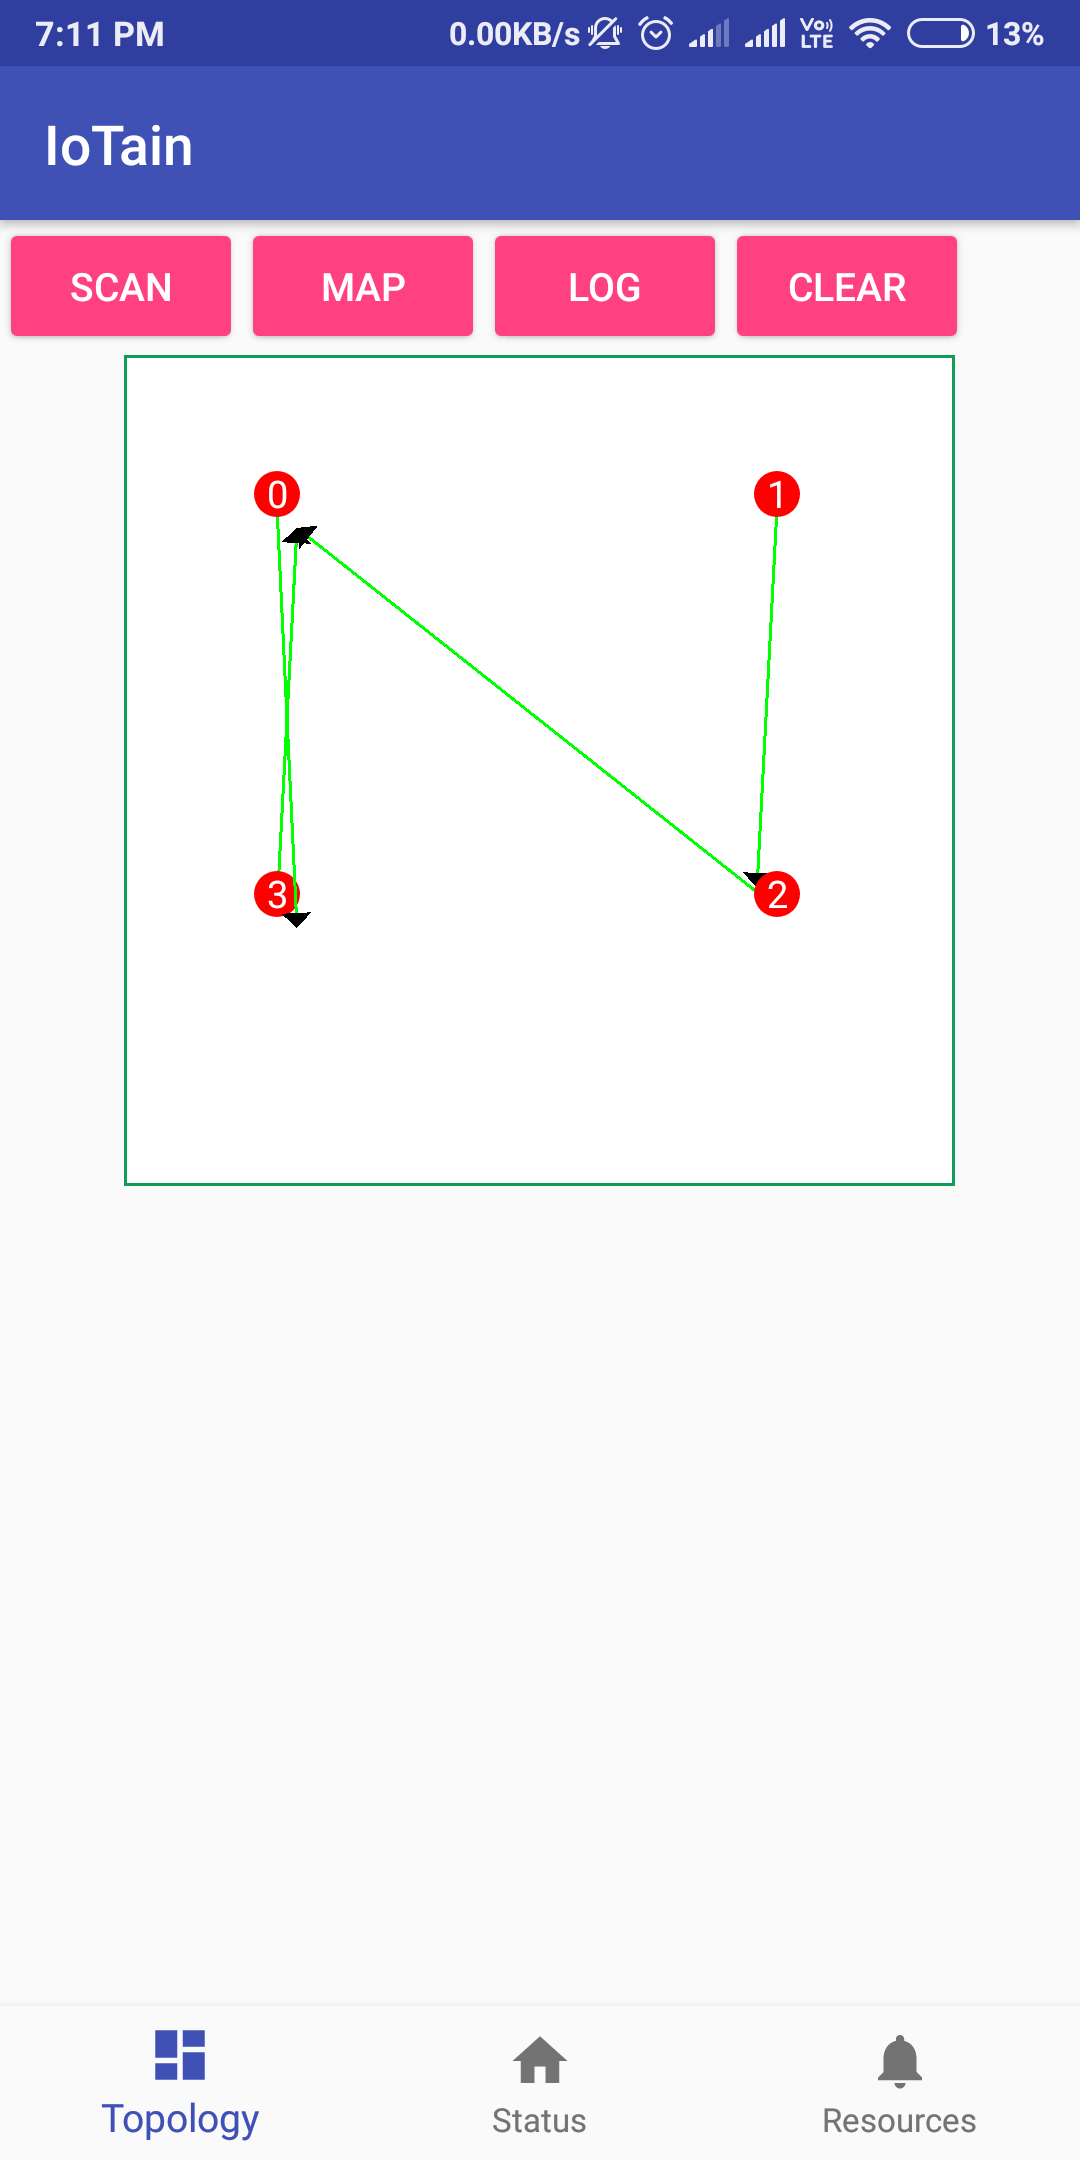
College Minor & Major project on Implementation of IoT using Blockchain
IoTain is developed as a lite operating system using the blockchain concept and implementing PBFT, SPV and CPS technology, allowing data to be layered and stored in a decentralised manner and providing protection with the combined strength of the millions of IoT nodes within the network.
The technology will result in an economy of sharing for Internet of Things (IoT) devices in a decentralized and energy efficient environment while producing a wealth of valuable user data which can be used as fuel for the development of AI with users rewarded for providing this fuel.
Under this network, the interconnection of IoT devices of a home, a business or even a city can truly flourish without worry of transfer congestion, malicious attacks or losing privacy.
5 PCB Modules Break Down --->
- ESP32_0 Connects to MQTT Cloud , TouchPad(RID: 2015)
- ESP8266_1 Use only as Router
- ESP32_2 Connects to LCD via I2C(RID: 2016) , LED (RID: 2017)
- ESP8266_3 Use only as Router
- ESP32_4 Connects to Human Detector(RID: 2019) / Arduino(RID: 2018)
https://www.espressif.com/sites/default/files/documentation/esp32_datasheet_en.pdf
Manufacturer Espressif Systems Type Microcontroller Release date September 6, 2016 CPU Tensilica Xtensa LX6 microprocessor @ 160 or 240 MHz Memory 520 KiB SRAM Power 3.3 V DC
Peak Current at Startup - 330mA @3.3V / 5V Normal Mode - 40mA / 295mA while transmitting
Manufacturer Espressif Systems Type 32-bit microcontroller CPU @ 80 MHz (default) or 160 MHz Memory 32 KiB instruction, 80 KiB user data Input 16 GPIO pins
Peak Current at Startup - 330mA @3.3V / 5V Normal Mode - 40mA / 295mA while transmitting
REF: https://www.esp8266.com/viewtopic.php?f=13&t=3875
Current : 30-60mA Voltage : 5V
https://github.com/shiveshnavin/iot_blockchain_exps
https://docs.google.com/spreadsheets/d/1eNXbXkoAlzQ8lPaVAfOieuCQz-jQHsp9ouRmxi8EvYQ/edit?usp=sharing
To Run on Windows
double click run.bat
To run on Linux
./run.sh
To make a request
run ota_server and send postman or from GUI request
http://127.0.0.1:5001/rpc/on_request

{

	"req_id":"123",
	"src_ip":"127.0.0.1:8080",
	"status":{"message":"under process"},
	"job":{"res_id":61,"res_name":"Ultrasound sensor","action":"read"}

}
Detects a particular person when in vicinity .
To make HTTP calls from once device routed through AP and that Routed through STA mode when device is working in AP+STA mode . This will be used for Chaining Up multiple devices , request forwarding and Callbacking [See Test 2]
Write RPC listeners to listen to requests , check whether resource in avalable , if available pass the request to resource access controller else pass the request to other devices .
Implement
on_request()
on_callback()
on_resource()
Make a table of resources availble on a device
LED at pin 5 in blinking state when WiFi is connecting or disconnected and Solid ON when wifi connected
All devices connect to backbone network when in centralized mode
When backbone network goes down or when in chained mode , trigger a scan and connect to the IoT wifi SSID with largest signal
Test 1 : To check if a device is cabale of autoconnecting in sta mode when the AP is available ( 01/10/18 )
After setting in config and device connects to AP , AP is restarted and device in monirotred if it rescans the AP and connects to it PASS
(Syntax = Stattion Name ----:> Access Point Name)
iot_1 -----:> iot_0 ----:> wifi <:------ PC
iot_1 makes an http call to iot_0 at a fixed IP and check if http call works (PASS)
iot_0 makes an http call to iot_1 (i.e. device in its AP network) at its guessed IP address (later IP table registration will be used ) and see if it gets resutls , this will be used in callbacking (PASS)
iot_0 makes an http call to PC (i.e. device in its STA Network) (PASS)
iot_1 <:-----:> iot_0
Both devices are tightly coupled to each other i.e. connected to eachohers AP , but the ip addressing is in diffrerent ranges
for iot_0
Cfg.set({wifi:{ap:{
  ssid:"iot_0",pass:"password",enable:true,ip:"192.168.4.1"
  ,gw:"192.168.4.1",dhcp_start:"192.168.4.2",dhcp_end:"192.168.4.49"}}});
for iot_1
    Cfg.set({wifi:{ap:{
ssid:"iot_1",pass:"password",enable:true,ip:"192.168.4.50"
,gw:"192.168.4.50",dhcp_start:"192.168.4.51",dhcp_end:"192.168.4.100"}}});
iot_0 makes an http call to iot_1 , iot_1 makes an http call to iot_0 (PASS)
In Image
Top Terminal Shows Log on PC Endpoint
Left Terminal Shows Log on iot_0
Right Terminal Shows Log on iot_1
Idea is that when a device connected iot_0's AP makes a request to access PC (which is connected to same AP as iot_0) then iot_0 will recieve this request and make another request to PC , the result from the PC is required to be forwarded back to iot_1 which made the initial request thus facilitating callbacks
Designing base firmware package on top of which prototyping will be done . Base firmwares are stored in
For ESP32 Devices fw_esp32.zip
For ESP8266 Devices fw_esp8266.zip

To Flash
mos flash fw_esp32.zip
Features of base firmware
1. Status LEDs status leds can be connected at GPIO 5 of both devices
2. Create AP and connect to STA
3. Show Wifi Connectivity status
Status LED blinking led pin : 5 esp8266 - D1 esp32 - D5
RPC : http://192.168.4.1/rpc/blink
POST Payload:

{
val:1
}
Val = 1 : trigger blink_once() Val = 2 : trigger stop_blink() Val = 3 : trigger start_blink()
PASS
Request to 192.168.0.1
{

	"req_id":"Ef23zvzA",
	"src_ip":"192.168.0.6:8084",
	"status":{"message":"under process"},
	"job":{"res_id":1,"res_name":"Ultrasound sensor","action":"read"}

}
RESPONSE
{
    "status": "performing job",
    "result": {
        "val": 1.2,
        "message": "Job DOne Brow!!!"
    }
}Request to 192.168.0.2
{

	"req_id":"Ef23zvzA",
	"src_ip":"192.168.0.6:8084",
	"status":{"message":"under process"},
	"job":{"res_id":601,"res_name":"Ultrasound sensor","action":"read"}

}
Response on requester
{
    "status": "forwarding request",
    "result": {
        "forwarded_to": [
            {
                "ip": "192.168.0.3",
                "ssid": "iotain_3"
            },
            {
                "ip": "192.168.0.2",
                "ssid": "iotain_2"
            },
            {
                "ip": "192.168.0.4",
                "ssid": "iotain_1"
            }
        ]
    }
}

host 192.168.0.1 forwards requets to
```js
 [{"ip":"192.168.0.3","ssid":"iotain_3"},{"ip":"192.168.0.2","ssid":"iotain_2"},{"ip":"192.168.0.4","ssid":"iotain_1"}]
host gets responsees
[Oct 31 11:50:34.782] iotain_0 {"status":"forwarding request","result":{"forwarded_to":[]}}\x0d\x0a
[Oct 31 11:50:34.838] iotain_0 {"status":"forwarding request","result":{"forwarded_to":[]}}\x0d\x0a
[Oct 31 11:50:35.059] iotain_0 {"status":"forwarding request","result":{"forwarded_to":[{"ip":"192.168.1.3","ssid":"iotain_0"}]}}\x0d\x0a
on 192.168.1.1 we get request from iotain_0 and since iotain_0 <--> iotain_1 so on iotain_0 we get requst from iotain_1 on iotain_1
[Oct 31 11:50:34.720] iotain_1 FWD RQ FROM: 192.168.1.1  JOB: Ultrasound sensor  TO: [{"ip":"192.168.1.3","ssid":"iotain_0"}]
[Oct 31 11:50:34.771] iotain_1 HTTP CALL  http://192.168.1.3/rpc/on_request {"job":{"res_id":601,"res_name":"Ultrasound sensor","action":"read"},"status":{"message":"under process"},"src_ip":"192.168.0.1","req_id":"Ef23zvzA"}
[Oct 31 11:50:35.371] iotain_1 {"status":"request already recieved","result":{"message":"under process"}}\x0d\x0a
again on iotain_0
[Oct 31 11:50:35.118] mg_rpc_handle_reques on_request via HTTP 192.168.1.1:53469
[Oct 31 11:50:35.127] iotain_0 request on iotain_0
since request is alredy recieved earlier at iotain_0 hence the request from iotain_1 is discarded
PASS
Test Case 3 : When recource is on next device to which request is made , i.e. making req to host to which both the requester and the actual resourced device is conncted to
request from requester 192.168.0.6:8084 to host iotain_0
{

	"req_id":"ABCS",
	"src_ip":"192.168.0.6:8084",
	"status":{"message":"under process"},
	"job":{"res_id":31,"res_name":"Ultrasound sensor","action":"read"}

}
response from iotain_0
{
    "status": "forwarding request",
    "result": {
        "forwarded_to": [
            {
                "ip": "192.168.0.3",
                "ssid": "iotain_3"
            },
            {
                "ip": "192.168.0.2",
                "ssid": "iotain_2"
            },
            {
                "ip": "192.168.0.4",
                "ssid": "iotain_1"
            }
        ]
    }
}
response is
[Oct 31 12:01:36.205] iotain_0 {"status":"performing job","result":{"val":1.200000,"message":"Job DOne Brow!!!"}}\x0d\x0a
request received on iotain_1 and log on iotain_1 is
[Oct 31 12:01:35.811] iotain_1 request on iotain_1
[Oct 31 12:01:35.864] iotain_1 Performing  Ultrasound sensor
[Oct 31 12:01:35.920] iotain_1 HTTP CALL  http://192.168.1.1/rpc/on_callback {"req_id":"ABCS","src_ip":"192.168.1.1","status":{"val":1.200000,"message":"Job DOne Brow!!!"},"job":{"res_id":31,"res_name":"Ultrasound sensor","action":"read"}}
[Oct 31 12:01:42.174] iotain_1
means iotain_1 finds the resource and does the job and makes callback on iotain_0 with response log on iotain_0 is
NO LOG ABOUT THE CALLBACK MADE , reason being call should have been made tp http://192.168.0.1 and not http://192.168.1.1 .
FAIL
Again tested with some modifications , now src_ip is either AP Host ip or Sta io depending on the endpoint where requests is being forwarded to
PASS (yayy!!)
PASS
PASS (Yayyyyyyy!!!)
Sill empty response reverted though
Update Empty Response fixed , turns out HTTP headers were wrong and now set to application/json Content-type , its working now!!
DONE
DONE
DONE
DONE
https://mongoose-os.com/software.html
On Linux :
  sudo add-apt-repository ppa:mongoose-os/mos
  sudo apt-get update
  sudo apt-get install mos
  mos --help
  mos
git clone https://github.com/shiveshnavin/iot_blockchain.git
cd iot_blockchain
mos build --arch esp32
mos flash --arch esp32
mos console
To facilitate auto update and triggered lite OTA updates custom OTA client in implemented . To perform OTA
1. Create a Web Server using XAMPP or AMPS or LAMPP
2. Put in htdocs or public_html directory a file named worker.js
3. Worker.js contains all firmware code except OTA part
Customize run.sh Replace url with the url of the worker.js file and the IP with the IP address of the device
#!/bin/bash
curl -X POST \
  http://192.168.4.1/rpc/update \
  -H 'cache-control: no-cache' \
  -H 'postman-token: 6f54ee23-8f55-9bd7-96b7-1a9aedfdac1b' \
  -d '{
	"url":"http://192.168.4.2:8080/worker.js"
}'Helpful Conceptual Video , this is not how things work here though ESP8266 NAT https://www.devteam.space/blog/iot-blockchain-technology-uses-cases-overview/


