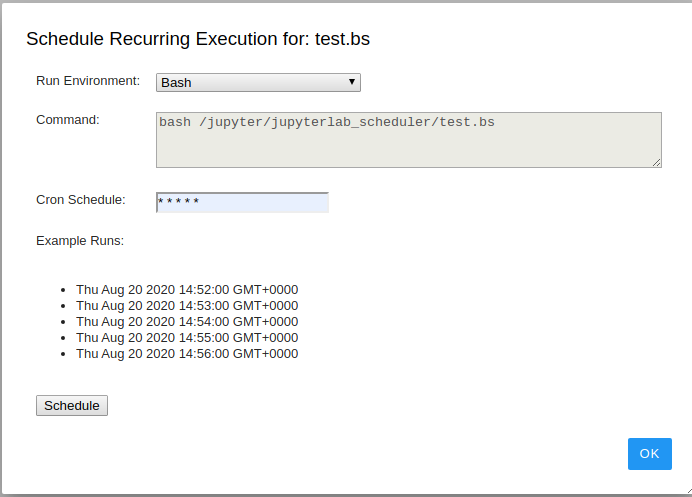
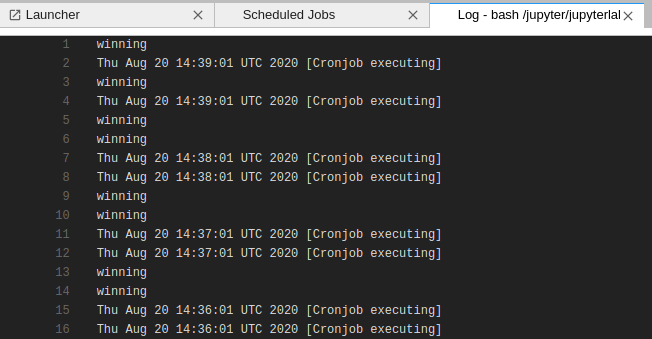
A simple plugin for scheduling files for recurring execution using the cron utility within the Jupyter Lab UI. Use cases
Security Note: Cron jobs are executed under the permission set of the JupyerLab process; if you start jupyter as root (not recommended!) every job that is scheduled via the UI will also run as root.
- JupyterLab
- Cron installed on the JupyterLab host
To install using pip:
pip install jupyterlab_scheduler

jupyter labextension install jupyterlab_scheduler
Installation in the Jupyterlabs Docker images is slightly different, because the base Jupyter Docker image is missing some of the pre-requisities. Here's an example Dockerfile that installs the required deps & scheduler plugin:
FROM jupyter/scipy-notebook:latest

# Switch to root user to install cron
USER root
RUN apt-get update && apt-get install --yes cron

# Switch back to Jupyter user
USER $NB_USER

RUN fix-permissions $CONDA_DIR && \
    fix-permissions /home/$NB_USER

# Set USER to the env variable jupyter uses for the default account
ENV USER=$NB_USER

RUN pip install jupyterlab_scheduler
RUN jupyter labextension install jupyterlab_scheduler
Note: You must manually start cron daemon, because it is not automatically started in Jupyter Docker images (Because, these imagas do not contain systemd.). Following command is an example to start cron from Docker's host:
docker exec -it -u root <container_id> service cron startRunning into this error?
ERROR: Service 'jupyter' failed to build: The command '/bin/bash -o pipefail -c jupyter labextension install jupyterlab_scheduler' returned a non-zero code: 1
... basically means you ran out of memory on your host. The jupyter plugin installation process is quite memory intensive.
For a development install (requires npm version 4 or later), do the following in the repository directory:
# Clone the repo to your local environment
# Move to jupyterlab_scheduler directory
# Install python backend
pip install .
# Install dependencies
npm install
# Build the extension
npm run build:lib
# Install your development version of the extension
jupyter labextension install .
You run JupyterLab in watch mode to watch for changes in the extension's source and automatically rebuild.
# Run jupyterlab in watch mode & compile JS on change
npm run watch & jupyter lab --watch
Now every change will be built locally and bundled into JupyterLab. Be sure to refresh your browser page after saving file changes to reload the extension (note: you'll need to wait for webpack to finish, which can take 10s+ at times).
# Run jupyterlab in auto reload mode & compile JS on change
npm run watch &  jupyter lab  --autoreload --NotebookApp.token='' --NotebookApp.password='' --no-browser
Works better when developing server extensions
Note: Make sure to close any old npm run watch jobs that may be running in the background.
Update version number in:
- package.json
- jupyterlab_scheduler/_version.py
Update JavaScript files:
npm installBuild the server-side portion of the plugin for disitibution on Pypi:
python3 setup.py sdist bdist_wheel

python3 -m twine upload --repository pypi dist/*jupyter labextension uninstall jupyterlab_schedulerWhen I click "schedule" an error message "There was an error submitting job" appears
- Solution 1: If you're installing this plugin in Docker, follow the Docker instructions above - you're likely missing the cron dependency
- Solution 2: Your operating system isn't using the USER environment variable to track the current user (common in Docker images) - manually set the USER environment variable to your current user
When installing, I get an error "ERROR: Service 'jupyter' failed to build: The command '/bin/bash -o pipefail -c jupyter labextension install jupyterlab_scheduler' returned a non-zero code: 1"
- Solution 1: Check your system's memory, you've likely exceeded your memory - the jupyter installation process is resource intensive.
- Solution 2: Check your system's disk space, you may have run out of capacity


