Our code is located in three repositories:
Brypt-Node: https://github.com/Stygain/brypt-node
Brypt-Desktop: https://github.com/vpiscitello/brypt-desktop
Brypt-Server: https://github.com/Stygain/brypt-server
PDF version available in the Documents/Setup Guide folder.
Pick one of the following two testing methods:
- Brypt Ubuntu Virtual Machine (Recommended)
-
Difficulty: Easy
-
Setup Time: Download Time + VM Install Time
-
Requires: VMWare Workstation 15 or VMWare fusion and an external Ubuntu/Debian/Linux WiFi adapter (Confirmed working: TP-Link WN725n).
-
Download the Brypt Ubuntu VM.
-
Make a new Virtual Machine with the Brypt Ubuntu OVA using VMWare Workstation 15 or VMWare Fusion.
- The Brypt Ubuntu VM login credentials are username: “brypt-client” and password: “secured”.
-
Ensure you can connect your external WiFi adapter directly to the VM.
-
Disable the default shared/bridged internet connection to the VM.
-
Connect to an Internet accessible WiFi Access Point.
-
Follow Brypt Setup Guide Part Two before continuing.
-
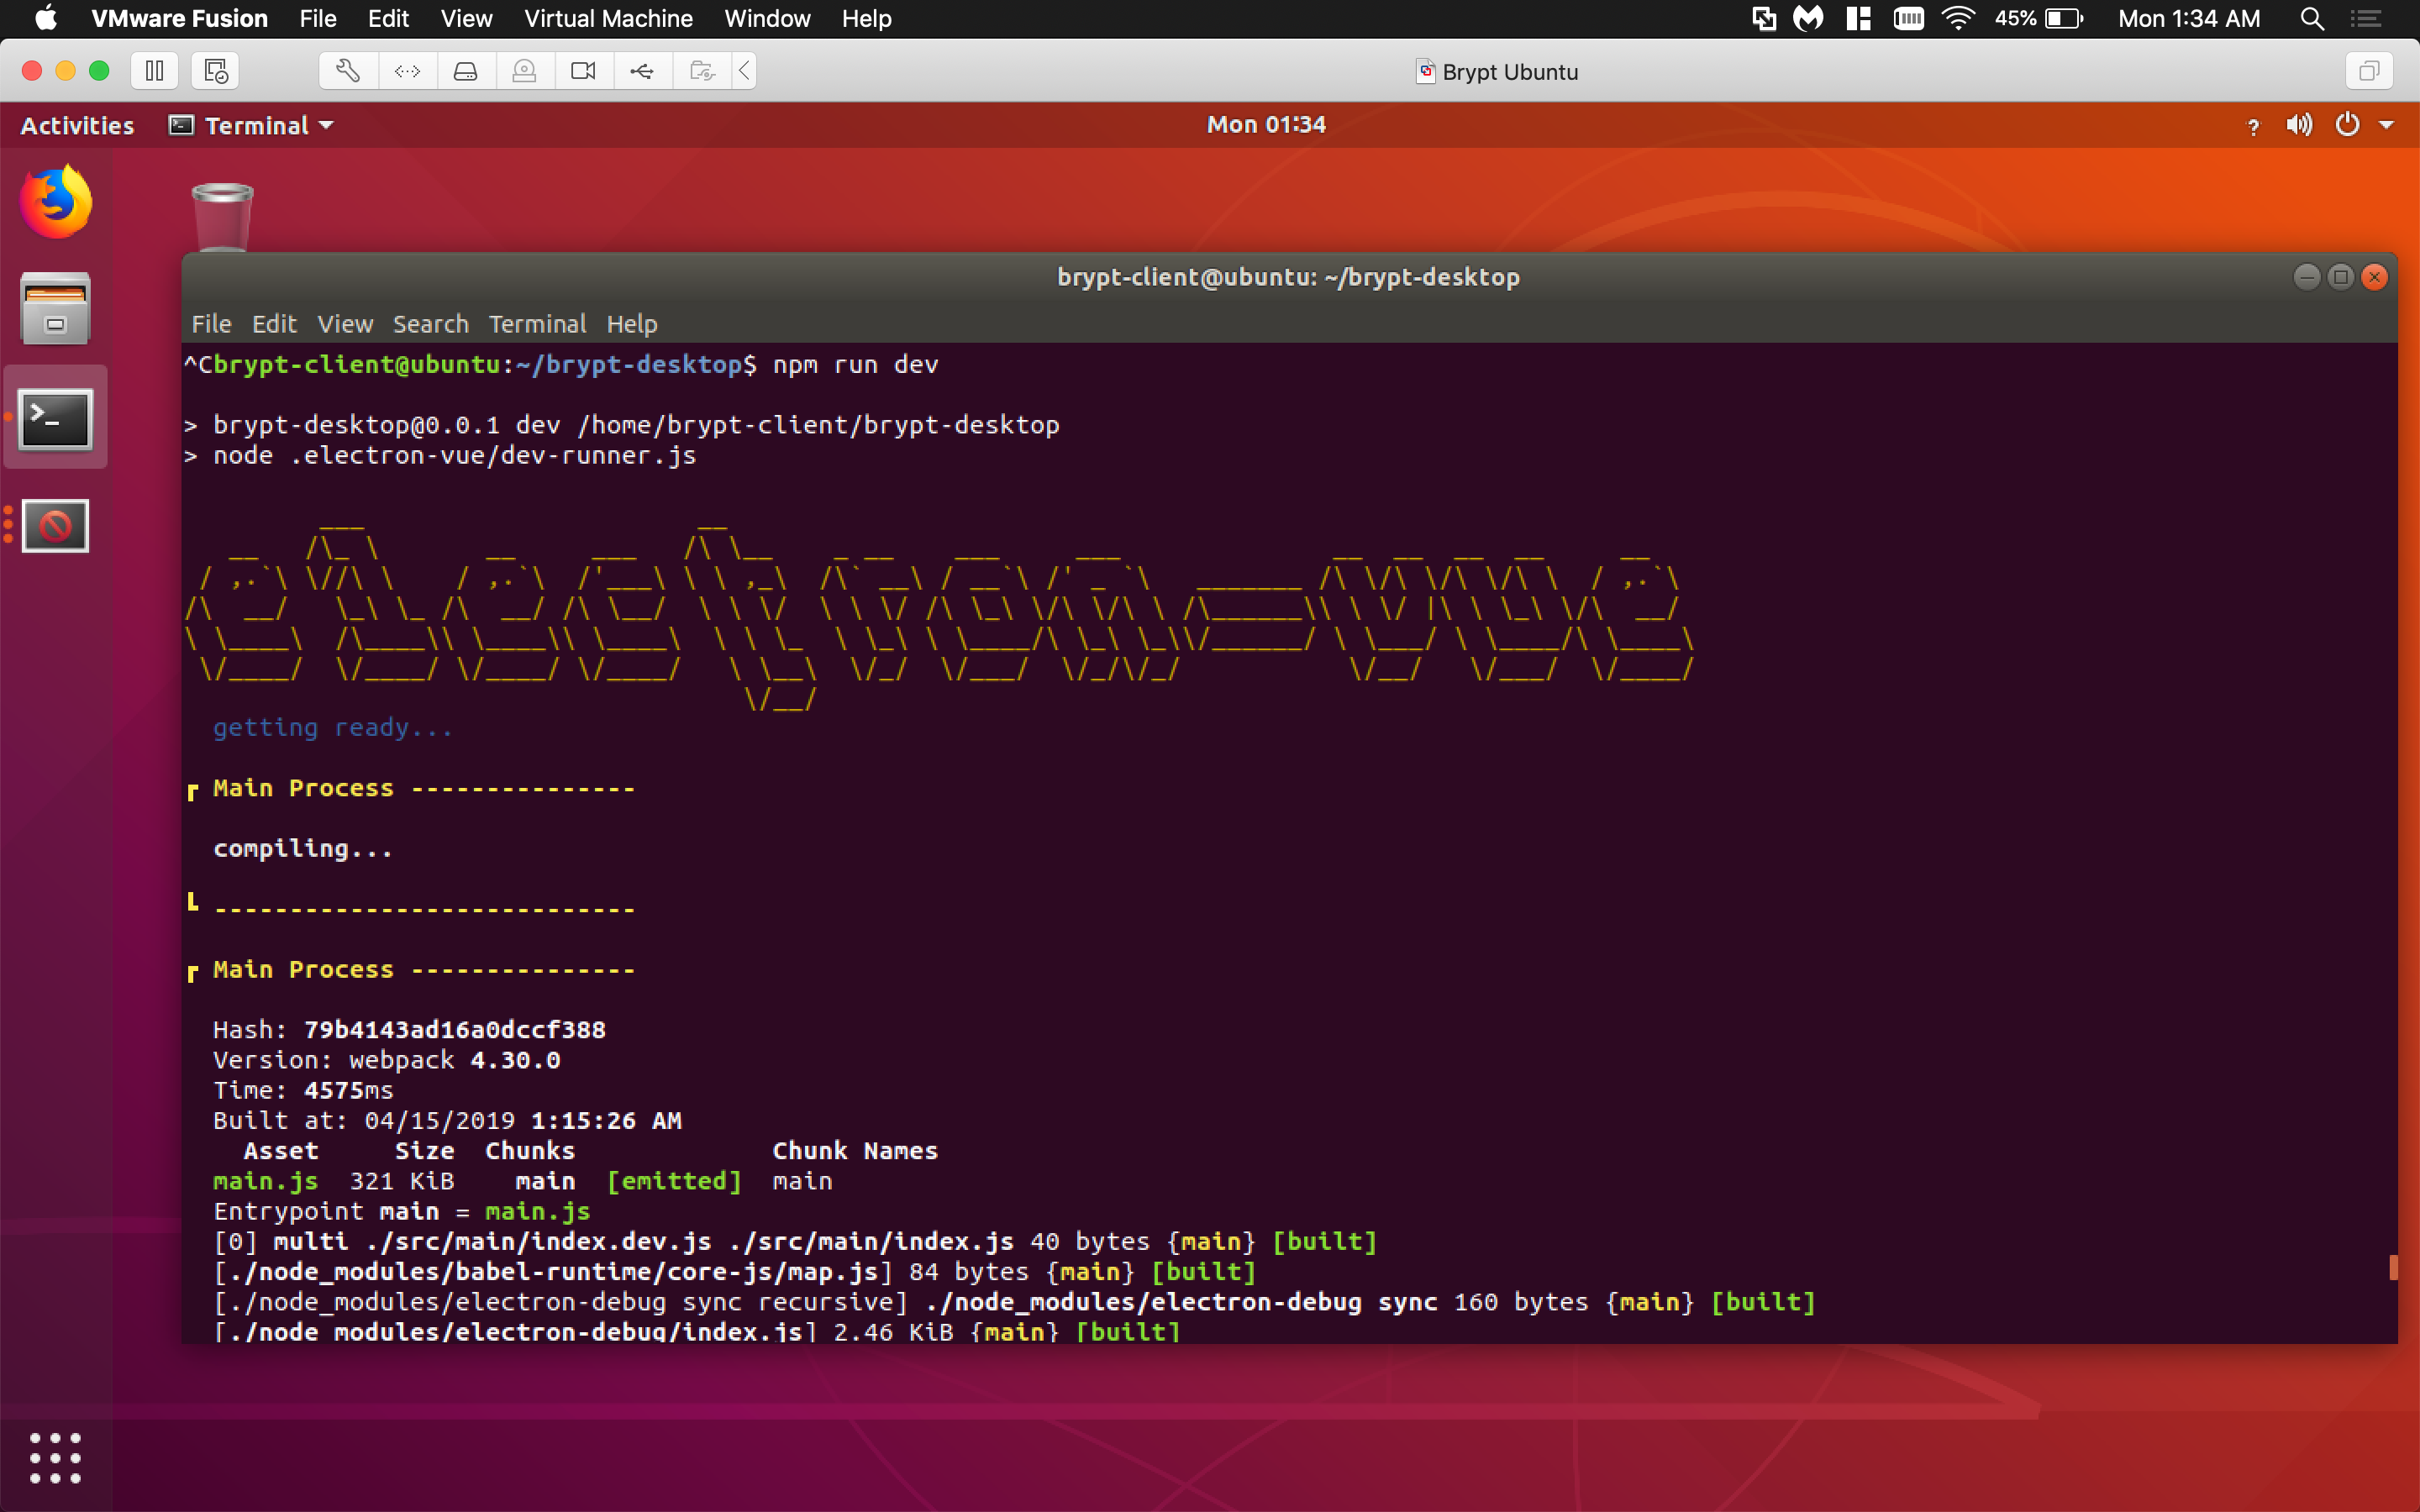
Open a terminal and run the development version of the Brypt Desktop.
cd ~/brypt-desktop npm run dev- Note: The application cache may think there’s two nodes connected. This is from the prior test run. The clear the nodes store, simply close the application and run again.
-
Register for a new account or use the credentials: username: “piscitev” password “secured”.
-
Follow Brypt Setup Guide Part Five to continue.
-
- Manual Installation
- Difficulty: Hard
- Setup Time: 2-3 hours
- Install required libraries and resources.
- Requires: Ubuntu 18.04 LTS and an external Ubuntu/Debian/Linux WiFi adapter.
- If running in a Virtual Machine follow steps f through h from Option 1 first.
- **NOTE: FontAwesome Pro files must be requested from Vincenzo Piscitello (piscitev@oregonstate.edu) and moved into the requisite folder. The desktop application WILL NOT work without these files. **
- Install the required libraries and resources:
- Basic Setup
cd ~
sudo apt update
sudo apt upgrade
sudo apt-get install libtool pkg-config build-essential autoconf automake git openssl libssl-dev libgonf-2-4 build-essential
- Node.js/NPM
cd ~
curl -sL https://deb.nodesource.com/setup_10.x | sudo -E bash -
sudo apt-get install -y nodejs
- ZeroMQ 4.x
- http://zeromq.org/intro:get-the-software
- Install the ZeroMQ C++ language bindings
cd ~
wget http://download.zeromq.org/zeromq-4.1.4.tar.gz
tar -zxvf zeromq-4.1.4.tar.gz
cd zeromq-4.1.4/
./configure --without-libsodium
make
sudo make install
sudo ldconfig
cd ~
git clone https://github.com/zeromq/cppzmq.git
sudo cp cppzmq/zmq.hpp /usr/local/include/
- OpenSSL 1.1.0g
- Note: Electron and Node.js use competing branches of OpenSSL; a static library must be installed onto your system.
cd ~
cd /tmp/
wget http://www.openssl.org/source/openssl-1.1.0g.tar.gz
tar -zxvf openssl-1.1.0g.tar.gz
cd openssl-1.1.0g/
make clean
./config --static -static -fPIC shared
sudo make INSTALL_PREFIX=/tmp/package-root install
- You should now see “libcrypto.a” in the list of files using the command ls /usr/local/lib/
- Node-gyp
cd ~
npm install node-gyp -g
- Basic Setup
- Clone and build the Brypt Desktop Git repository from Github.com.
cd ~
git clone https://github.com/vpiscitello/brypt-desktop.git
cd ~/brypt-desktop
git checkout ubuntu-64
npm install
node-gyp configure && node-gyp build
./node_modules/.bin/electron-rebuild
- Follow Brypt Setup Guide Part Two before continuing.
- Run the development version of the Electron application.
npm run dev
- Start your Brypt network and login to the desktop application.
- Register for a new account or use the credentials: username: “piscitev” password “secured”
- Follow Brypt Setup Guide Part Five to continue.
You have two options: flash the Raspberry Pi and run our installation script (more difficult), or write our pre-made image to a micro-SD card and run a setup script (easier).
Write our Pre-made Image to a Micro-SD Card (Recommended):
- Write our Raspberry Pi image to an 8GB+ micro-SD card:
- (On Windows) - Install Win32DiskImager.
- Download and unzip our Raspberry Pi Image from Box.
- Connect your micro-SD card to your computer.
- Select your disk in Win32DiskImager.
- Open the file-selector in Win32DiskImager and choose the downloaded Raspberry Pi image.
- Select ‘Write’ in Win32DiskImager and wait for it to complete.
- Starting up the Raspberry Pi:
- Plug in the micro-SD card into the Raspberry Pi and boot it up.
- Open a terminal and type:
./startap.sh
- Open a new terminal and type:
./start_node.sh
Flash the Raspberry Pi Yourself:
- Flash the “Raspbian Stretch with Desktop” image onto a Raspberry Pi: https://www.raspberrypi.org/downloads/raspbian/
- To do this, download the zip file: 2018-10-09-raspbian-stretch.zip
- Flash the image onto the Raspberry Pi’s SD card using Etcher: https://etcher.io
- Boot up the Raspberry Pi and walk through the setup steps. Be sure to connect to wifi.
- Skip the software update
- After finishing the setup steps, open up Chromium and try to search for something
- You may need to enter in your credentials to connect to your LAN
- Clone the Brypt Node Git repository from Github.com. Do this on both your client computer and designated Raspberry PI coordinator.
cd ~
git clone https://github.com/Stygain/brypt-node.git
- General purpose computer install (Provided VM).
- Ensure ZeroMQ and OpenSSL are installed on your system from Part One.
- Open a Command Line Interface (CLI) window to your local copy of brypt-node.
- Move to the dev folder and run the make command.
cd dev
make
- Raspberry PI install
- Open a Command Line Interface (CLI) to your local copy of brypt-node. cd brypt-node
- Move to the dev folder, run the setup script, and build the binary.
cd dev chmod +x install.sh sudo ./install.sh- Type ‘y’ as prompted. Hit ‘q’ or ‘Ok’ to continue through any other prompts.
- After reboot, open a new CLI:
cd brypt-node/dev
make
- Starting a root coordinator on the Raspberry PI
- Once the device has rebooted open a new CLI window and ensure the Access Point is running.
sudo service hostapd status
- If hostapd is not running:
sudo hostapd /etc/hostapd/hostapd.conf
sudo service dnsmasq status
- If dnsmasq is not running: In the dev folder of brypt-node run the Access Point startup script and reboot the device.
cd ./brypt-node/dev/config/AP sudo ./startup_ap.sh- If startup_ap.sh fails to run, make sure:
perl -pe 's/\r$//' < startup_ap.sh > startup_ap.sh2
rm -f ./startup_ap.sh
mv ./startup_ap.sh2 ./startup_ap.sh
chmod +x startup_ap.sh
sudo ./startup_ap.sh
- The device should reboot automatically, but if not:
sudo reboot
- If startup_ap.sh fails to run, make sure:
- If hostapd is not running:
- Open a new CLI window to dev folder of brypt-node and start the coordinator.
cd brypt-node/dev git checkout multi-punch make make root - Troubleshooting: If you get a memory corruption error, run:
make clean
make
- Once the device has rebooted open a new CLI window and ensure the Access Point is running.
- (Optional) To connect a leaf node to the Brypt root coordinator, use a general purpose computer running MacOS:
- Since the node must be in the coordinator’s access point you must connect into the network after the desktop connection has been logged in. Otherwise the application will not be able to query the hosted central server at https://www.brypt.com.
- To add a leaf node, repeat steps 3-5 but do not choose to start up the Access Point on reboot when prompted.
- Open the brypt-node/dev folder and start the leaf.
make
make leaf_two
- Install required libraries and resources.
- IDE
- Arduino IDE library for your Adafruit Feather
- Install Crypto library by Rhys Weatherley (Sketch -> Include library -> Manage libraries)
- Follow Installation instructions for arduino-LoRa library: https://github.com/sandeepmistry/arduino-LoRa
- Ensure you have the brypt-node repository cloned from Part Two.
- Create a new folder called ‘Message’ in your Arduino IDE installation library folder. (For Windows: Program Files (x86)/Arduino/libraries)
- Copy brypt-node/arduino/message/message.hpp and brypt-node/arduino/message/utility.hpp in the newly created ‘Message’ folder.
- Open the Arduino.ino file in the Arduino IDE for your desired device (.ino files are found under brypt-node/arduino/SPECIFIC_DEVICE/).
- Ensure the coordinator is running as this is a proof concept and the leaf node must be able make initial contact once it is flashed.
- Flash the .ino file onto the Adafruit Feather using the Arduino IDE (Click right facing arrow ‘Upload’).
- Install the Go programming language to your system.
- Clone the Brypt Server Git repository from Github.com into your Go src path.
git clone https://github.com/Stygain/brypt-server.git
- Open a Command Line Interface (CLI) to your local copy of brypt-server (i.e. $GOPATH/src/brypt-server).
- Get and install the Brypt Server Go dependencies.
make deps
make add-deps
- Build the Brypt Server binary.
make build
- Run the Brypt Server binary.
./bin/bserv
- If desired, the brypt-server production branch may be used on Heroku to create a hosted server.
- Ensure that each application and network component is fully installed.
- Startup the Brypt network root coordinator. This will be the Raspberry PI 3 running the local Access Point.
- To easily verify the AP is running view your local Wifi connections and a brypt-net-000000 ssid should be visible.
- To verify that an IPv4 address is assigned to connected devices, connect to the AP and run ifconfig. From ifconfig your Wifi interface should have some address starting with 192.168.30.x.
- If testing with an additional Raspberry Pi 3 or additional Adafruit Feather nodes, you can connect them now.
- With the Brypt network running start the desktop application on the client computer. 3. If you are still connected to the Brypt AP, disconnect and connect to a Wifi AP with direct internet access.
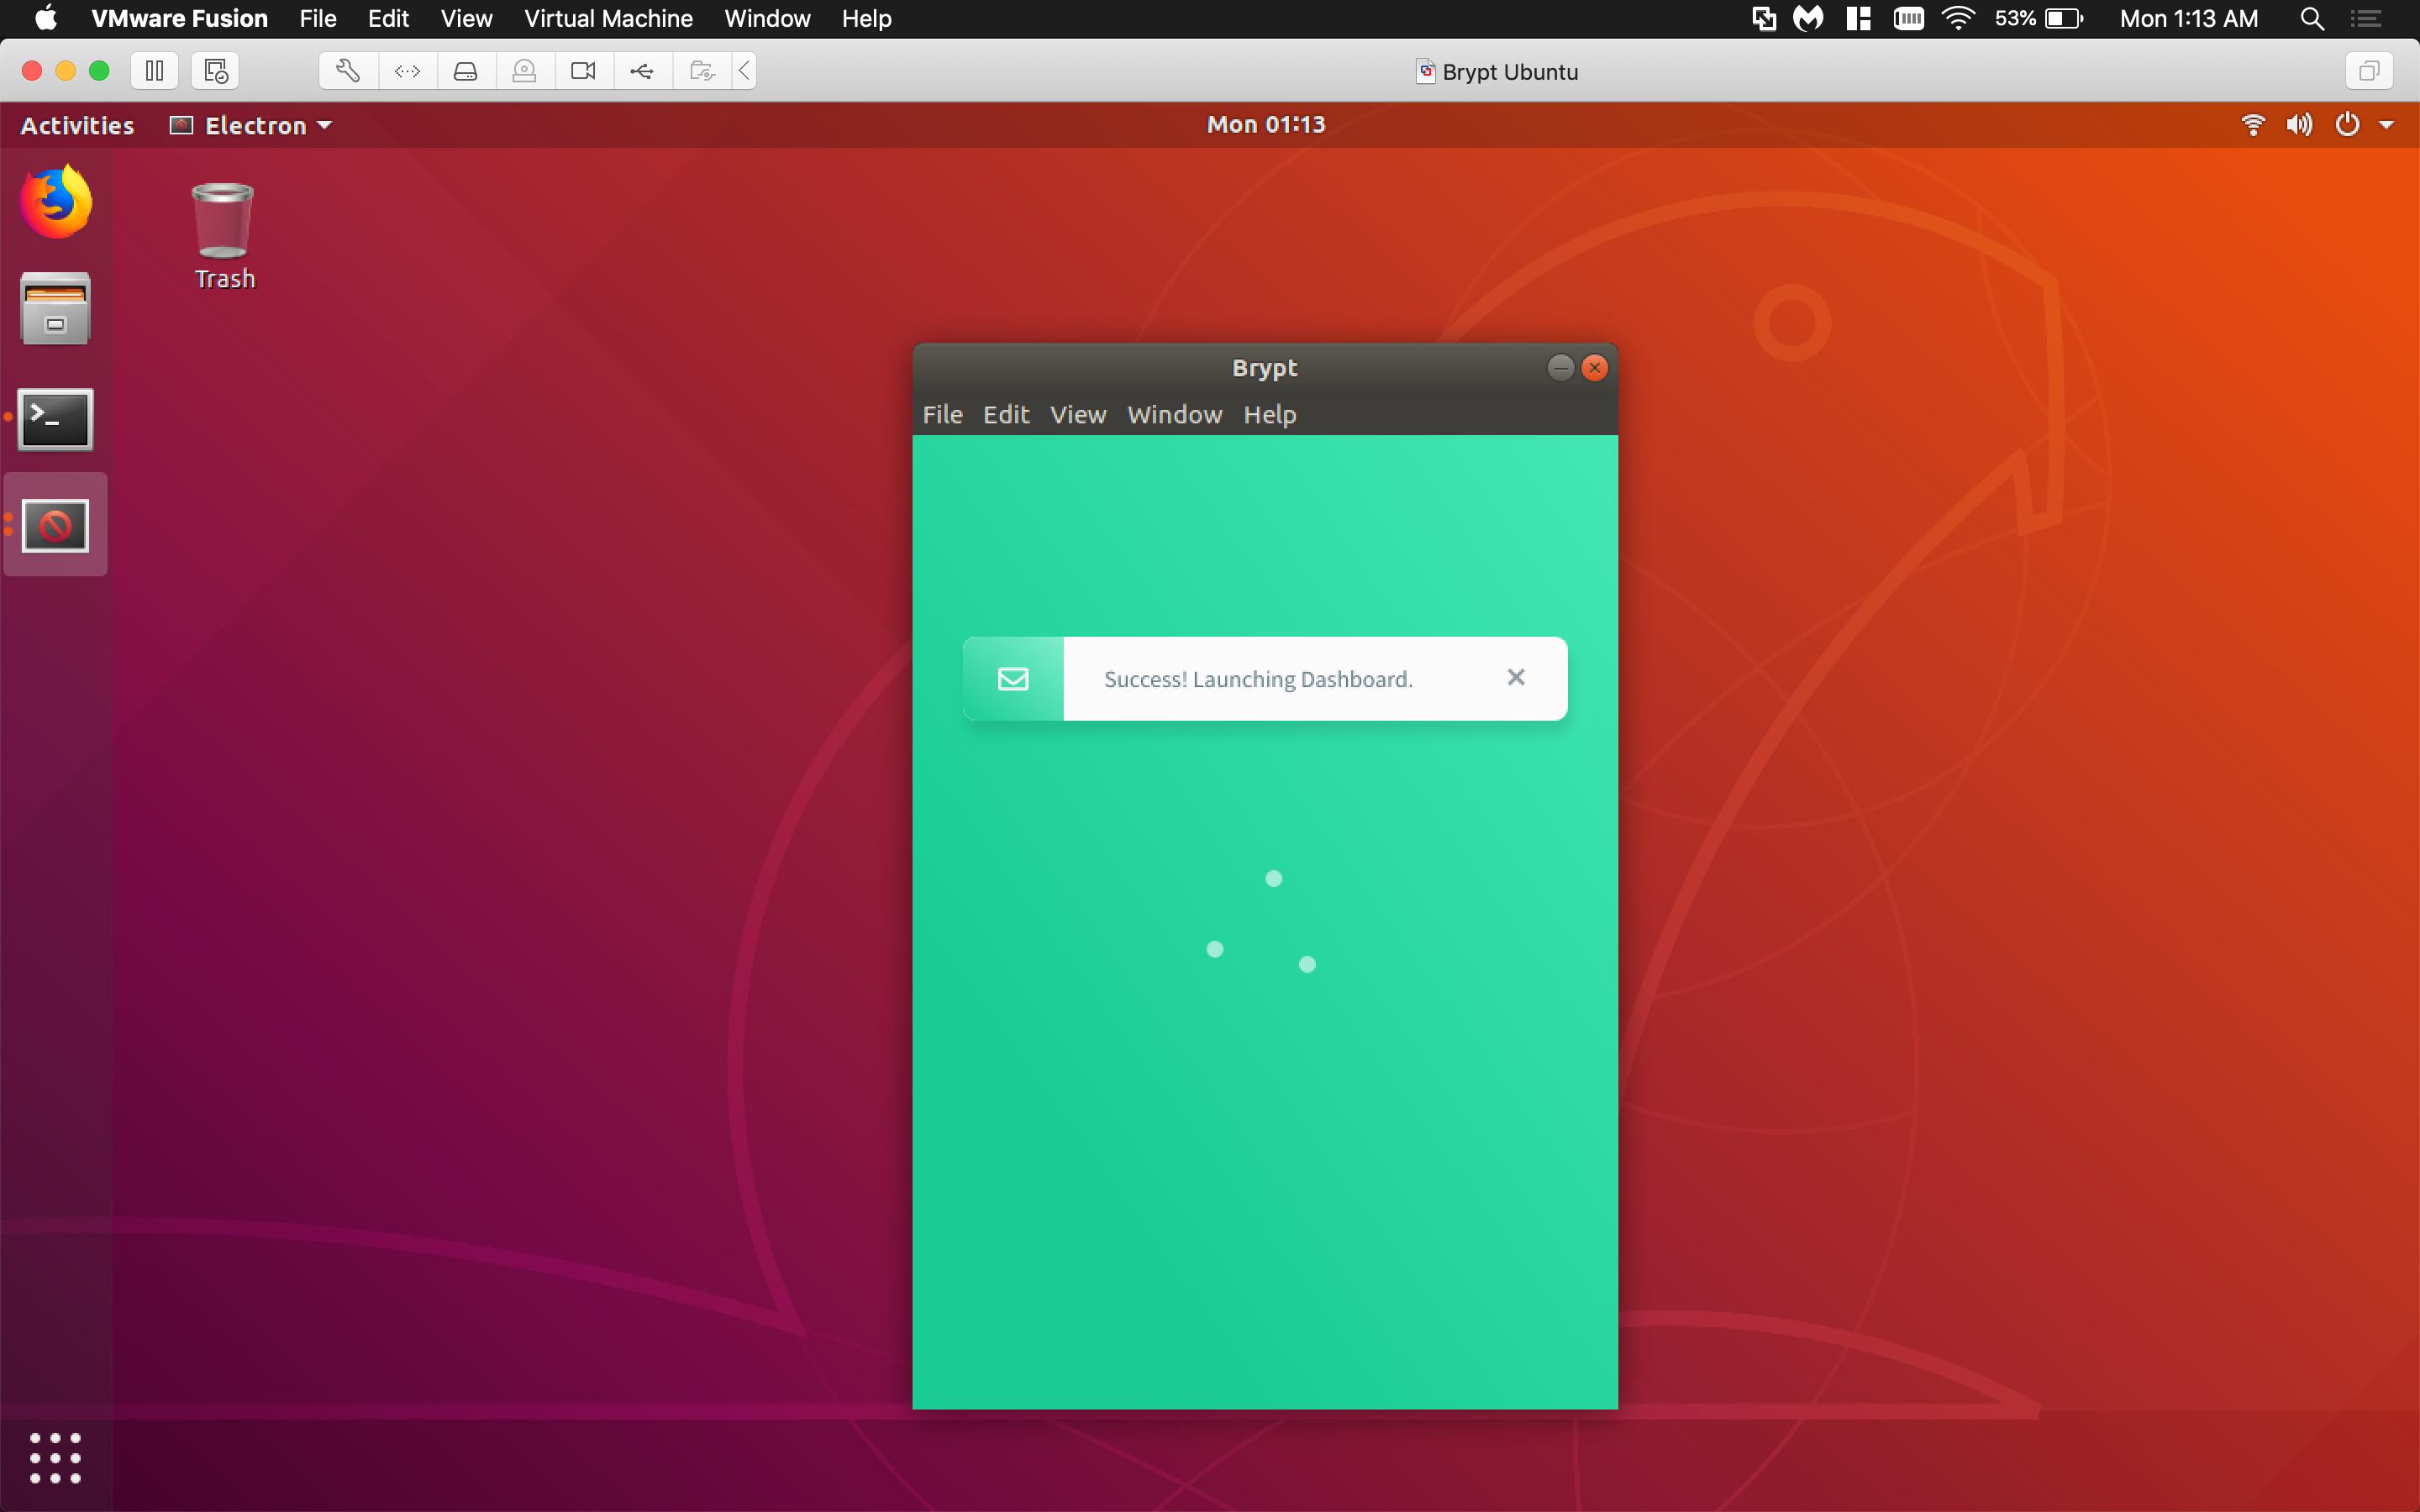
- Login to the Brypt network through the application interface 4. This process will authenticate your user account and provide the program with any requisite network information (i.e. the Brypt AP ssid). 5. You will be provided a success message and the login window will be closed to open the network dashboard.
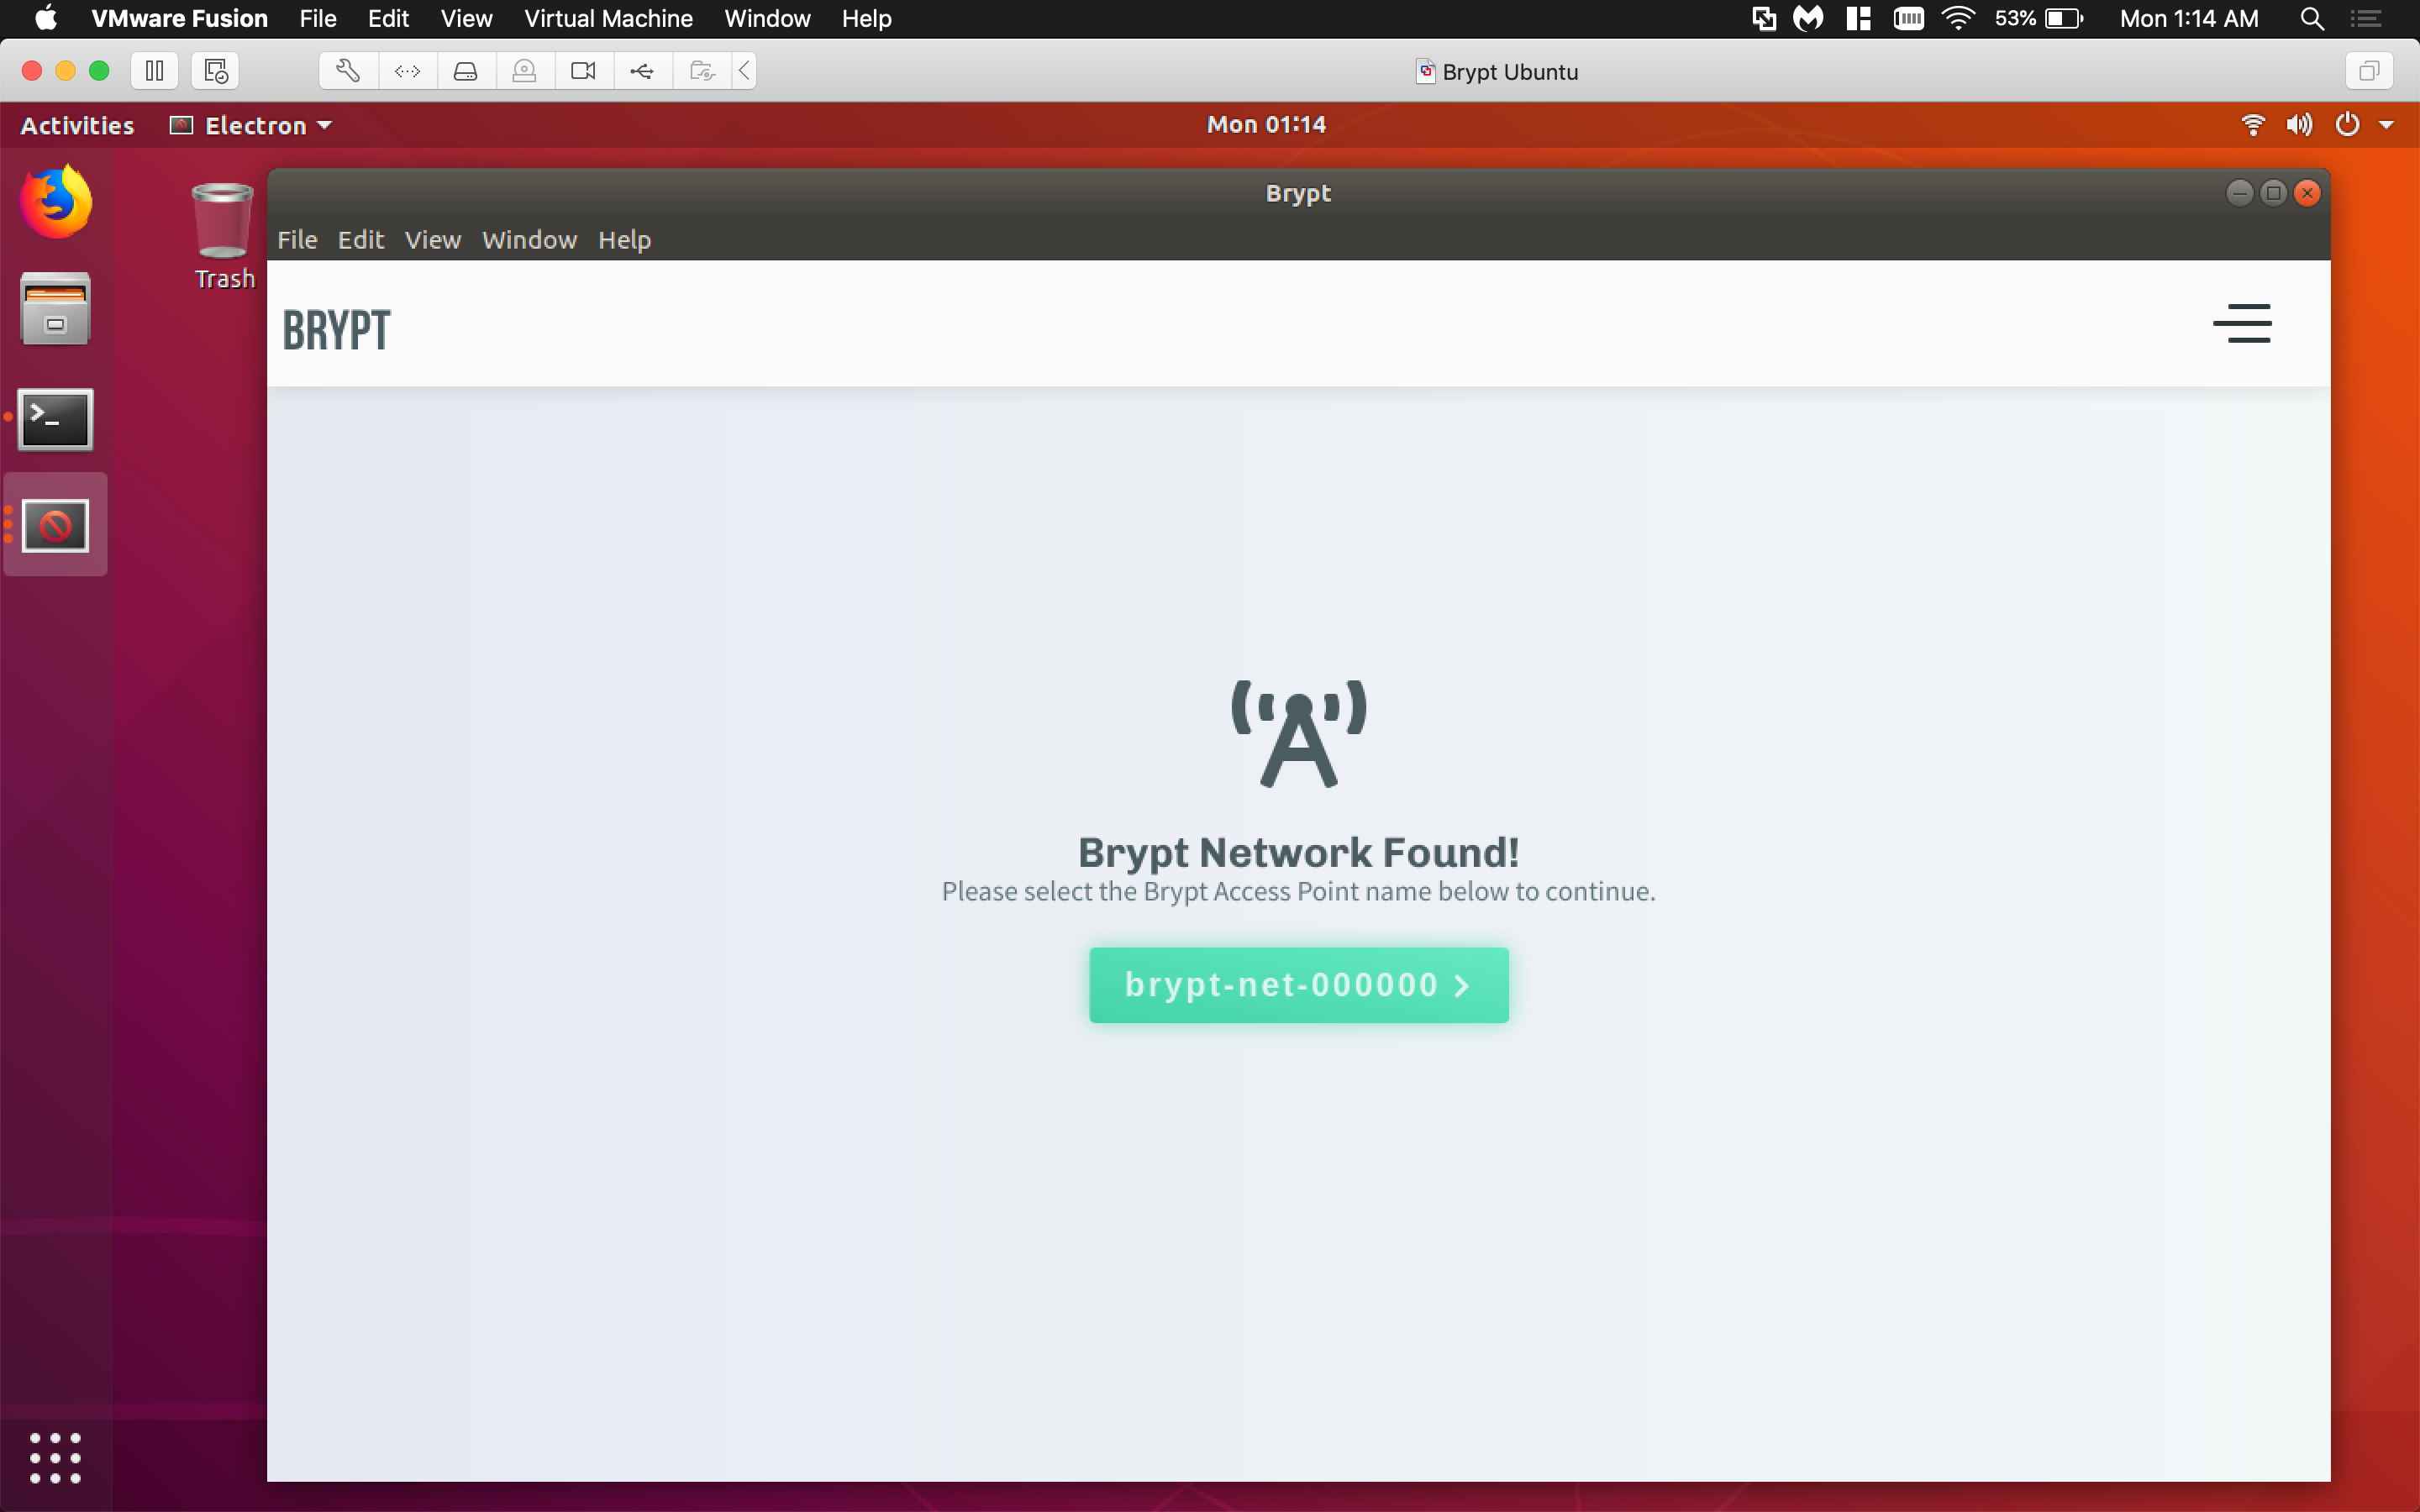
- The dashboard interface will display a processing animation while it searches for the Brypt AP. 6. If a notification is presented that it has found the network, click the button to connect. 7. If a notification is presented that a network has not been found: 1. Click the button to re-scan the local networks 2. If the issue persists, ensure the Brypt root coordinator is hosting an Access Point and assigning devices a proper IPv4 address.
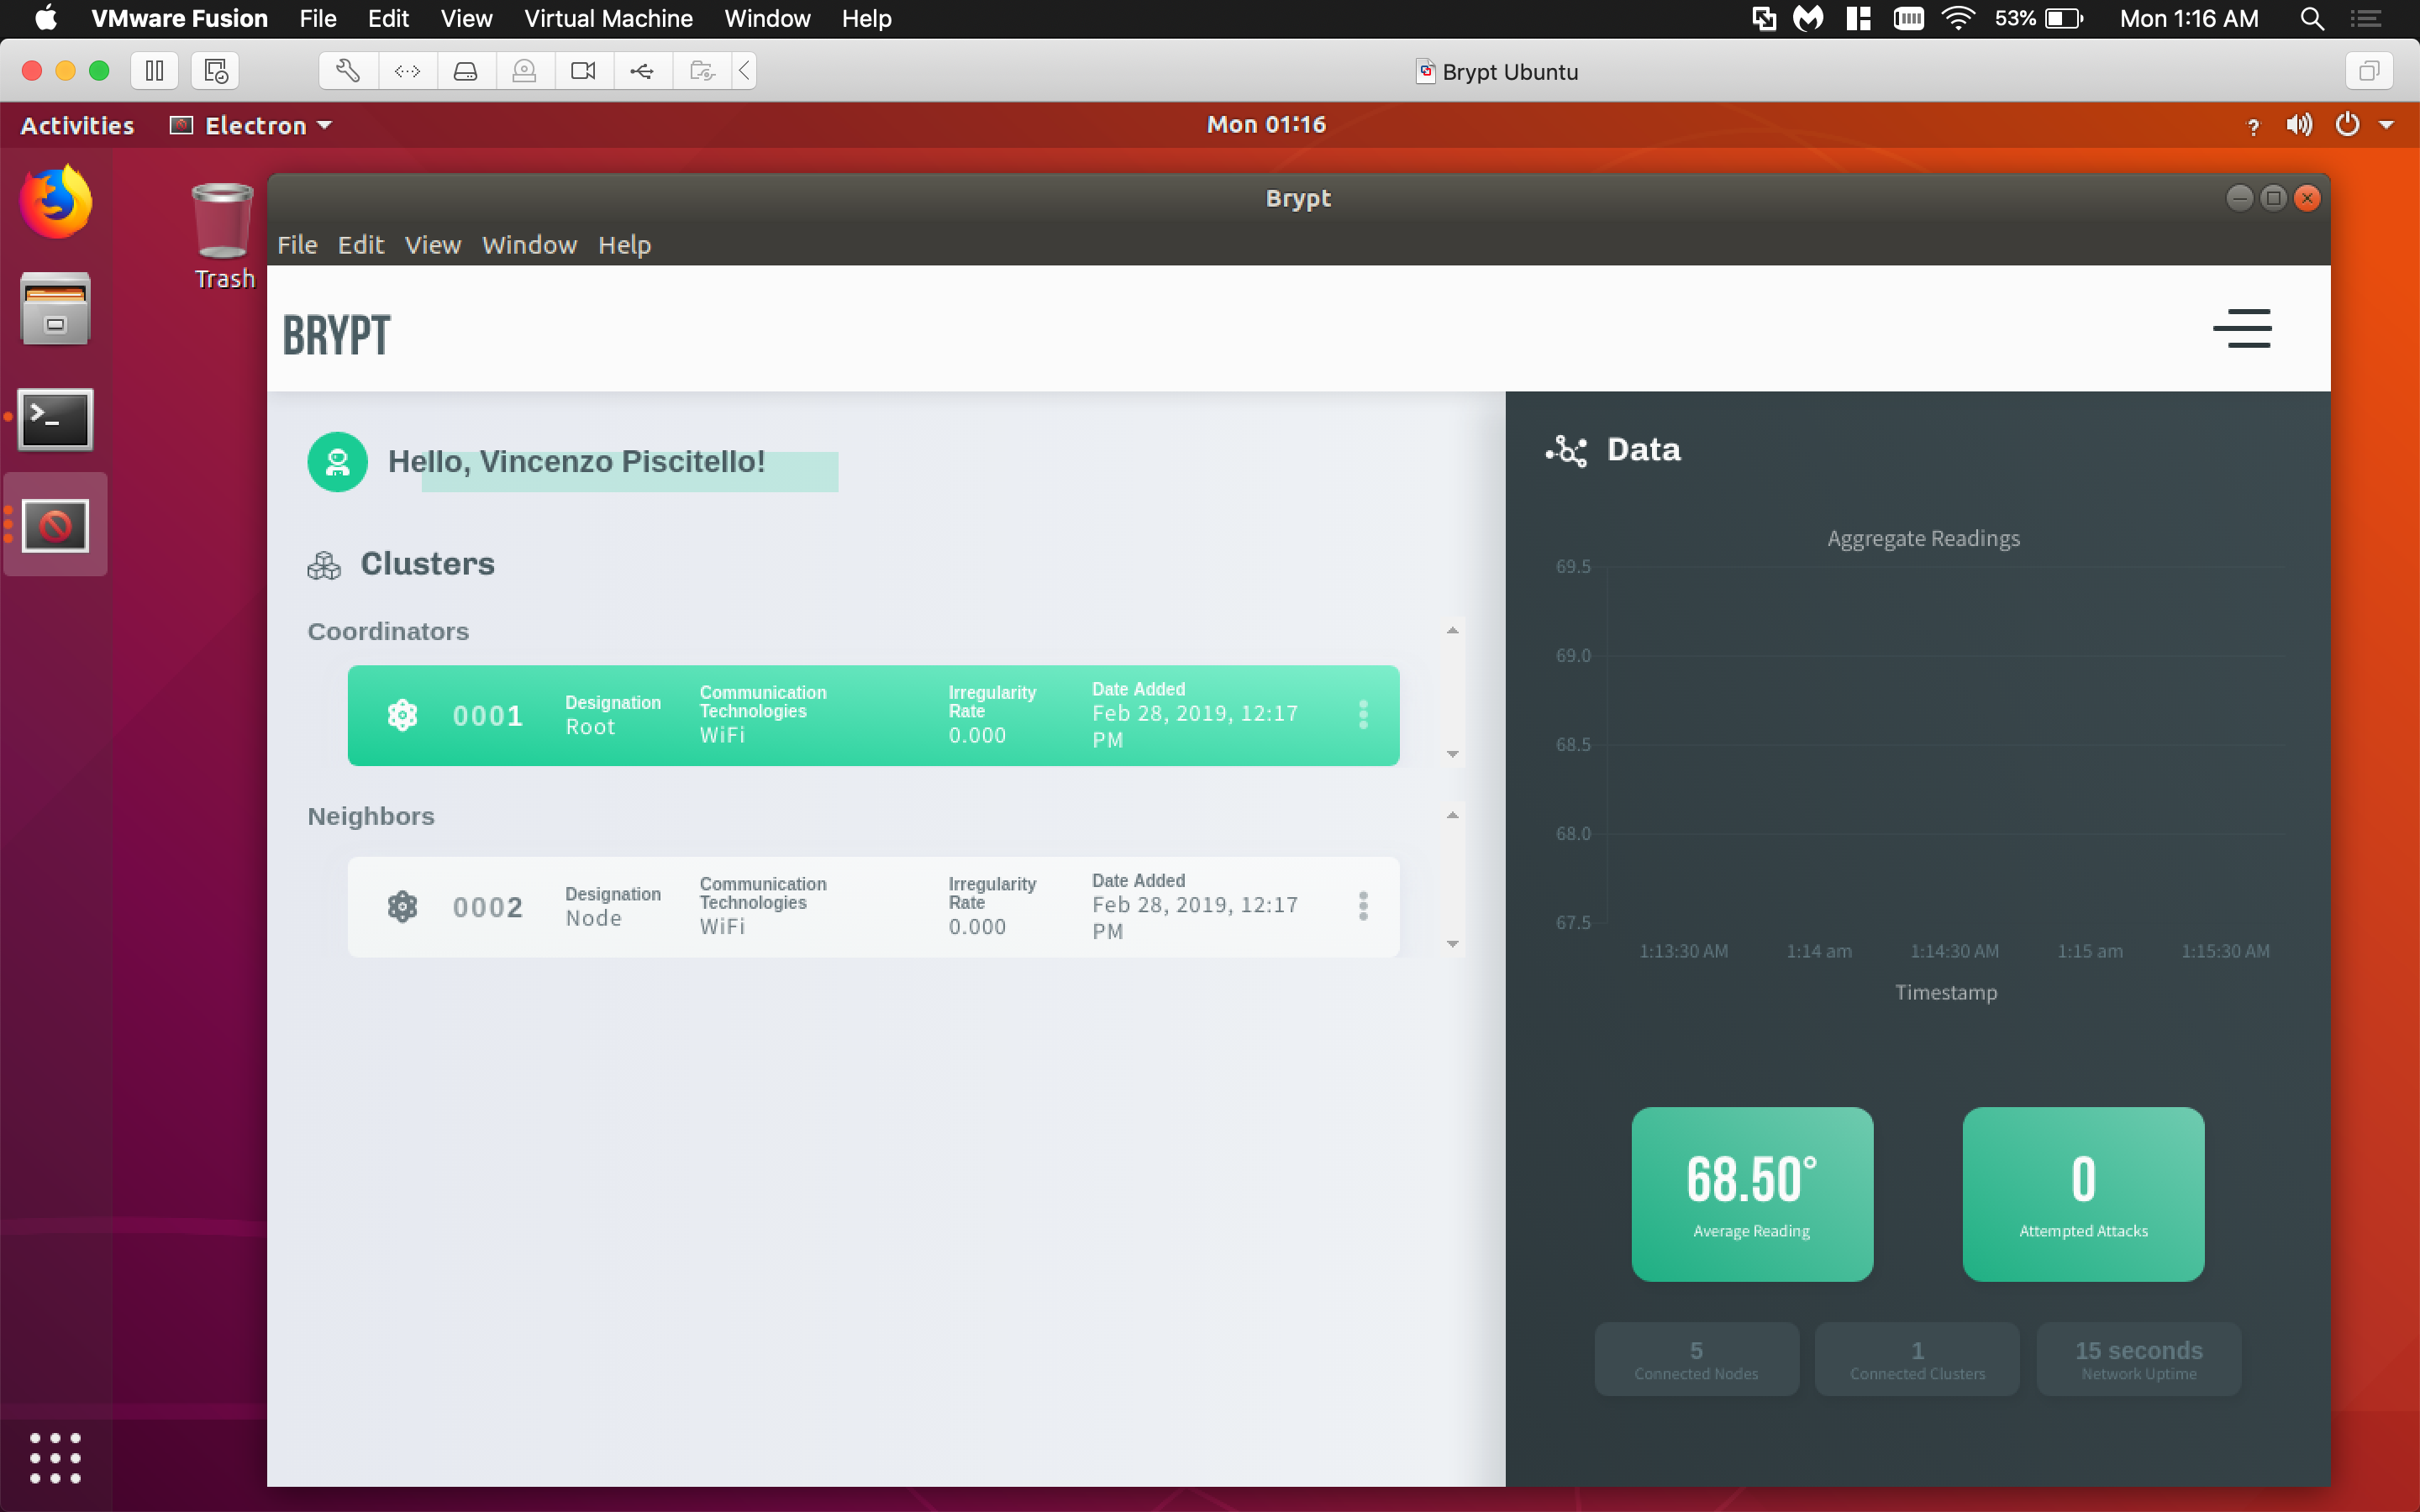
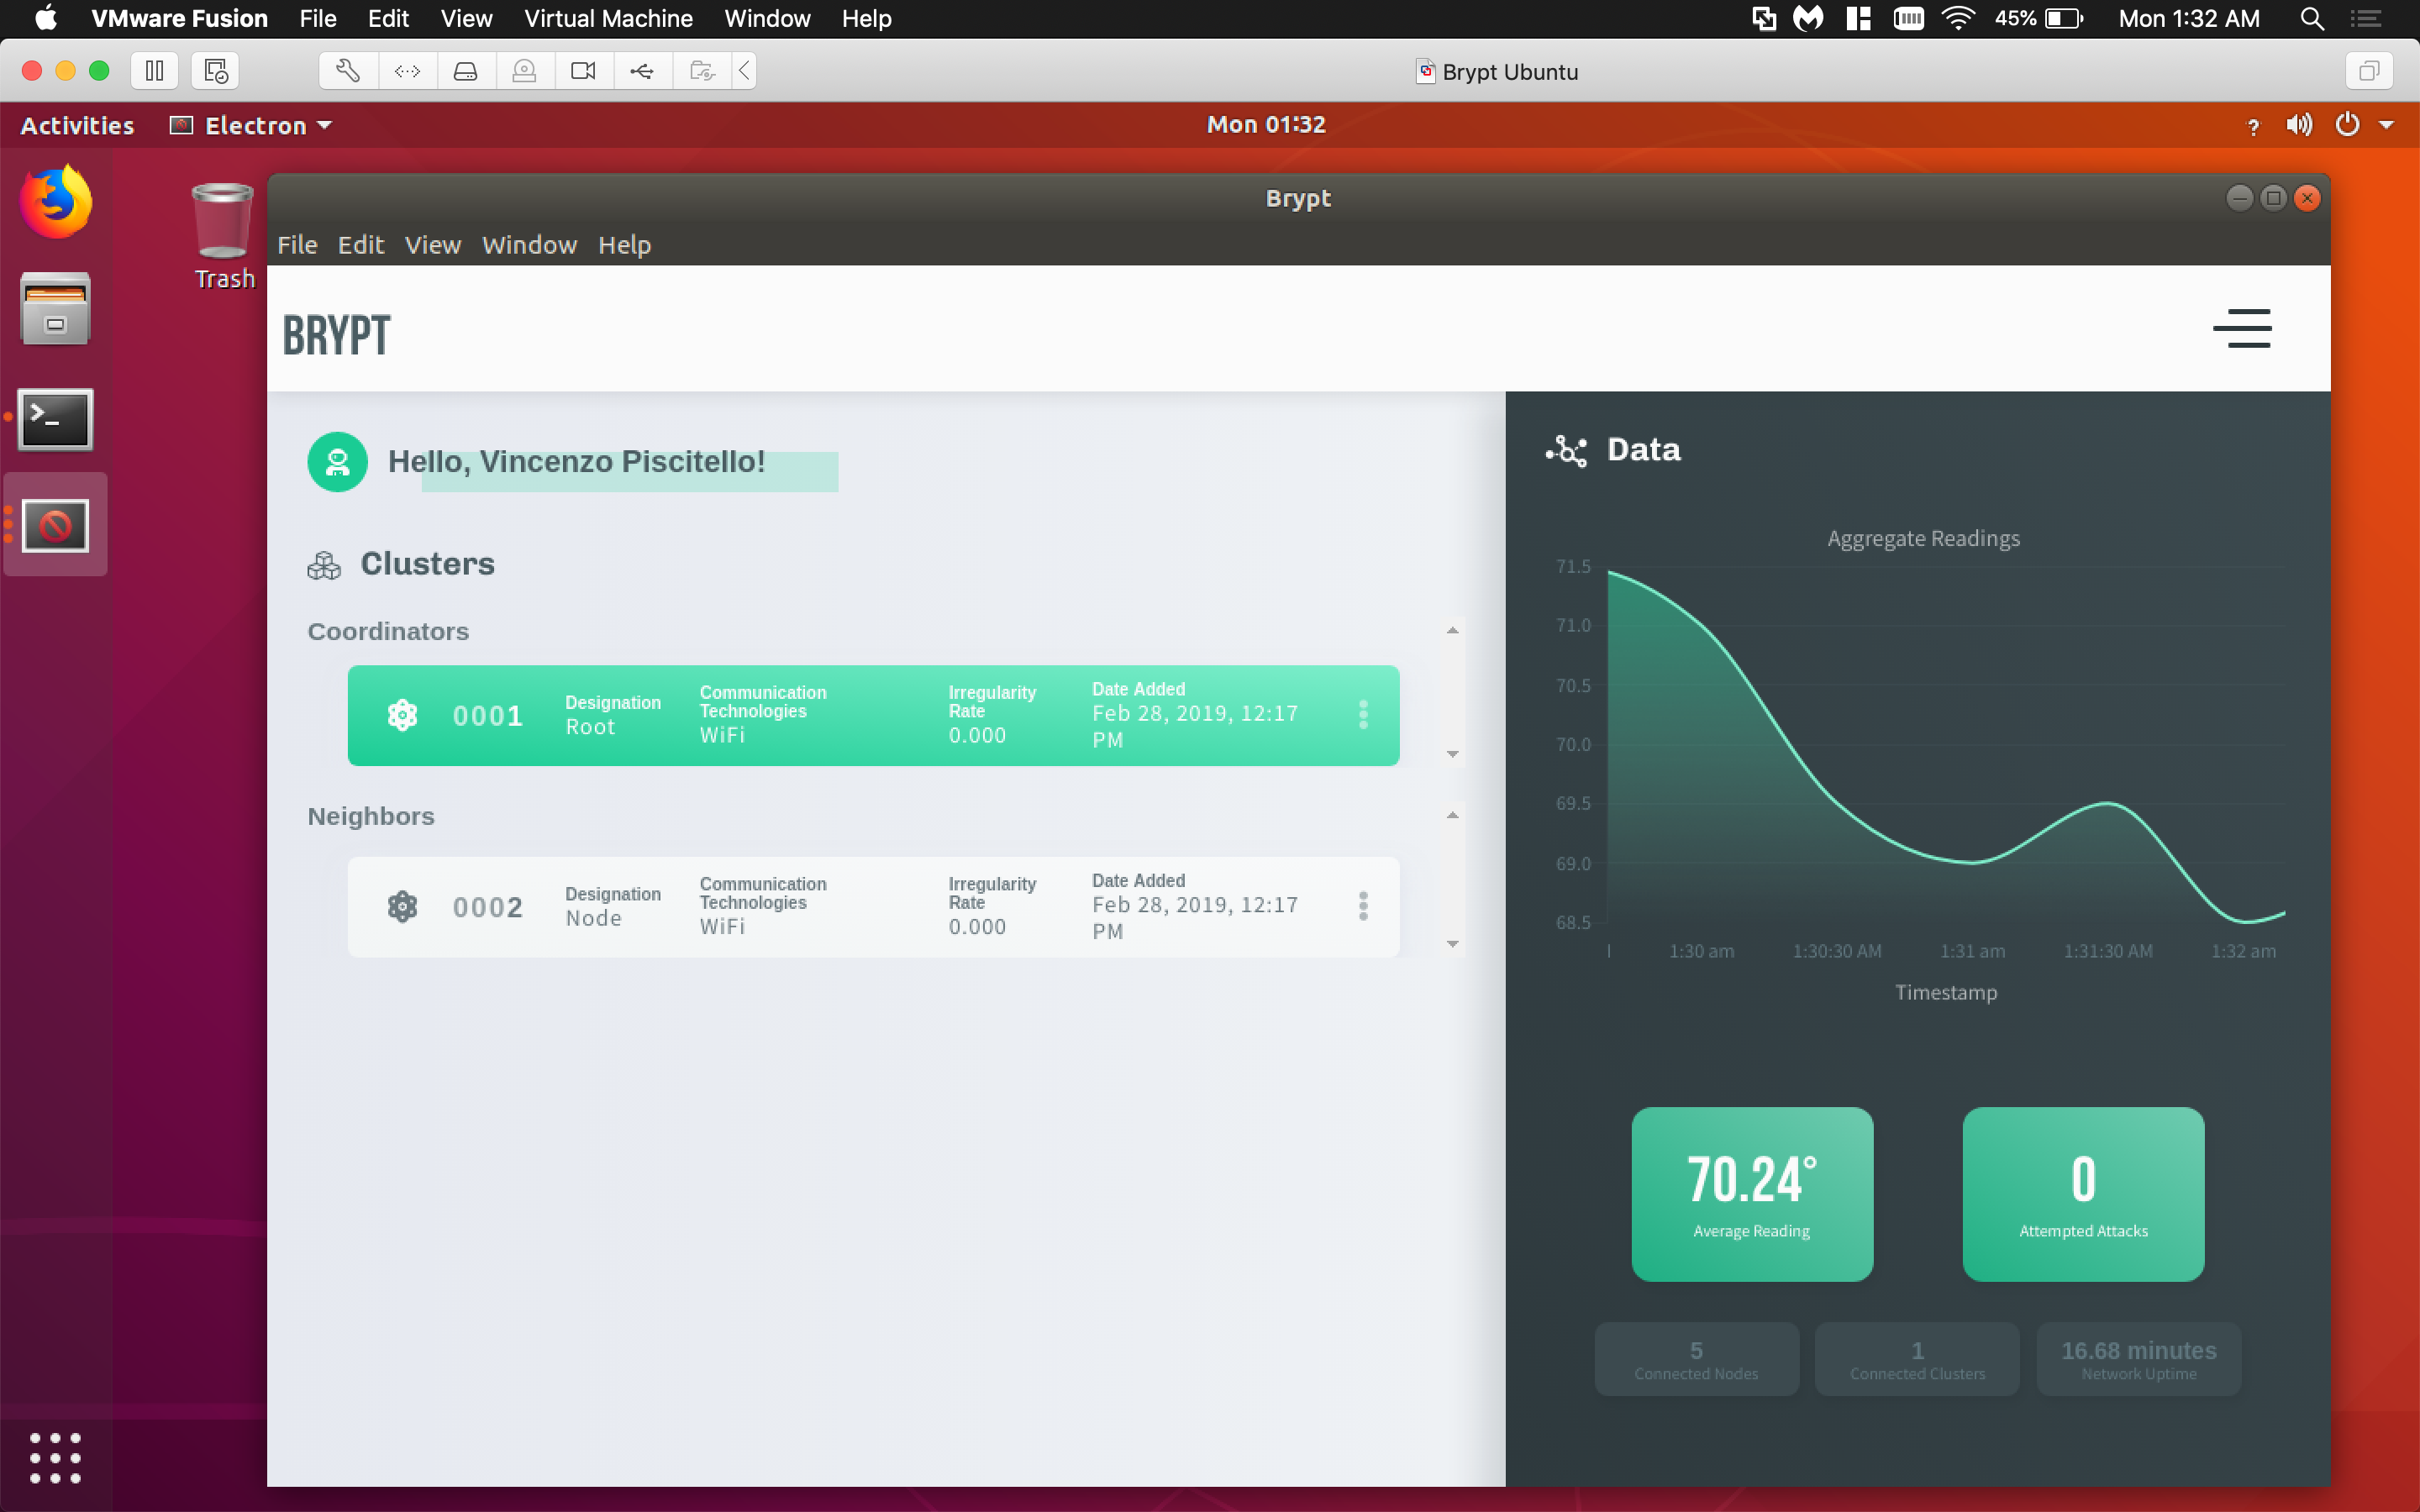
- Once connected into the Brypt network, the dashboard interface will provide information on the connected nodes, arbitrary “sensor” readings, and additional network data processing modules.
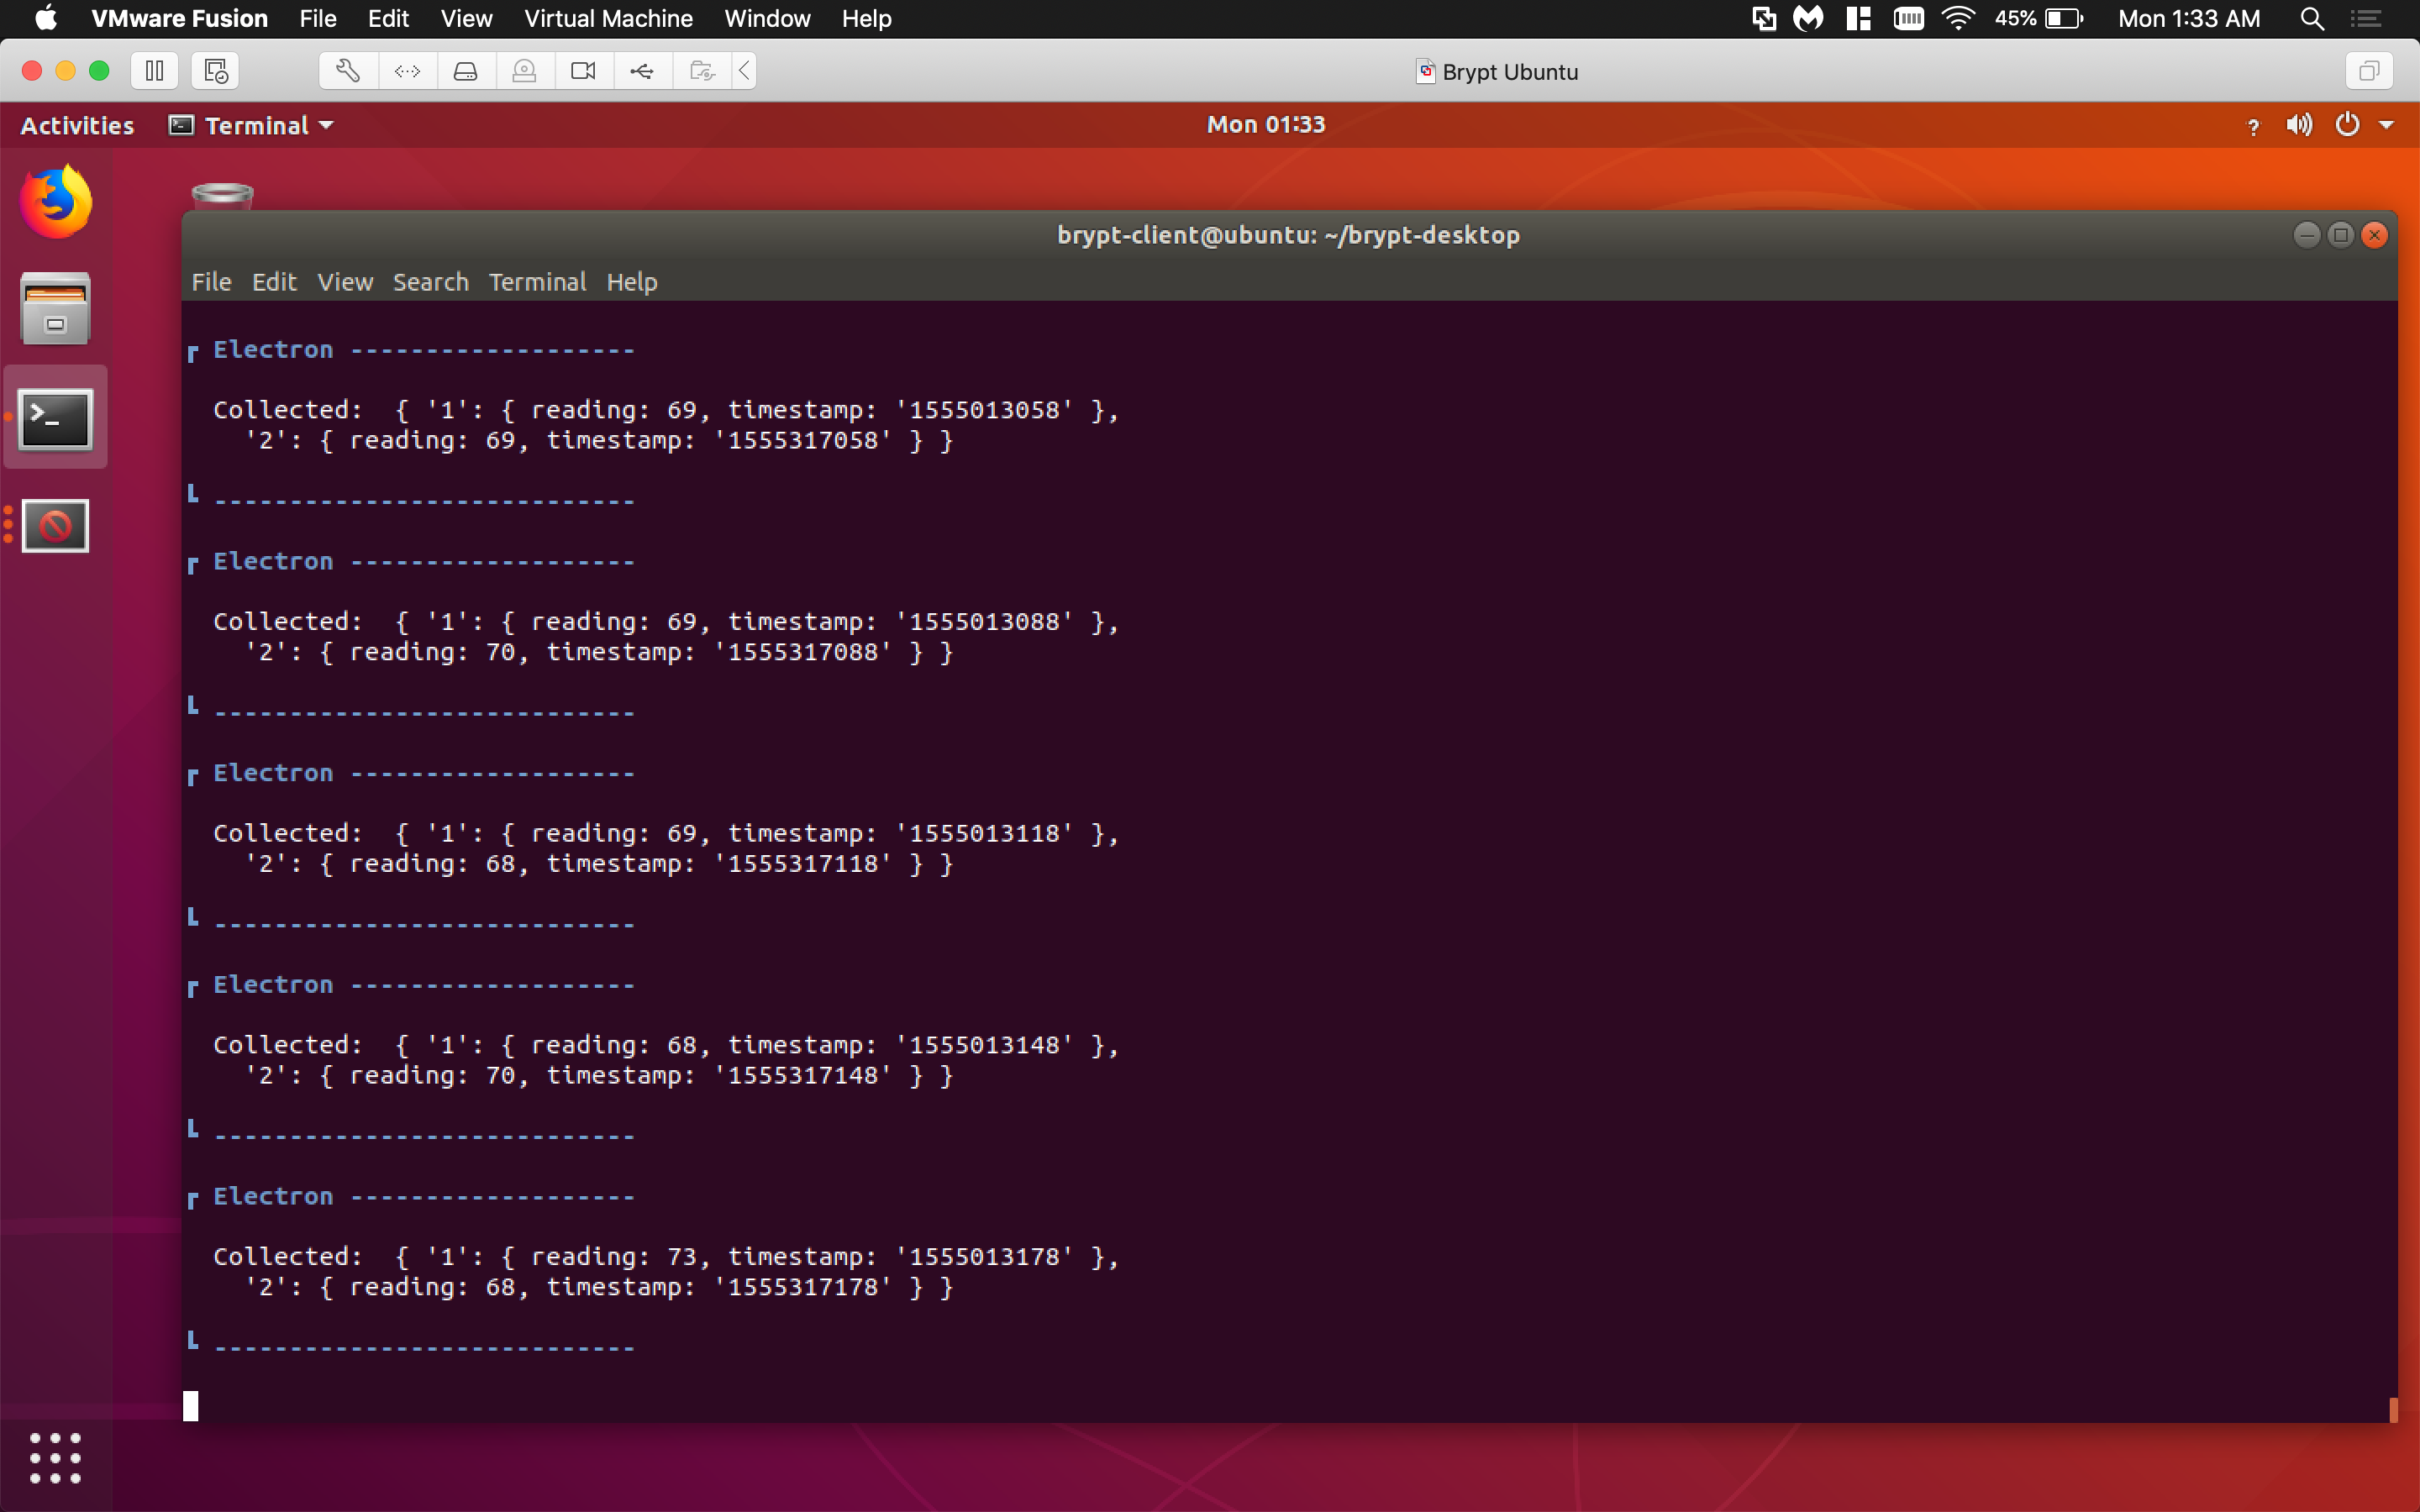
- A cycle reading request is sent every thirty seconds and the aggregated data will be placed into the streaming chart.
- Starting up Brypt Desktop
- Logging in to the Brypt Application
- Finding the Brypt Network
- Initial Brypt Dashboard with one root coordinator and one leaf node
- Brypt Dashboard and readings collected after 15 minutes of running
