The following documentation describes form integration options with your store locator.
Check out the custom form demo here.
Odds are your store locator does not show up on your homepage, but rather on its own separate page. However, for convenience, you might have a zip code field somewhere in your menu for users to type in their address and be redirected to that location on your locator.
That way your users can be looking at the stores directly relevant to them.
You can implement this functionality the following way:
The simplest way is to create a custom form that passes an address field to your locator page:
-
First, create a form where user will type in their zip code (full html file here):
<form method="get" action="https://zenlocator.com/demo">
	<label for="zip">Zip code:</label>
	<input name="address" type="text" id="zip" placeholder="please enter zipcode" />
	<button>Search</button>
</form>
The only input field on this form is named
address, and this is exactly the field we will pass to the locator when user submits the form.Hint: In reality it doesn't even have to be limited to zip codes only. It can be any type of recognizable address: a street, city, state or even a region.
-
Insert the form wherever you want it to appear on your site. This is an unstyled version, but the end result will look something like this:
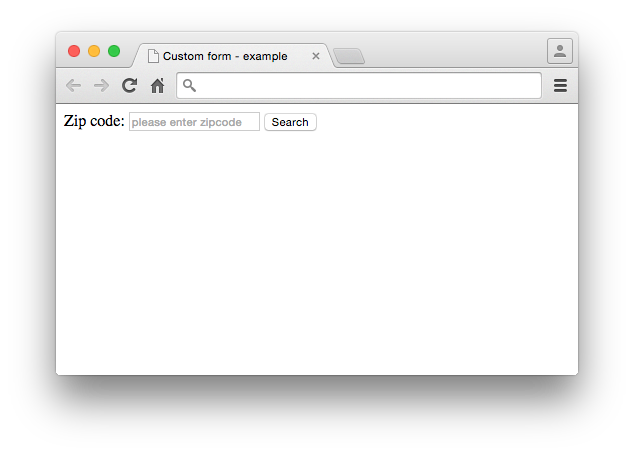
Now your users can pass an address and be taken directly to that location on the map.
If you have filters enabled on your account, you can also let your users narrow down their search:
-
Create a form with whatever filter parameters you have (full html file here):
<form method="get" action="https://zenlocator.com/demo">
	<p>
		<label for="zip">Zip code:</label>
		<input name="address" type="text" id="zip" placeholder="please enter zipcode" />
	</p>
	<p>
		<span>Only locations with:</span>
		<br/>
		<label>
			<input type="checkbox" name="filter[]" value="Sirena Espresso Machine" />
			<span>Sirena Espresso Machine</span>
		</label>
		<br/>
		<label>
			<input type="checkbox" name="filter[]" value="Clover Crafted Small Batch Coffee" />
			<span>Clover Crafted Small Batch Coffee</span>
		</label>
	</p>
	<p>
		<button>Search</button>
	</p>
</form>
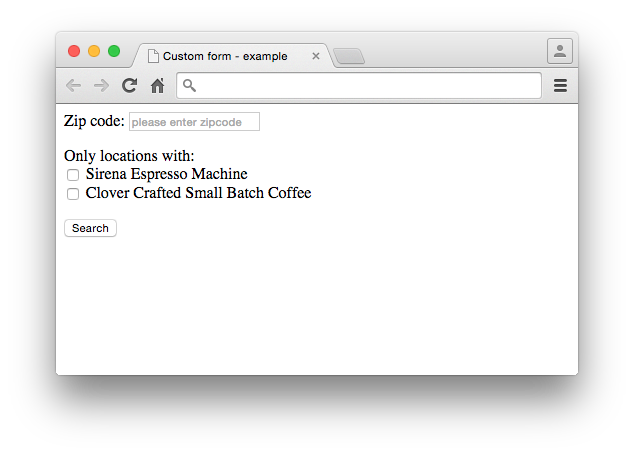
In this case we are providing two options: Sirena Espresso Machine or Clover Crafted Small Batch Coffee.
-
Note that the filter input has brackets in the name attribute:
name="filter[]"The value attribute has to match the name of your feature exactly as it is filled out in your dashboard.
-
The form will now look like this (users can check one or several filters and your locator will adjust the search accordingly):
- It is important that the address field is always named
address, and filter asfilter[]. Both of these parameters are optional. - Make sure the form has
method="get"and is pointing to the correct store locator page on your site.
Can you think of other parameters you'd like to pass to your locator? Give us a shout at support@zenlocator.com and we'll try to add them!